
Don’t rush to toss broken items when you can often fix them yourself. You can stop leaks by replacing washers, reattach loose tiles with fresh grout, or mend a zipper with basic tools. Even repairing a smartphone screen or restoring an old couch is doable with simple steps. Handling small repairs can save you money and extend your belongings’ life. Keep going to discover how you can easily fix these and more, instead of throwing them out.
Key Takeaways
- Many household items like faucets, light switches, and tiles can be fixed with simple tools and DIY techniques.
- Repairing fabric, picture frames, and small accessories extends their lifespan and saves money.
- Electronics such as smartphone screens and vacuum cleaners are often repairable with basic skills and affordable kits.
- Regular maintenance and timely repairs prevent further damage and reduce the need for replacements.
- DIY fixes are cost-effective, environmentally friendly, and empower you to restore functionality and appearance easily.

Vtopmart 25 PCS Clear Plastic Drawer Organizers Set, 4-Size Versatile Bathroom and Vanity Drawer Organizer Trays, Storage Bins for Makeup, Bedroom, Kitchen Gadgets Utensils and Office
- Versatile Drawer Organizer: Suitable for bathroom, kitchen, office, and more
- Includes 25 Storage Bins: Four sizes for customized organization
- Multiple Sizes Included: 9x6x2, 9x3x2, 6x3x2, 3x3x2 inches
As an affiliate, we earn on qualifying purchases.
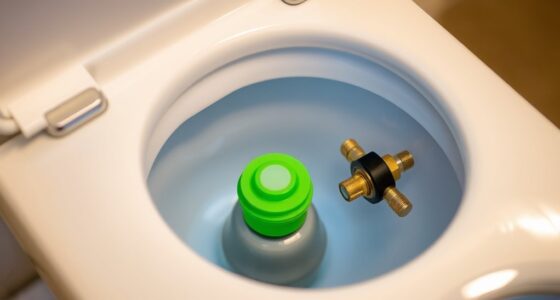
Fixing a Leaking Faucet
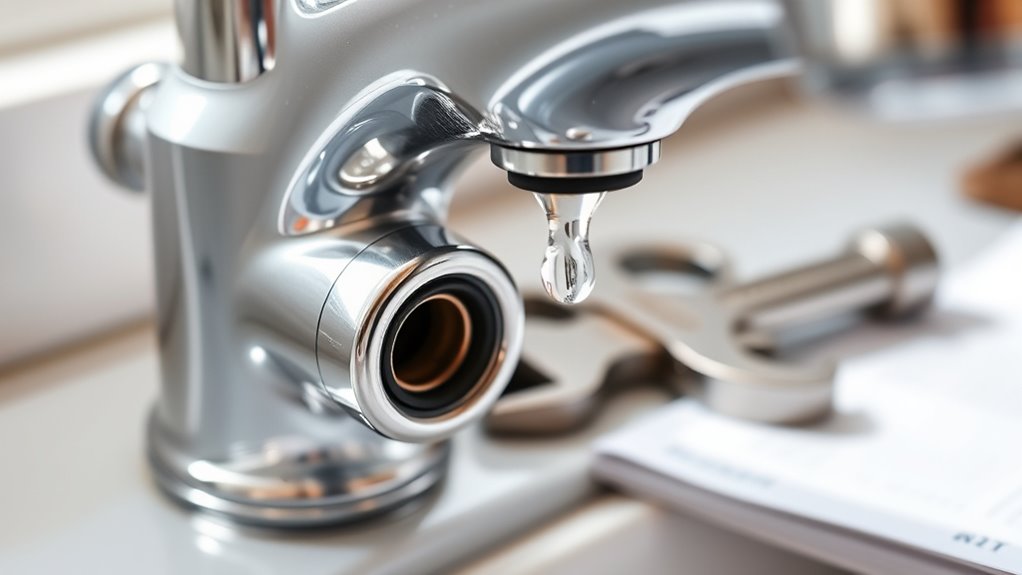
A leaking faucet can be both annoying and wasteful, but fixing it is often simpler than you might think. The key starts with plumbing safety—turn off the water supply before inspecting. Once safe, identify the faucet parts involved, such as the cartridge, valve seat, or O-rings. Knowing how to identify these parts helps you target the problem without unnecessary guesswork. Often, leaks are caused by worn-out washers or damaged seals that can be replaced easily. Using the right tools, carefully disassemble the faucet, and replace the faulty parts. Take note of how parts fit together to ensure proper reassembly. With a little patience and some basic knowledge of faucet parts, you can stop that drip and save water—and money. Understanding the maintenance requirements of your faucet can help prevent future leaks and extend its lifespan.
Repairing a Broken Zipper

When your zipper breaks, start by identifying the specific problem, like a stuck slider or missing teeth. Gather the necessary tools, such as pliers and a replacement slider, so you’re ready to fix it. Follow a clear step-by-step process to repair the zipper effectively and get your item back in working order. If the issue is related to a broken zipper, consider checking for common causes like misaligned teeth or fabric caught in the mechanism before proceeding with repairs.
Identify Zipper Problem
Ever wondered why your zipper gets stuck or won’t close properly? The problem often lies in the zipper slider or the alignment of the zipper teeth. First, check if the slider is loose or bent; a misaligned slider can prevent the teeth from meshing correctly. Look for any teeth that are bent, broken, or missing, as these can cause the zipper to snag or separate. Sometimes, dirt or fabric caught in the teeth can also block smooth movement. Understanding whether the issue is with the slider or the teeth helps you decide your next step. If the slider is loose, it might need tightening or realignment. If the teeth are damaged, you may need to replace the zipper altogether. Proper identification is key to effective repair and can help maintain the effectiveness of repairs.
Gather Repair Tools
Before you start repairing your zipper, gather the necessary tools to guarantee the job goes smoothly. First, locate basic repair tools like a pair of needle nose pliers, a seam ripper or small screwdriver, and a replacement zipper slider if needed. Wearing safety gear, such as gloves, can protect your hands from sharp edges. It’s also helpful to have repair manuals or online tutorials nearby, providing step-by-step guidance tailored to your specific zipper type. Ensuring you have all these tools at hand before beginning saves time and prevents interruptions. Double-check that your workspace is clean and well-lit. With the right tools and safety precautions, you’ll make the repair process more efficient and less frustrating. Additionally, understanding the types of zippers can help you choose the correct replacement parts for a successful fix.
Step-by-Step Fixing
To effectively fix a broken zipper, start by examining the damage to determine the root cause. Check if the slider is stuck, the teeth are misaligned, or if the pull tab is broken. If the slider is the issue, you can often fix it with simple sewing repairs—gently squeezing it with pliers to tighten it or replacing it if needed. For misaligned teeth, realign them carefully using your fingers or a pair of pliers. If the zipper is stuck, applying a bit of DIY plumbing lubricant or soap can help. For a broken pull tab, sew on a new one using basic sewing skills. Taking these step-by-step actions allows you to repair your zipper quickly, saving you from replacing the entire item. Additionally, ensuring the zipper components are properly lubricated can prevent future sticking issues using the right oil.
Restoring a Worn-Out Couch

When your couch shows signs of wear, replacing the worn fabric can make it look brand new again. Reinforcing the frame guarantees it stays sturdy and lasts longer. These simple repairs can breathe new life into your favorite piece of furniture. Using self watering plant pots as an analogy, ensuring the structural integrity of your couch helps it maintain its function and appearance over time.
Replacing Worn Fabric
Replacing worn fabric on a couch is a straightforward way to breathe new life into your furniture. Start by removing the old fabric carefully, noting how it’s attached. Clean the frame with upholstery cleaning to ensure a fresh surface for the new fabric. Choose a durable, attractive fabric, and consider fabric dyeing if you want a custom color. Measure and cut your new fabric, leaving extra for seams. Attach it tightly, ensuring smooth, even coverage. This DIY approach not only saves money but also allows you to personalize your couch’s look. Remember, a well-fitted cover can hide minor imperfections and extend the piece’s lifespan. Using the proper fabric types can ensure your repair lasts longer. With patience and attention to detail, you can transform your worn-out couch into a fresh, stylish centerpiece.
Reinforcing Frame Structure
After replacing the worn fabric, strengthening the couch’s frame will guarantee it stays sturdy and comfortable. To improve structural integrity, focus on frame reinforcement. Start by inspecting the joints and connections for looseness or damage. Use metal brackets or corner braces to secure weak points. Add wooden dowels or screws where the frame shows signs of wobbling. Consider reinforcing the legs with additional brackets or replacing damaged ones. Tighten all screws and bolts to prevent shifting. For extra support, insert plywood panels inside the frame for added stability. Properly supporting the structure is essential for maintaining the longevity and safety of your furniture. These simple steps will restore the frame’s strength, prolonging your couch’s life and ensuring it remains safe and comfortable for years to come.
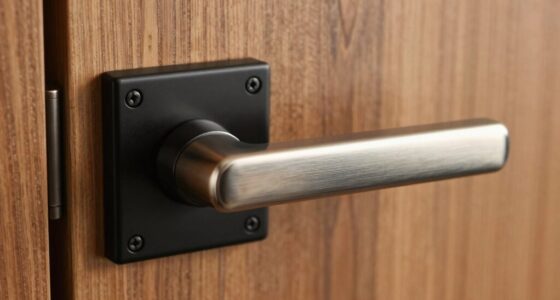
Replacing a Faulty Light Switch
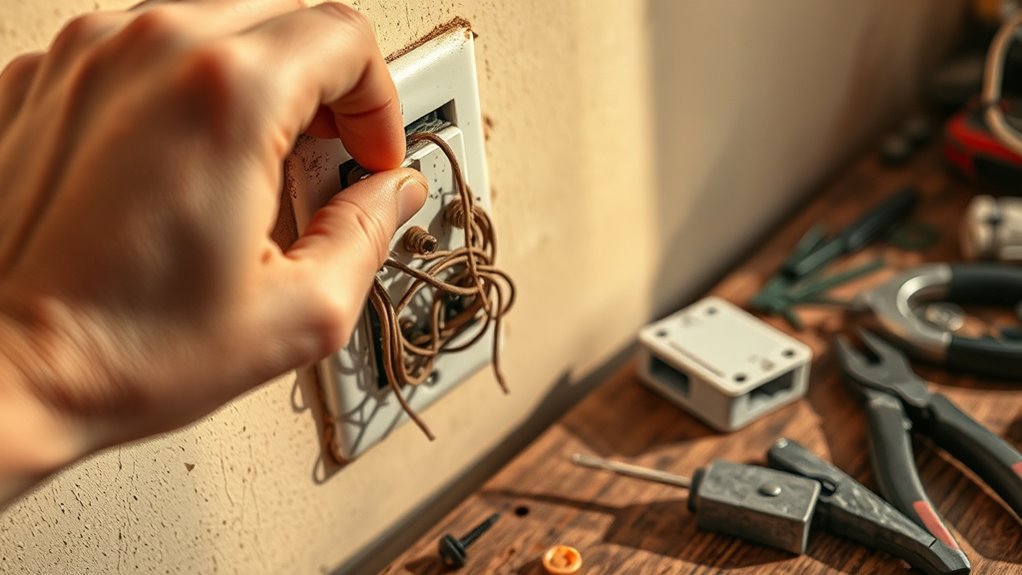
A faulty light switch can often be fixed with a few simple steps, saving you the cost and hassle of calling an electrician. First, turn off the power at your breaker box to ensure safety. Remove the cover plate and unscrew the faulty electric switch. Carefully pull it out, exposing the wiring. Check the wiring for any loose connections or damage, and perform a wiring repair if needed by tightening screws or replacing faulty wires. Disconnect the old switch and connect the new one by attaching the same wires, following the color coding. Secure everything tightly, replace the cover plate, and turn the power back on. Test your new switch to make sure it works properly. This quick fix can restore your lighting with minimal effort. Additionally, inspecting the electrical wiring periodically can prevent future issues and maintain safety.
Mending a Cracked Smartphone Screen

If your smartphone screen has a crack or multiple fractures, you can often fix it yourself without professional help. Start by turning off your phone and cleaning the screen gently. Applying a new screen protector can hide minor cracks and prevent further damage, giving your device a fresh look. For more serious cracks, consider a DIY digital repair kit, which includes tools and adhesive for replacing the glass. Be sure to follow instructions carefully to avoid damaging internal components. Keep in mind, replacing a cracked screen isn’t just about aesthetics—it can also improve touchscreen functionality. Additionally, color accuracy in your repair process can ensure a more seamless and professional-looking result. Remember, a quality screen protector can prevent future cracks. With patience and the right tools, you can restore your phone’s appearance without costly repairs.
Reattaching a Loose Tile
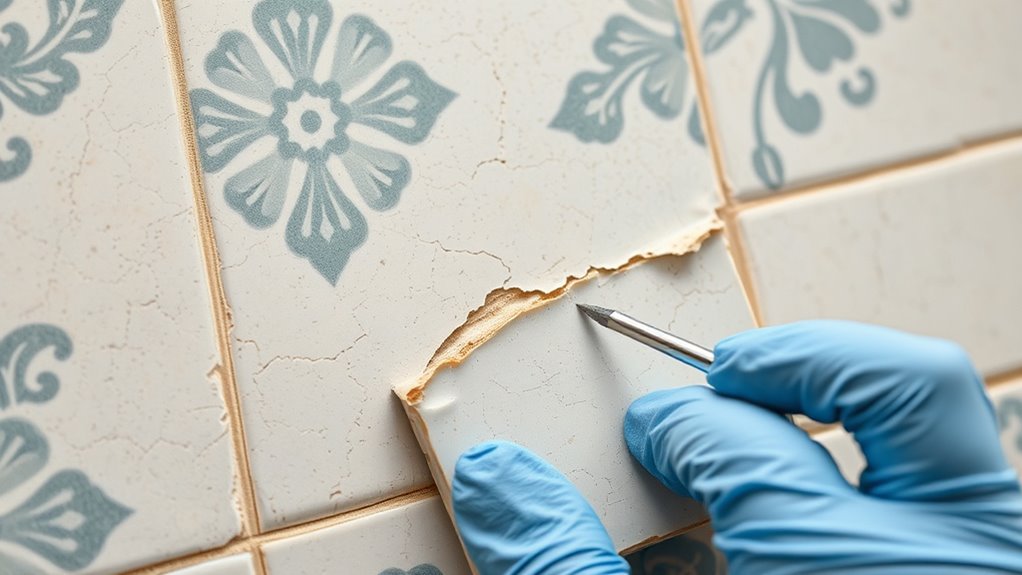
When a tile in your home starts to come loose, it’s important to address the problem promptly to prevent further damage or accidents. First, remove any loose grout around the tile using a grout saw or utility knife. Carefully lift the tile, being cautious not to damage neighboring tiles. Clean the back of the tile and the area on the floor or wall thoroughly. Apply a fresh layer of grout or tile adhesive, then press the tile firmly into place. Once set, perform grout repair to fill in any gaps and ensure a smooth finish. This simple process restores your tile’s stability and appearance without the need for full tile replacement, saving you time and money while keeping your space safe and attractive.
Fixing a Broken Vacuum Cleaner
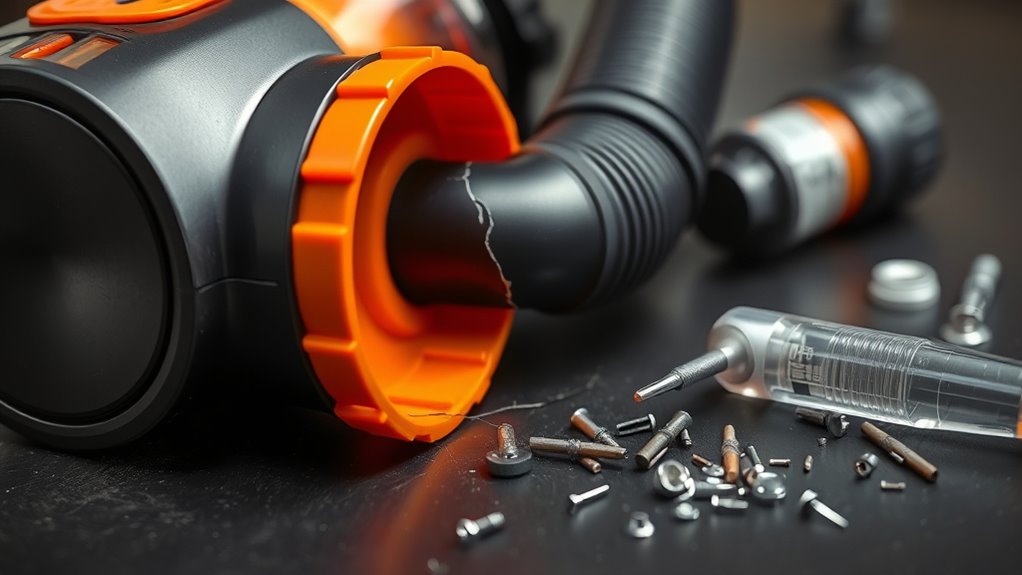
Sometimes, vacuum cleaners stop working properly due to simple issues like clogs, broken belts, or loose connections. To fix it, start by checking the vacuum filter—clean or replace it if dirty. Inspect the belt for wear and replace if broken. Ensure all hoses and connections are secure. If your vacuum still won’t run well, it might need motor repair, which can often be done by cleaning the motor’s brushes or checking for debris. Additionally, listen for unusual noises that could indicate a problem with the motor or brushes. Here are some steps to troubleshoot:
Check filters, belts, and connections to fix common vacuum issues quickly.
- Clean or replace the vacuum filter
- Check and replace broken belts
- Tighten loose connections
- Inspect and clean the motor brushes for debris
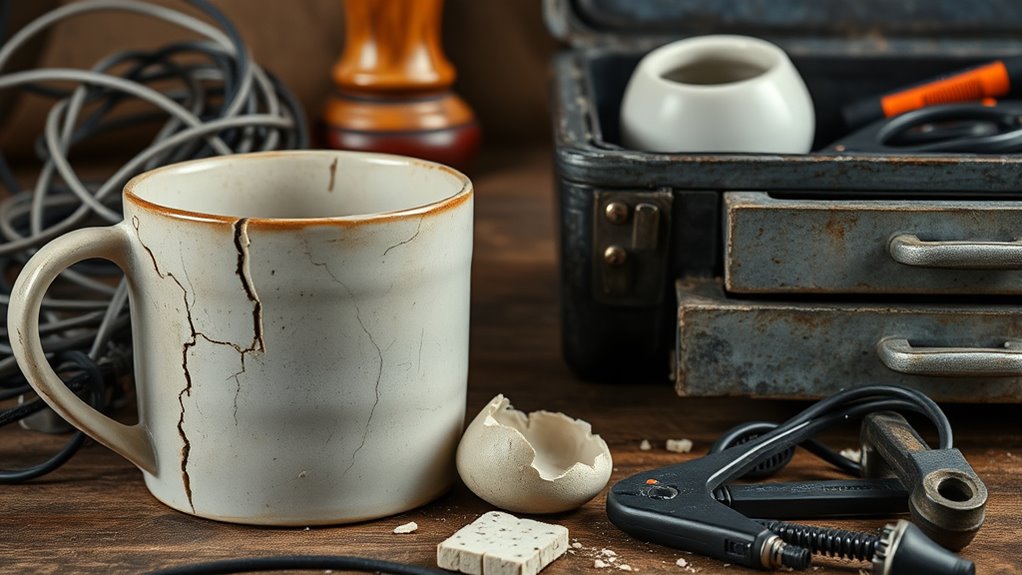
Restoring a Faded or Damaged Picture Frame
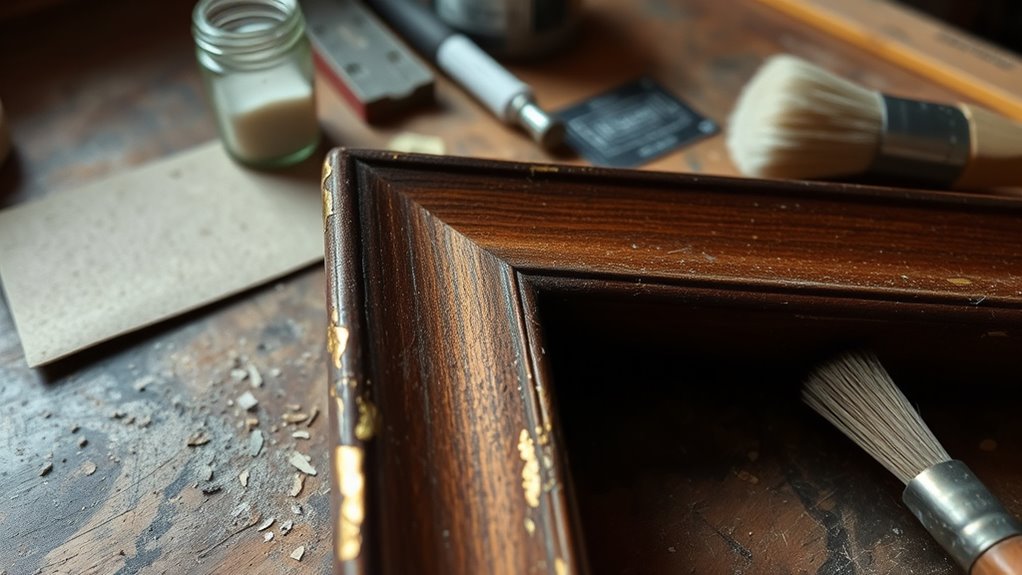
A faded or damaged picture frame doesn’t have to be discarded; with some simple restoration techniques, you can bring it back to life. To improve photo preservation, start by cleaning the frame gently with a soft cloth and mild soap. If the paint is chipped or faded, consider frame repainting using a suitable color that matches the original or complements your décor. Sand down rough areas before repainting for a smooth finish. For wood or metal frames, touch up scratches with matching paint or stain. If the glass is smudged or cracked, replace it for a clearer display. Restoring the frame not only protects your photos but also enhances their presentation, giving your cherished memories new life without the need for costly replacements.
Frequently Asked Questions
What Are the Basic Tools Needed for DIY Repairs?
A basic toolkit is essential for DIY repairs, helping you tackle common issues confidently. You’ll want a screwdriver set, pliers, a hammer, a utility knife, and a measuring tape. These tools are versatile and useful for many repairs. To get started, follow repair tutorials online that guide you step-by-step. With these basic tools and guidance, you can fix many broken items around your home without needing professional help.
How Do I Know When a Repair Is Beyond DIY?
Ironically, knowing when a repair’s beyond your DIY skills often feels like guessing. If you’re unsure, it’s best to seek a professional assessment. Complex issues, like electrical faults or structural damage, usually require advanced tools and expertise. Don’t push your luck—trying to fix something too complicated can cause more harm than good. Recognize your limits, and when in doubt, call in the pros to save time, money, and frustration.
Are There Safety Precautions I Should Follow During Repairs?
When you repair items yourself, safety gear and hazard awareness are key. Always wear gloves, goggles, or masks when necessary to protect yourself from sharp edges, fumes, or electrical hazards. Make sure you work in a well-ventilated area and keep a fire extinguisher nearby if working with electrical components. Stay alert for potential dangers, and if a repair seems risky or beyond your skill, don’t hesitate to call a professional.
Can I Find Replacement Parts Easily for Common Items?
Imagine you’re in a scene straight out of a vintage movie, wondering about replacement parts. Luckily, sourcing options for common items are quite plentiful today. You can find replacement parts online, at hardware stores, or specialty shops. Many manufacturers also offer direct replacements. With a little research, you’ll easily locate the parts you need to fix your broken items, saving money and extending their lifespan instead of throwing them out.
How Long Does a Typical DIY Repair Take?
A typical DIY repair can take anywhere from 30 minutes to a few hours, depending on the item’s complexity. You’ll want to do some DIY troubleshooting beforehand to identify the problem accurately. Conduct a repair cost analysis to make sure it’s worth fixing yourself. Keep in mind, having the right tools and replacement parts on hand speeds up the process and makes the repair more manageable.
Conclusion
Did you know that fixing common household items can save you up to 50% compared to replacing them? By repairing things like leaky faucets or cracked screens yourself, you not only save money but also reduce waste. With a little effort, you can extend the life of many broken items instead of tossing them out. So next time something breaks, try fixing it first—you might be surprised how easy and rewarding it can be!