Building a DIY air sensor for around $15 is a great way to monitor your home’s air quality affordably. You’ll need basic components like a sensor, a microcontroller, and some wiring, all of which are straightforward to assemble and calibrate. Regular maintenance and calibration guarantee accuracy over time. By customizing features like alerts, you can make your monitor more effective. Keep exploring, and you’ll discover how to set up and optimize your own low-cost air quality tracker.
Key Takeaways
- Use affordable components like sensors and microcontrollers to assemble a cost-effective DIY air quality monitor around $15.
- Follow straightforward assembly and wiring steps to build a functional device capable of tracking indoor air pollutants.
- Calibrate the sensor periodically to ensure accurate readings and reliable detection of pollutants over time.
- Utilize data visualization tools to monitor real-time air quality levels and identify pollution spikes at home.
- Customize the monitor with alerts or smart integrations to proactively manage and improve your indoor environment.

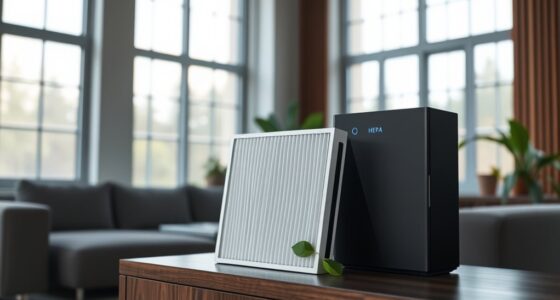
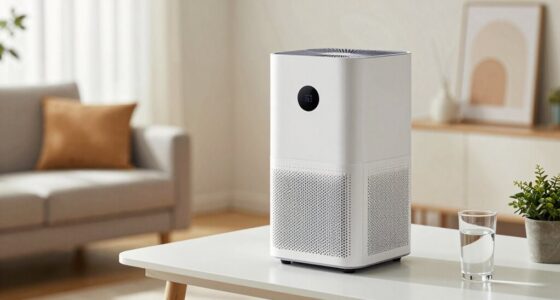
Creating your own DIY air sensor is a practical way to monitor air quality in your home or environment. With just a few affordable components and some simple steps, you can build a monitor that keeps you informed about pollutants, allergens, and overall air safety. Once you’ve assembled your sensor, the next essential step is sensor calibration. Proper calibration ensures that your device provides accurate readings, which is vital for making meaningful decisions about your indoor air quality. You might start by comparing your sensor’s data against a commercial air quality monitor or reference standards, then adjust the calibration settings accordingly. This process can seem technical at first, but with patience, you’ll fine-tune your sensor to produce reliable data. Additionally, understanding how data analytics can help interpret complex sensor data enhances your ability to make informed decisions. Once calibrated, the real power of your DIY air sensor reveals itself through data visualization. Displaying your sensor’s readings visually helps you easily identify trends and patterns over time. You can connect your sensor to a microcontroller or a small computer, like a Raspberry Pi, and set up software that plots your air quality data in real-time. Graphs and charts make it simple to see fluctuations, such as increases in particulate matter during cooking or when opening windows. Data visualization transforms raw numbers into actionable insights, allowing you to understand your environment more intuitively and respond proactively. For example, if you notice a spike in air pollutants, you might improve ventilation or take other steps to enhance indoor air quality. Building your own air sensor also offers flexibility in how you interpret the data. You can customize alerts, set thresholds for pollution levels, or even integrate your sensor with smart home systems. This customization makes your monitor not just a passive device but an active tool for maintaining a healthier environment. Remember, calibration is an ongoing process; as sensors age or environmental conditions change, periodic recalibration helps maintain accuracy. Regularly updating your data visualization dashboard keeps you engaged and aware of what’s happening in your space.
Frequently Asked Questions
How Accurate Is a DIY Air Quality Sensor?
You might wonder how accurate a DIY air quality sensor is. Its accuracy depends on proper sensor calibration, which guarantees the data is reliable. While DIY sensors can provide useful trends and alerts, they may not be as precise as professional devices. Regular calibration and understanding their limitations help improve data reliability, making them a practical choice for monitoring your home’s air quality without breaking the bank.
Can It Detect Specific Pollutants Like CO2 or VOCS?
Your DIY air sensor can detect certain pollutants, but its ability to measure specific VOCs and CO2 is limited. It’s great for general air quality monitoring, but it might not accurately identify individual VOCs or precisely measure CO2 levels. For detailed VOC detection and accurate CO2 measurement, you’ll want more specialized sensors. Still, it’s a helpful, budget-friendly tool for tracking overall indoor air quality trends.
What Maintenance Is Required for the Sensor?
You’ll need to perform regular sensor calibration to guarantee accurate readings. Check and recalibrate the sensor periodically, especially if you notice inconsistent data. Dust cleaning is also essential—gently wipe the sensor to prevent dust buildup that can affect performance. By maintaining proper calibration and keeping the sensor clean, you’ll keep your air quality monitor functioning effectively and providing reliable data over time.
How Long Does the Sensor’s Battery Last?
Did you know that most low-cost sensors like yours can last up to 6 months on a single battery? The battery lifespan mainly depends on power consumption, which is quite low for these devices. By minimizing unnecessary functions and optimizing usage, you can extend your sensor’s life. Expect about half a year of reliable monitoring before needing a quick battery replacement, making it an easy and cost-effective solution for your home.
Is the Sensor Suitable for Outdoor Use?
You might find the sensor less suitable for outdoor use because it lacks weather resistance, making it vulnerable to rain and extreme temperatures. If you want to keep it outside, you’ll need to add protective casing and regularly check its calibration needs. Without proper weather resistance, the sensor’s accuracy can decline quickly, so it’s better suited for indoor environments where conditions are more stable and calibration needs are easier to manage.
Conclusion
Now that you’ve built your $15 air sensor, you’ve opened the door to becoming the lighthouse keeper of your home’s air quality. Like a guiding beacon, your monitor helps you navigate potential hazards and make healthier choices. Remember, this device isn’t just a gadget—it’s your personal sentinel, shining a light on hidden pollutants. Keep it running, stay aware, and let your home’s air be as clear as a calm, sunlit sea.