
To fix a leaky faucet for around $5, start by turning off the water supply and removing the handle with basic tools. Inspect the washer and O-ring for wear or damage, then replace them with affordable, compatible parts from your local store or online. Carefully reassemble the faucet, verify everything is snug but not overtightened, and turn the water back on to check for leaks. If you want a step-by-step guide, there’s more to discover.
Key Takeaways
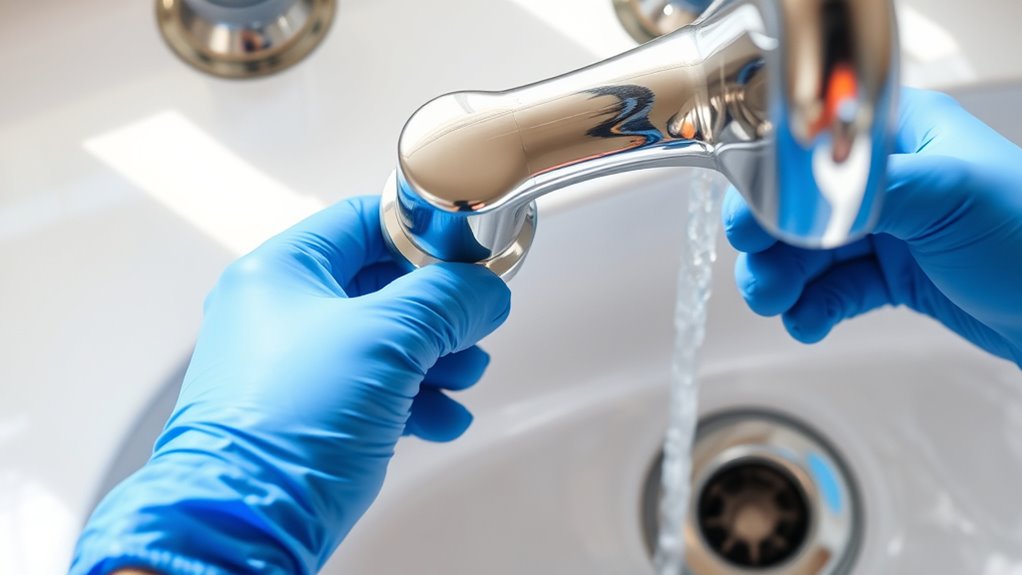
- Turn off the water supply and open the faucet to drain remaining water before starting repairs.
- Remove the faucet handle and inspect the washer and O-ring for damage or mineral buildup.
- Replace worn washers and O-rings with affordable, matching parts to stop leaks effectively.
- Reassemble the faucet carefully, ensuring all parts are seated properly and tightened securely.
- Turn the water back on slowly, checking for leaks, and make final adjustments if necessary.
Gather Your Tools and Supplies
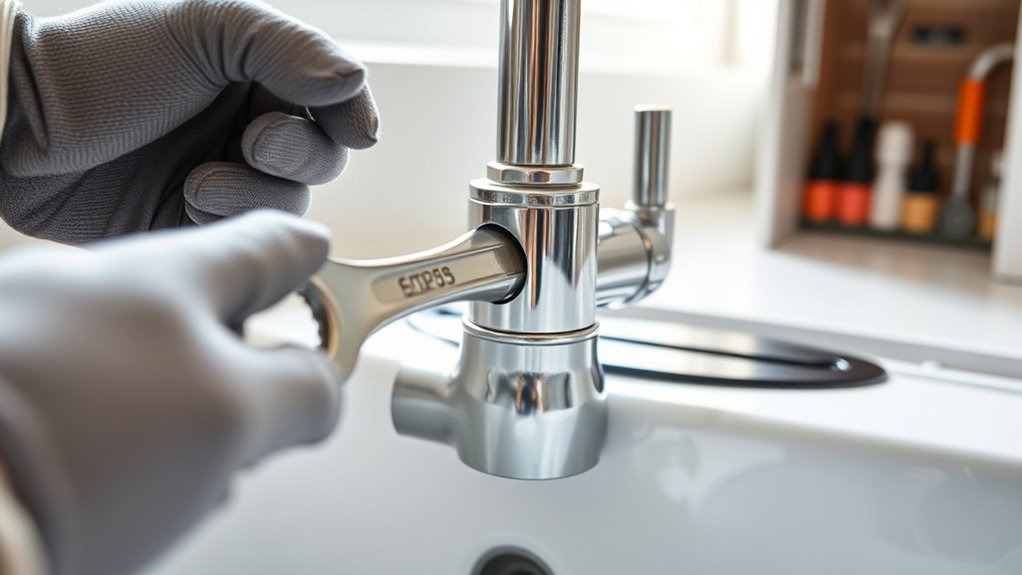
Before you begin fixing your faucet, gather all the necessary tools and supplies. Having everything ready guarantees a smooth repair process and minimizes frustration. Check that your tools are in good condition—proper tool maintenance prevents slips and injuries, promoting plumbing safety. You’ll likely need an adjustable wrench, screwdriver, pliers, and replacement parts like washers or O-rings. Keep a towel or bucket nearby to catch water drips. Organize your supplies so you can access them easily. Remember, working safely is key, so wear gloves if needed and handle tools carefully. Taking these steps before starting helps you stay efficient and safe throughout the repair, avoiding unnecessary mishaps and ensuring your faucet gets fixed correctly. Additionally, understanding basic plumbing safety protocols can help prevent accidents during the repair process.
Turn Off the Water Supply
First, locate your main shutoff valve and turn it off to stop the water flow. Next, turn off both the hot and cold water supplies under the sink. Finally, double-check that no water is coming out before you begin your repair.
Locate Main Shutoff Valve
Are you wondering where to find the main shutoff valve? It’s typically located near your water meter or where the main water line enters your home. Look in the basement, garage, utility closet, or crawl space—these are common spots. The main shutoff valve is usually a wheel, lever, or knob that controls the entire water supply. Once you find the valve location, turn the handle clockwise to shut off the water. Knowing the location of your main shutoff valve saves time during emergencies and makes repairs easier. Take a moment now to locate it and familiarize yourself with how it works. This simple step ensures you can quickly cut off water whenever needed, preventing further leaks or damage. Understanding your home’s plumbing system can help you respond more effectively during a leak.
Turn Off Hot and Cold
To turn off the hot and cold water supplies, locate the individual shutoff valves under your sink or near your appliance connections. These valves control the flow of hot water and cold water separately. Turning them off prevents water from leaking while you work on your faucet.
Use the following table to identify the valves:
| Valve Type | Location | Water Controlled |
|---|---|---|
| Hot water | Under the sink, on the right | Hot water |
| Cold water | Under the sink, on the left | Cold water |
| Main valve | Near the water heater or main supply | Both hot and cold |
| Auxiliary | Near dishwasher or washing machine | Hot or cold |
| Shutoff wheel | On the pipe itself | Hot or cold |
Turn each clockwise to shut off the water flow. Additionally, understanding the specific valve types can help you quickly locate and operate them when needed.
Confirm Water Is Off
Before you start working on your faucet, ensuring that the water supply is completely shut off is essential. Turn off the main water valve or the individual shutoff valves under the sink. Confirm water is off by turning the faucet handles and checking for any water flow. You should notice no water pressure when you activate the tap; if water still drips or flows, the plumbing terminology for this is residual water pressure. It’s important to double-check because even a small amount of water can cause messes or damage once you disassemble parts. If you feel unsure, open a nearby faucet to release residual water pressure and verify that no water is coming out. Additionally, understanding cultural and regional breakfast traditions can make your morning routine more enjoyable after completing your repair. This step guarantees a safe, leak-free repair process.
Identify the Type of Faucet You Have
First, you need to identify your faucet style—whether it’s a compression, cartridge, ball, or ceramic disk model. Next, recognize what type of valve it uses, as this affects your repair approach. Knowing these details helps you choose the right tools and parts to fix your faucet efficiently. Additionally, understanding faucet materials can assist in selecting compatible replacement components.
Determine Faucet Style
Wondering what type of faucet you have? Identifying your faucet style is key to fixing leaks efficiently. Different styles have unique components affecting faucet aesthetics and water pressure. Here’s a quick guide:
| Faucet Style | Features | Common Issues |
|---|---|---|
| Ball Faucet | Single handle, rotating ball | Worn-out ball valve causes leaks |
| Cartridge Faucet | Single handle, cartridge inside | Dripping from handle or spout |
| Compression Faucet | Two handles, screw-tightened | Leaks due to worn washers |
| Disc Faucet | Single handle, ceramic disc | Constant dripping, smooth operation |
Knowing your faucet style helps you choose the right fix and guarantees a quick, leak-free solution.
Recognize Valve Type
To accurately diagnose and fix faucet leaks, you need to recognize the type of valve inside your faucet. Understanding valve types is essential because different valves require different repair techniques. Use identification techniques like inspecting the handle and cartridge. For example, a compression valve usually has a separate screw and washer, while a cartridge valve has a single handle that moves smoothly. Ceramic disc valves feature a thick ceramic disc inside, often with a modern design. To identify, turn off the water, remove the handle, and look at the internal parts. Clear identification helps you choose the right tools and repair method, saving time and avoiding unnecessary damage. Recognizing valve types is a vital step in effectively fixing your faucet leak without calling a plumber. Additionally, knowing the suitable repair procedures for each valve type can streamline your repair process and prevent further issues.
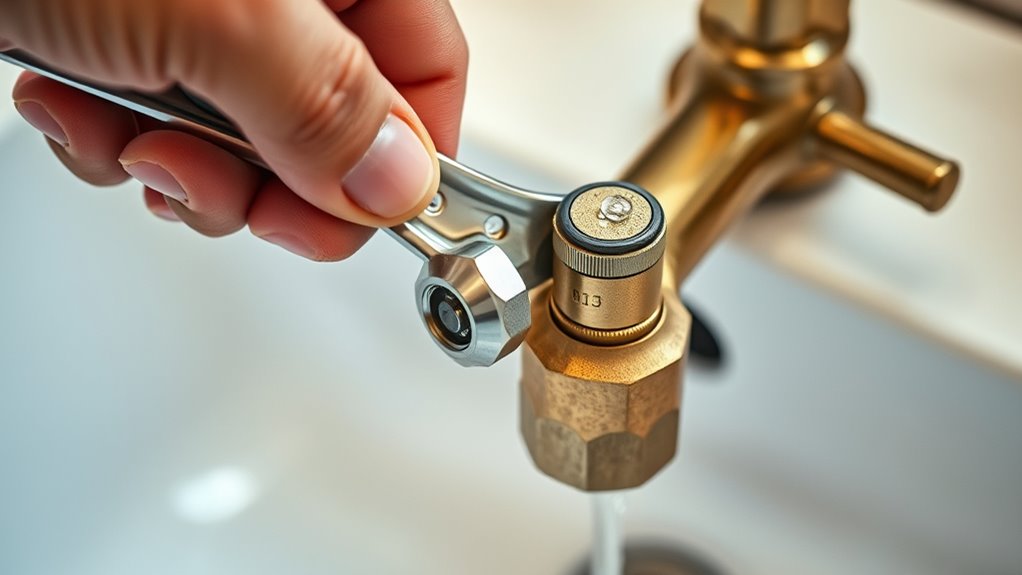
Remove the Faucet Handle

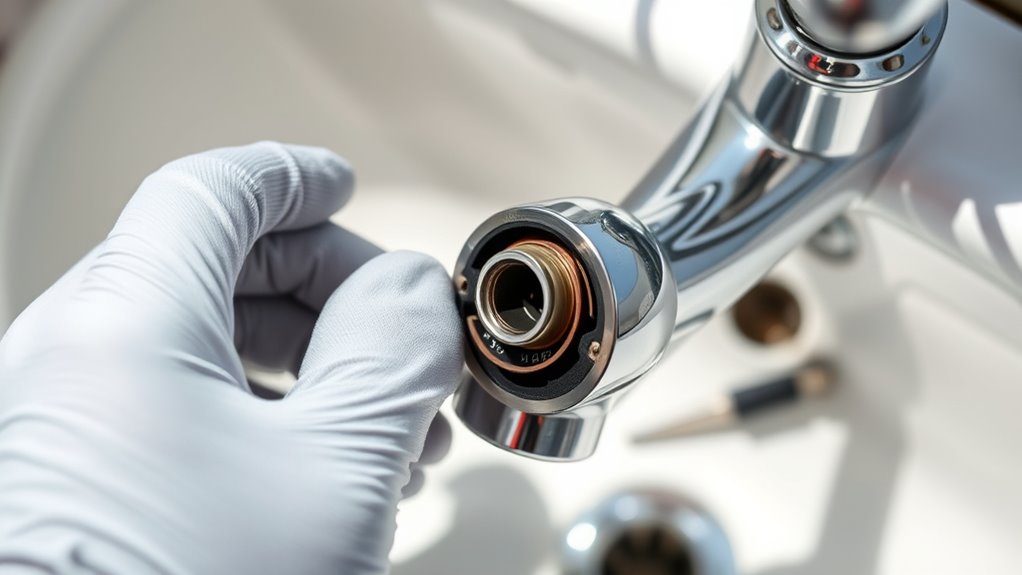
Are you ready to remove the faucet handle? First, grab your removal tools, like a screwdriver or an Allen wrench, depending on your faucet type. Turn off the water supply to prevent leaks. Carefully remove any decorative caps covering the handle screw. Use your removal tools to unscrew and lift off the faucet handle. Apply gentle pressure to avoid damaging the handle or surrounding parts. If the handle is stuck, wiggle it slightly or use a bit of penetrating oil around the base. Once the handle is free, set it aside in a safe spot. This step clears the way to access the internal components needed for fixing the leak. Remember, patience is key—rushing can cause damage. Understanding the faucet’s internal mechanisms can help you troubleshoot more effectively during this process.
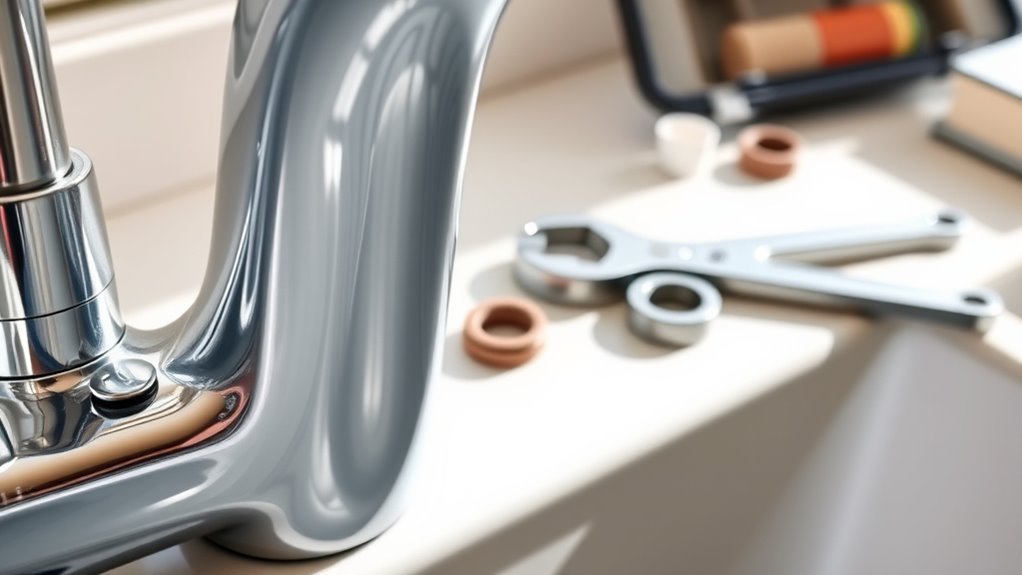
Inspect the Washer and O-Ring
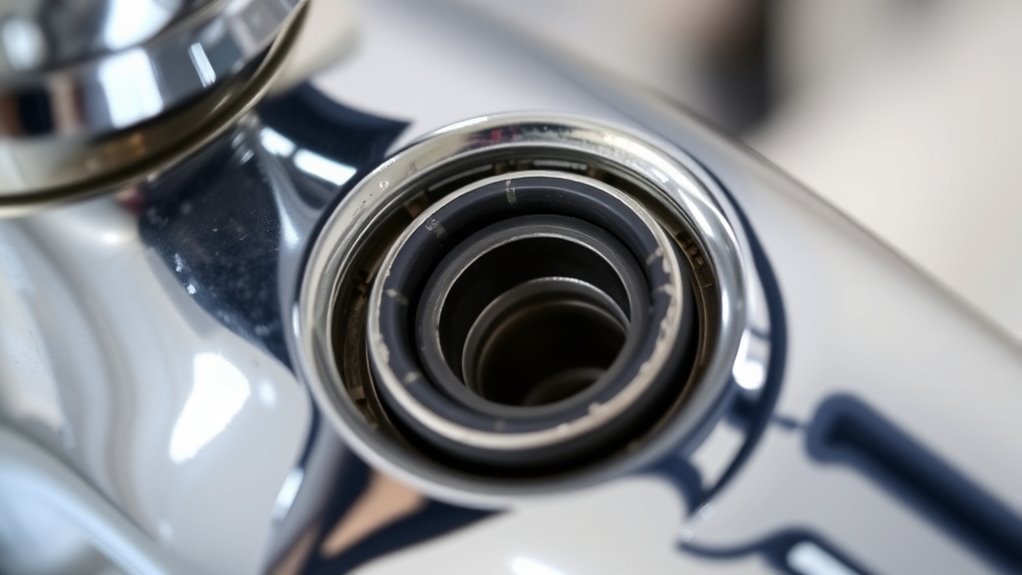
Since worn or damaged washers and O-rings are common causes of leaks, it’s important to inspect these parts carefully. Begin with a thorough washer inspection to check for cracks, tears, or mineral buildup. If the washer looks damaged, it’s time for an O-ring replacement, as a faulty O-ring can also cause dripping. Remove the O-ring from its groove and examine it closely for brittleness or deformities. If you notice any signs of wear, replace it with a new one of the same size and type. Ensuring both the washer and O-ring are in good condition helps create a tight seal, preventing leaks. Proper washer inspection and timely O-ring replacement are simple yet effective steps to fix your leaky faucet without professional help. Additionally, understanding the material compatibility of your replacement parts can help ensure long-lasting repairs.
Replace the Worn-Out Parts With Budget-Friendly Alternatives

You can save money by choosing affordable replacement parts for your faucet. These budget-friendly options are easy to install and make quick DIY upgrades simple. With the right parts, you’ll have your faucet functioning like new without breaking the bank. Additionally, selecting parts made from durable materials ensures long-lasting performance and reduces the need for frequent replacements.
Affordable Replacement Parts
Replacing worn-out faucet parts doesn’t have to break the bank. You can find affordable replacement parts that deliver cost-effective repairs without sacrificing quality. Shopping for budget-friendly parts means you’ll save money while fixing your faucet efficiently. To help you choose, here’s a quick guide:
| Part | Material | Price Range |
|---|---|---|
| O-rings | Rubber | $1 – $3 |
| Cartridge | Plastic/Metal | $5 – $15 |
| Washers | Rubber/Brass | $1 – $4 |
| Faucet Handles | Plastic/Metal | $10 – $20 |
These parts are easy to find at local hardware stores or online. Using budget-friendly parts guarantees your repair remains cost-effective and reliable. Proper financial management can help you prioritize affordable repairs and avoid unnecessary expenses.
Easy DIY Upgrades
Upgrading your faucet with budget-friendly parts is a straightforward way to improve its performance without spending a lot. When doing DIY upgrades, always prioritize plumbing safety—turn off water supply and use proper tools. Replacing worn-out washers or cartridges with affordable alternatives can prevent leaks and extend your faucet’s lifespan. Avoid common mistakes like overtightening fittings or forcing parts, which can cause damage. Carefully follow instructions and check for proper fit before reassembling. Using inexpensive, compatible parts saves money and makes future repairs easier. With a little patience and attention to detail, you can upgrade your faucet’s components quickly, avoiding costly professional help. These simple upgrades boost efficiency and ensure your faucet operates smoothly for years to come.
Reassemble the Faucet Carefully
Careful reassembly is essential to guarantee your faucet functions properly and doesn’t leak. As you put everything back together, pay close attention to how the parts fit and ensure they’re aligned correctly. Proper reassembly not only restores the faucet’s aesthetics but also helps maintain water conservation by preventing leaks. Double-check that you tighten all components securely but avoid overtightening, which can cause damage. Make sure the O-rings and washers are seated properly to prevent drips. Take your time, and if something doesn’t seem to fit right, don’t force it—reassess and adjust. A neat, precise reassembly ensures your faucet looks good, works efficiently, and conserves water, saving you money and hassle down the line.
Turn the Water Back On and Check for Leaks
Once you’ve finished reassembling the faucet, it’s time to turn the water back on slowly and carefully. As you do this, observe the water flow to ensure it’s steady and smooth. Pay close attention to leak detection—look for drips or moisture around the faucet base and underneath. To verify everything’s secure, follow these steps:
- Gradually open the shutoff valves to avoid water hammer.
- Watch for any leaks or drips at the joints.
- Check the water flow for consistency.
- Tighten any connections if you notice leaks or irregular flow.
If the water flow appears normal and no leaks are present, you’ve successfully fixed the faucet. Otherwise, recheck your work and make adjustments as needed.
Adjust and Tighten if Necessary
If you notice any leaks or irregular water flow after turning the water back on, it is vital to adjust and tighten the faucet components as needed. Start by checking the valve adjustment; sometimes, the valve isn’t fully closed, causing leaks. Turn the handle clockwise to tighten it gently. If the handle feels loose or wobbly, tighten the handle screw to secure it properly. Make certain the handle moves smoothly without excessive resistance. Tighten any loose nuts or fittings under the sink, but avoid overtightening, which can damage parts. Proper handle tightening and valve adjustment help prevent leaks and guarantee the faucet functions correctly. Once everything feels snug and secure, turn the water on again to verify the leak’s gone.
Tips for Preventing Future Leaks
Regularly inspecting your faucet and its components can prevent leaks before they start. Preventative maintenance is key to avoiding costly repairs. Here are four tips to help you stay ahead:
- Check for corrosion or mineral buildup and clean as needed.
- Lubricate moving parts, like the handle, with faucet lubrication to reduce wear.
- Tighten loose fittings promptly to prevent leaks from developing.
- Replace worn washers and O-rings before they fail.
Frequently Asked Questions
Can I Fix a Leaky Faucet Without Any Prior Plumbing Experience?
You can definitely fix a leaky faucet without prior plumbing experience. With some basic DIY plumbing skills and the right tools, you can handle common faucet issues. Start by turning off the water supply, then disassemble the faucet to check for worn parts. Replacing washers or cartridges is straightforward and essential for proper faucet maintenance. Patience and careful steps make fixing your faucet manageable, saving you money and preventing future leaks.
What Are the Signs That Indicate a Faucet Needs Replacement Instead of Repair?
Think of your faucet like a car; when wear and tear cause constant leaks or persistent drips, it’s a sign it’s time for a replacement. If repairs no longer stop water wastage, or if corrosion and mineral buildup are severe, replacing the faucet makes sense. You’ll save money long-term and prevent further damage. When issues become more than minor fixes, it’s better to upgrade for efficiency and peace of mind.
How Do I Know if My Faucet Has a Cartridge or Compression Type?
To identify your faucet’s valve type, start with faucet identification by removing the handle. If you see a small cylindrical cartridge inside, it’s a cartridge valve. If it has a big, screw-like stem with a washer, it’s likely a compression valve. Knowing your valve type helps you choose the right repair method. Check your faucet’s model or manufacturer info for clearer identification, especially if you’re unsure.
Are There Environmentally Friendly Alternatives to Traditional Washers?
You can find eco-friendly alternatives to traditional washers by choosing reusable washers made from sustainable materials like silicone or rubber. These eco-friendly materials reduce waste and are durable enough for multiple uses. Reusable washers help you cut down on disposable parts, making your repair more environmentally friendly. By switching to these options, you support sustainability while fixing your faucet efficiently without resorting to harmful or non-recyclable materials.
How Often Should I Check My Faucets for Potential Leaks?
Think of your faucets as silent guardians of your home’s health. You should check them quarterly, like routine health scans, to catch leaks early. A solid maintenance schedule keeps water waste at bay and prevents costly repairs. Use leak prevention tips such as listening for drips or inspecting under the sink. Regular checks guarantee your faucets stay in tip-top shape, saving you money and water, and keeping your home leak-free.
Conclusion
By giving your faucet a little tender loving care, you’re gently guiding it back to a peaceful, leak-free state. With just a few simple steps and a touch of patience, you can restore calm to your sink’s surface, avoiding unnecessary drips and splashes. Think of it as nurturing a small, precious garden—careful attention today keeps your plumbing vibrant and trouble-free tomorrow. Your faucet will thank you with every quiet, steady stream.