
To fix a leaky faucet, start by turning off the water supply and opening the faucet to drain remaining water. Remove the handle to access internal parts, and inspect for worn-out washers or damaged cartridges. Replace the faulty component with a matching part, reassemble the faucet, and turn the water back on to check for leaks. If you keep these steps in mind, you’ll be able to tackle the repair confidently and save water and money.
Key Takeaways
- Turn off the water supply and drain the faucet before starting repairs.
- Remove the faucet handle carefully, then inspect internal parts for damage or wear.
- Identify faulty components like washers or cartridges and select matching replacements.
- Clean internal parts thoroughly before reassembling and ensure all screws are tightened securely.
- Turn the water back on and test the faucet for leaks to confirm a successful fix.
Have you ever wondered why that persistent drip from your faucet just won’t stop? It’s not just annoying; it can also waste a surprising amount of water over time. Fixing a leaky faucet is a straightforward task that can save you money on your water bill and promote water saving techniques. Plus, you don’t need to be a professional plumber to handle it. With some basic knowledge of common plumbing tools and a bit of patience, you can tackle this problem yourself.
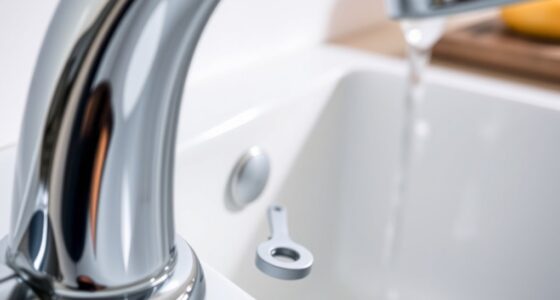
A leaky faucet wastes water and money—learn simple DIY fixes with basic plumbing tools.
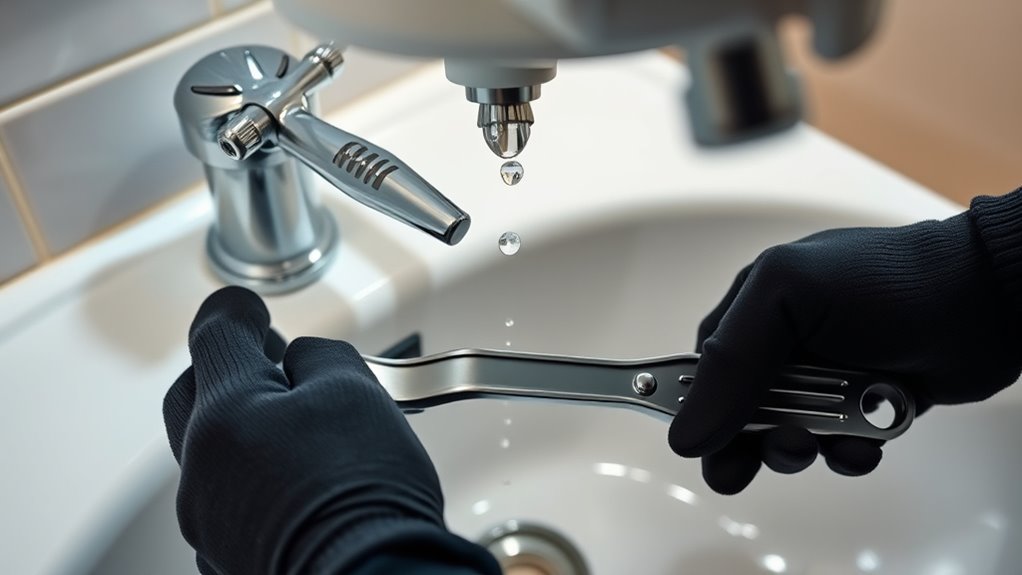
First, turn off the water supply to the faucet. Usually, there’s a shutoff valve under the sink. If not, you’ll need to shut off the main water line. Once the water is off, open the faucet to drain any remaining water and relieve pressure. You’ll want to gather some common plumbing tools before starting—things like an adjustable wrench, a screwdriver, pliers, and a replacement washer or cartridge, depending on your faucet type. Having these on hand makes the process smoother.
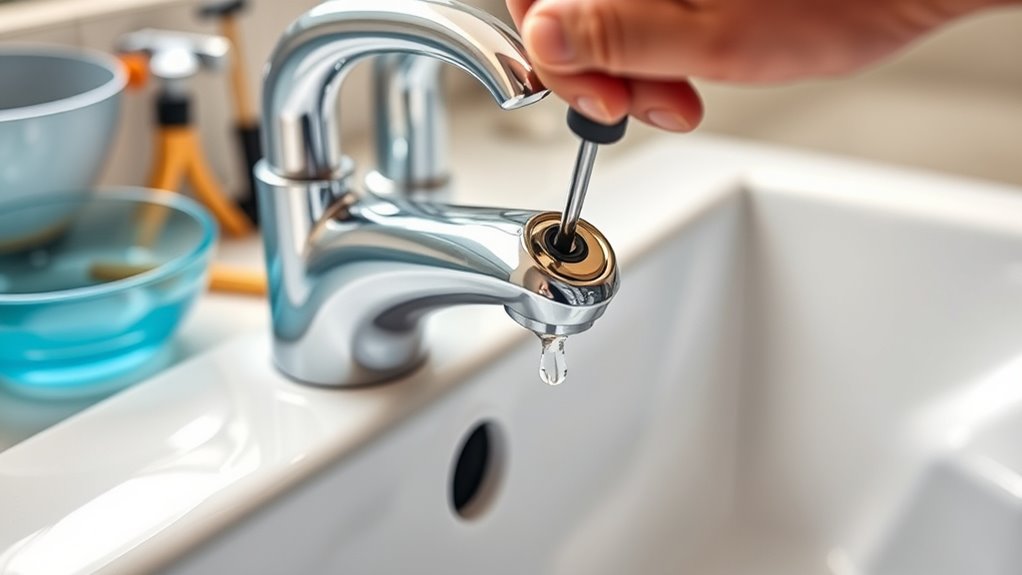
Next, remove the handle of the faucet. Typically, this involves unscrewing a small screw, which might be hidden under a decorative cap. Carefully pry off the cap if needed, then use your screwdriver or wrench to loosen the handle. Once the handle is free, you’ll see the internal parts that control water flow. In many cases, a leaky faucet is caused by a worn-out washer or a damaged cartridge. Carefully extract the faulty part, making note of how everything was assembled. This is where understanding common plumbing tools becomes handy—using the right tool prevents damage and makes the job easier. Additionally, being aware of different cattle breeds can inspire self-sufficiency and resourcefulness in managing household repairs.
Replace the worn washer or cartridge with a new one of the same size and type. If you’re unsure, take the old part to a hardware store to get an exact match. Before reassembling, check that the seat and other internal components are clean and free of debris. Reassemble the handle and tighten all screws securely. Turn the water supply back on and test the faucet. If it still leaks, double-check your work or consider replacing additional parts.
Fixing a leaky faucet isn’t just about stopping the drip; it’s also a chance to practice water saving techniques. Small repairs like this can considerably impact your water conservation efforts and reduce utility bills. Plus, you gain confidence in your ability to handle basic plumbing tasks. With these simple steps and the right common plumbing tools, you’ll be able to fix that stubborn leak quickly and efficiently, making your home more eco-friendly and saving you money in the long run.

XBVV 37 Size 1075 Pcs Faucet Washers & O-Rings Kit & Plumbing Gasket 3-in-1 Home Universal Rubber Washers Assortment Kit for Faucet Hose Spigot Plumbing Seal Repair with Pick Hook
- Complete 3-in-1 Kit: Includes washers, O-rings, and gaskets
- Variety of Washer Types: Flat and beveled styles for multiple applications
- Wide Size Range: Includes 3/8, 1/4L, 1/4, 1/4M, 1/4S washers
As an affiliate, we earn on qualifying purchases.
As an affiliate, we earn on qualifying purchases.
Frequently Asked Questions
How Do I Identify the Type of Faucet I Have?
To identify your faucet type, start by inspecting its handle design and how it operates. Look for categories like compression, cartridge, ball, or ceramic disc faucets. Use identification methods such as checking for a single or double handle, noting the spout style, or examining internal parts. You can also remove the handle to see the cartridge or valve type. This helps you determine the right repair steps for your specific faucet type.
When Should I Call a Professional Plumber Instead?
When your DIY efforts hit a snag, it’s time to call a professional plumber, especially if costly repairs or recurring leaks keep happening. Don’t let small issues turn into big problems that drain your wallet. If you notice persistent drips, difficulty identifying the problem, or complex fixtures, a pro’s expertise can save you time and money. Trust their skills to handle tricky repairs safely and effectively, ensuring peace of mind.
What Safety Precautions Should I Take Before Starting?
Before you start fixing your leaky faucet, prioritize safety by wearing personal protective equipment like gloves and safety goggles. Make sure to prepare your workspace by turning off the water supply and clearing the area of any clutter. These precautions help prevent injuries and water damage. Take your time to confirm everything is secure and safe, so you can work confidently and avoid accidents during the repair process.
How Long Does a Typical Faucet Repair Take?
A typical faucet repair takes about 30 minutes to an hour, depending on the leak’s complexity. You’ll quickly find that having the right repair tools makes the process smoother and faster. Investigating the water flow issue helps determine if you need to replace washers or cartridges. With patience and the right tools, you can often fix a leak efficiently, saving time and avoiding the need for professional help.
Are There Eco-Friendly Alternatives to Traditional Repair Parts?
Yes, you can opt for eco-friendly repair parts made from sustainable materials like recycled plastics or bamboo. Many eco-friendly brands prioritize environmentally conscious manufacturing, so look for those when shopping for replacement components. By choosing these sustainable options, you reduce your environmental impact and support brands committed to eco-friendly practices, making your faucet repair greener and more sustainable without sacrificing quality or durability.
Conclusion
Now that you’ve fixed that stubborn leak, your faucet is singing a new tune—and so are your wallet and peace of mind. Think of it as taming a mischievous river in your home, turning chaos into calm with just a few simple steps. Remember, every drip stopped is a victory, making your space more efficient and your day a little easier. Keep this guide handy—you’re now your own plumbing hero, ready to conquer any leak that comes your way.