
Creating a DIY advent calendar that doubles as wall art is a fun way to personalize your holiday decor. You can design it using small frames, pockets, or boxes, and incorporate craft supplies like colorful paper, paint, or washi tape to match your festive theme. Plan your layout carefully, ensuring it fits your space and reflects your style. Fill each section with treats or notes for an extra special countdown. To see creative ideas and step-by-step tips, keep exploring further.
Key Takeaways
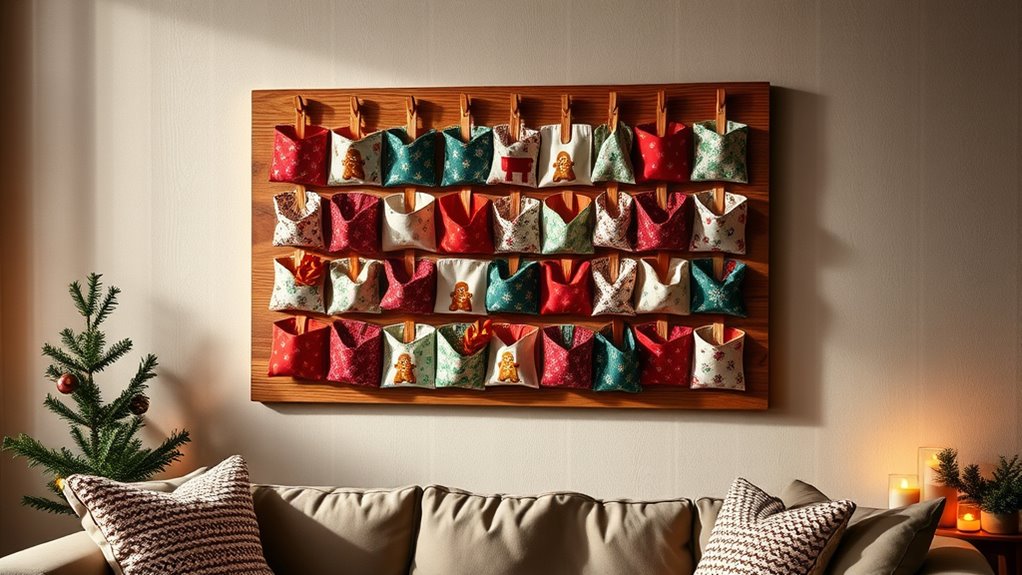
- Choose a versatile design like framed pockets or boxes that can be displayed as wall art.
- Use craft supplies such as cardstock, paint, or decorative paper to create a visually appealing calendar.
- Sketch or outline your layout on the wall with painter’s tape for symmetry and aesthetic balance.
- Fill each compartment with small treats, notes, or holiday activities to enhance both decor and tradition.
- Hang the calendar prominently to serve as a festive focal point that integrates seamlessly into holiday decor.

Creating your own DIY advent calendar is a fun and meaningful way to count down to the holidays. When you make one yourself, you’re not just following a tradition—you’re putting a personal touch on your holiday decor. Using craft supplies you already have or can easily gather, you can design a calendar that doubles as eye-catching wall art. This approach transforms a simple countdown into a lasting piece of seasonal decor that you’ll enjoy long after December.
Start by choosing the type of advent calendar you want to create. You might opt for a series of small frames, pockets, or boxes arranged in a pattern on your wall. With craft supplies like cardstock, paint, washi tape, or decorative paper, you can craft each element to match your holiday theme. For example, if you love a rustic look, use kraft paper and twine. For a more modern aesthetic, incorporate metallic accents or bold colors. The key is to select supplies that complement your existing holiday decorations and personal style.
Once you’ve settled on the design, plan out your layout. You can sketch your arrangement on paper first or lay it out directly on the wall with painter’s tape. This step assures your calendar fits well in your space and maintains a balanced look. It also helps you visualize how many days you want to include, especially if you’re incorporating holiday traditions like counting down from 24 or 12 days. Incorporating visual aids can help you better plan your design and ensure symmetry.
When it’s time to assemble, use craft supplies like glue, double-sided tape, or small hooks to secure each element. If you’re creating pockets or boxes, fill them with small treats, notes, or holiday activities that add to your traditions. For example, one pocket could hold a cookie recipe, while another might contain a family game or a message reminding everyone of a special tradition. These thoughtful touches make your advent calendar more than just a decorative piece; they turn it into a meaningful part of your holiday celebrations.
As you hang your DIY advent calendar on the wall, you’re creating a focal point that celebrates holiday traditions while also serving as a beautiful work of art. Every day, as you open a new pocket or box, you’re embracing the excitement of the season and fostering a sense of togetherness. Plus, since you made it yourself, it’s uniquely yours—reflecting your creativity and holiday spirit. This project not only enhances your decor but also deepens your connection to the season, making your countdown to Christmas both festive and heartfelt.
Frequently Asked Questions
What Materials Are Safest for Children?
When choosing materials, you want to guarantee they’re child-safe. Use child-safe glues that are non-toxic and free of harmful chemicals. Opt for non-toxic paints to avoid any health risks if children touch or taste the materials. Always check labels for safety certifications, and avoid small parts or sharp objects. These precautions help you create a safe, fun project that kids can enjoy without exposure to dangerous substances.
How Can I Customize for Different Holiday Themes?
To customize your wall art advent calendar for different holiday themes, start by choosing holiday motifs like snowflakes, pumpkins, or hearts that match your celebration. Use seasonal colors such as red and green for Christmas or orange and black for Halloween to enhance the festive look. Incorporate themed embellishments and adjustable pockets or pockets, so you can easily switch out decorations. This way, your calendar stays fresh and relevant for each holiday.
What Are Eco-Friendly Decoration Options?
When considering eco-friendly decoration options, you should focus on recyclable materials and biodegradable options. You can use cardboard, paper, or fabric that’s recyclable, reducing waste. Opt for biodegradable paints or natural dyes to add color without harming the environment. Incorporate elements like dried flowers or wooden accents, which break down naturally. These choices help you create beautiful, sustainable decorations that are kind to the planet and perfect for your holiday celebrations.
How Do I Ensure the Calendar Stays Secure on the Wall?
To keep your calendar securely on the wall, start with strong wall mounting methods. Use reliable adhesive options like double-sided tape or mounting strips for a fuss-free fix. For heavier or more delicate designs, consider wall hooks or nails. Confirm surfaces are clean and dry before sticking or hanging. By balancing bold bonding and careful placement, you’ll prevent slips, ensuring your festive decor stays securely displayed and simply stunning throughout the season.
Can These Calendars Be Reused Annually?
You can definitely reuse these calendars annually with some smart recycling ideas and effective storage solutions. After the holiday, carefully detach and store the wall art to prevent damage. When next year arrives, simply rehang it, or update parts to keep it fresh. Using sturdy storage solutions like labeled boxes or portfolios helps preserve the materials, making it easy to reuse and enjoy your DIY advent calendar year after year.
Conclusion
Imagine your wall transformed into a festive masterpiece, each pocket revealing a tiny surprise, shimmering with holiday cheer. As you hang your DIY advent calendar, it becomes more than just countdown—it’s a mesmerizing piece of art that warms your home’s walls. With every day, you add a touch of magic, turning ordinary space into a vibrant, seasonal gallery. Celebrate the season by creating a beautiful, functional work of art that keeps the spirit alive all month long.