To make DIY wall panels on a shoestring budget, start by planning your design and measuring your wall space accurately. Source affordable materials like PVC panels, reclaimed wood, or cardboard from thrift stores and online marketplaces. Use inexpensive tools like scissors and tape, and employ simple techniques such as peel-and-stick adhesives or spray paint for a professional finish. Carefully cut and attach your panels with a level, and you’ll transform your wall creatively without spending much—continue to learn some clever tips to maximize your budget.
Key Takeaways
- Use affordable materials like PVC panels or repurpose leftover items to cut costs.
- Measure and plan carefully to minimize waste and ensure proper fit.
- Utilize basic tools such as scissors, utility knives, and painter’s tape for precise cuts and installation.
- Opt for DIY techniques like peel-and-stick adhesives or spray painting for professional finishes.
- Start from a corner or edge, press panels firmly, and check alignment regularly for a smooth look.
Planning Your DIY Wall Panel Project

Before you begin, it’s important to plan your DIY wall panel project carefully. Start by using a tape measure to accurately measure the wall area where you want to install the panels. This helps you determine how many panels you’ll need and their ideal size, preventing material waste. Create a detailed plan that includes your chosen inspiration theme, like Modern Chic or Glam, to guide your material selection and layout. Set a realistic budget by researching affordable options, such as PVC panels that mimic wood. Sketch a rough design or mood board to visualize the final look, keeping your project organized and focused. Proper planning guarantees a smooth installation process and a polished final result, all while sticking to your budget. Incorporating cost-effective materials can also help maximize your budget without compromising style. Additionally, considering space optimization strategies ensures you make the most of your available area and avoid clutter. Employing design thinking in your planning can help you explore creative solutions tailored to your space and budget constraints. To ensure your panels are securely attached and durable, consider appropriate mounting techniques that suit your chosen materials. Moreover, understanding Gold IRA options can provide insights into securing long-term value for your investment portfolio.
Gathering Affordable Materials and Tools
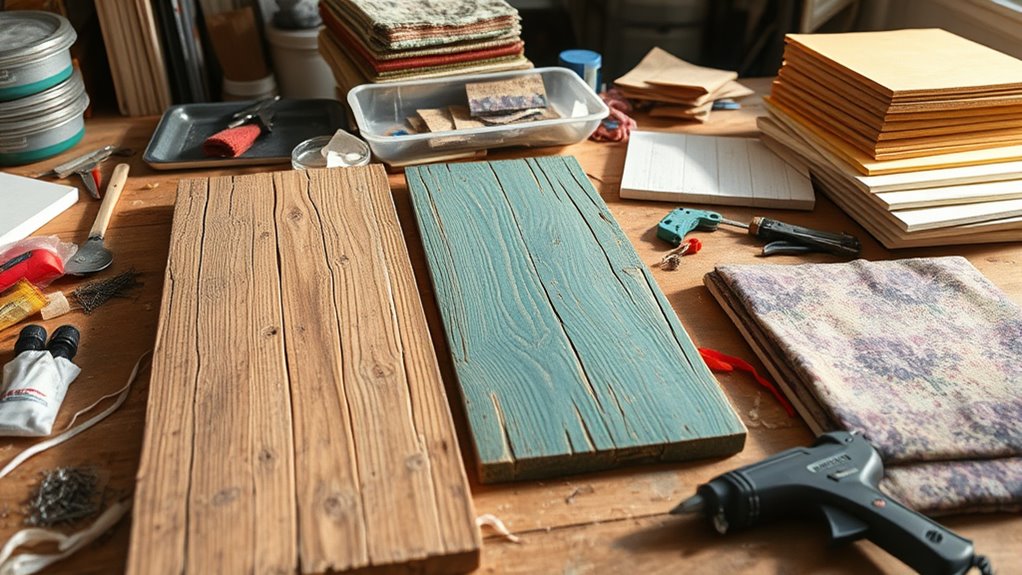
To keep your wall panel project budget-friendly, start by exploring affordable materials like PVC panels that look like wood but cost less. Shop at hardware stores or online for discounted tools and supplies, and consider repurposing items you already have, such as leftover paint or scrap wood. Focus on basic, versatile tools to make sure you get a professional finish without overspending. Additionally, always ensure your project adheres to wood stove safety standards to prevent fire hazards during installation. Incorporating cost-effective materials and understanding DIY safety practices can further help you stay within budget without compromising quality. Moreover, researching sound healing science can inspire calming and therapeutic elements to enhance your space. Understanding celebrity lifestyle insights can also provide inspiration for creating a relaxing environment in your home.
Budget-Friendly Material Sources
Finding budget-friendly materials for DIY wall panels is easier than you might think. You can find affordable PVC panels that mimic wood at home improvement stores or online for about $20-$30 per 20×20 inch piece. Basic tools like scissors, utility knives, and tape are inexpensive and available at dollar stores or hardware outlets. Repurposing leftover materials, such as scrap wood or cardboard, allows you to create custom molds or templates without extra cost. Additionally, thrift stores and online marketplaces sell used decor items like mirrors and sconces, reducing overall expenses. To help visualize your options, here’s a quick overview:
| Material Source | Cost Range |
|---|---|
| PVC Panels | $20-$30 per piece |
| Repurposed Scrap Materials | Free or minimal cost |
| Used Decor Items | Varies, often affordable |
| Basic Tools | $1-$10 at dollar stores |
Furthermore, exploring automation technologies can inspire innovative ways to streamline your DIY projects and save time and effort. Incorporating simple automation tools like timers or automated cutters can make your wall panel project more efficient and enjoyable. Utilizing cost-effective techniques such as spray painting or peel-and-stick adhesives can also help you achieve a professional look without breaking the bank. Incorporating innovative materials from new sources can add unique textures and finishes to your designs. Using diy tutorials and online resources can also help you discover new techniques and ideas to enhance your design.
Essential Tools on a Dime
Getting your DIY wall panels done on a budget starts with gathering the right tools without breaking the bank. Focus on full size tools, like scissors and a level, which can often be found at dollar stores or discount home improvement outlets for under $10 each. Affordable brands like Swiss or Whis are reliable options. Basic tools such as a utility knife and painter’s tape are essential and can be reused for multiple projects, saving you money. Thrift stores or online marketplaces like Facebook Marketplace or eBay are great for finding gently used decorating tools and materials at a fraction of retail prices. Using these budget-friendly, full size tools helps you cut costs without sacrificing the quality needed to create professional-looking wall panels. Additionally, choosing cost-effective materials that are easy to work with can further enhance your project while keeping expenses low. Being aware of essential oils for various health concerns can help you select versatile supplies that may be useful in other DIY projects or personal care routines. Incorporating personal growth principles like positive thinking can also motivate you to complete your project with confidence and resilience. Furthermore, researching DIY techniques can help you achieve a polished finish without extra expenses. Remember that understanding home improvement technology can also streamline your project, making it easier and more efficient.
Preparing Your Walls for Panel Installation
Before installing your wall panels, it’s essential to prepare the surface properly. First, thoroughly clean the walls by removing dust, cobwebs, and debris with a damp cloth. This step ensures the panels will stick firmly and stay in place. Next, use painter’s tape and a level to mark precise placement lines and outline where the panels will go. Double-check your wall measurements to determine the number and size of panels needed, which helps reduce waste and ensures a seamless fit. If you notice holes, cracks, or imperfections, fill them with spackle or filler, then sand smooth once dry. Allow these repaired areas to fully dry before proceeding to prevent uneven surfaces or misalignment. Proper preparation guarantees a professional-looking finish on a budget. Additionally, understanding the importance of surface adhesion can help ensure your DIY project lasts longer and looks more polished.
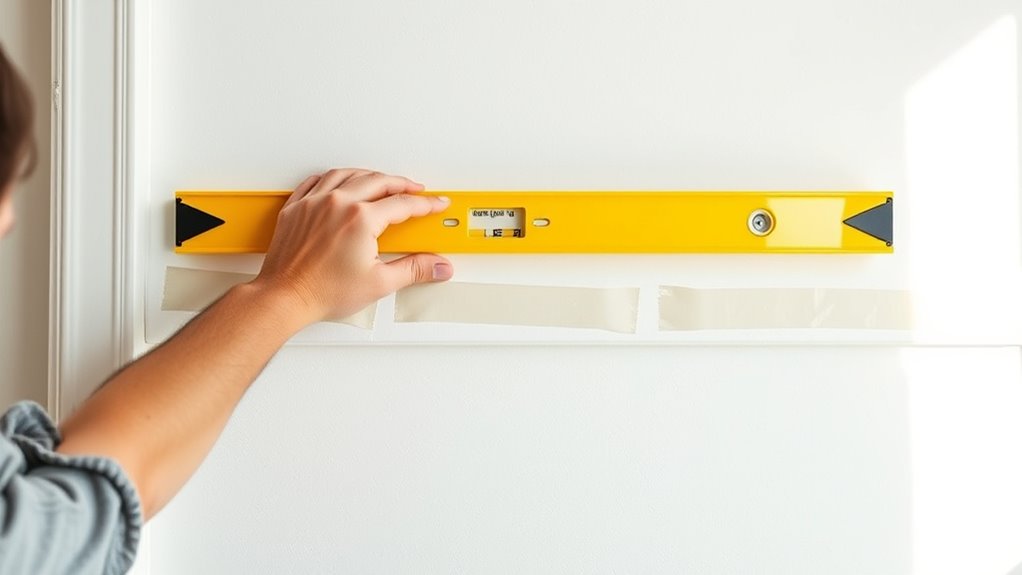
Measuring and Marking for Precise Cuts

To guarantee your panels fit perfectly, start with accurate measurements and double-check them before marking. Use painter’s tape and a level to keep your lines straight and marks precise. Taking these steps helps you achieve clean, professional-looking cuts every time.
Accurate Measurement Techniques
Accurate measurement is essential for creating clean, professional-looking wall panels. Precise measurements ensure your cuts fit perfectly and your panels align seamlessly. To achieve this, always use a reliable measuring tape and double-check your measurements before marking. Measure from multiple reference points to confirm consistency. Mark your cut lines with a sharp chalk or pencil for clear visibility. Applying painter’s tape along your measurements helps prevent shifting and creates a guide for cutting. For outlet or intricate cutouts, trace templates or use blueprints to maintain accuracy. Throughout the process, regularly double-check measurements to catch errors early, avoiding misaligned or uneven panels. Good measurements are the foundation of a polished finish on your DIY wall panels.
Marking and Alignment Tips
Using painter’s tape to mark panel placement and outlet locations helps guarantee your measurements stay accurate during cutting. It makes sure you’ve got the right reference points before you start, which is vital for a clean look. Measurements look really long time ago, so double-check them multiple times to make sure nothing shifts or gets misread. When you’re going to use painter’s tape, take a little bit of extra time to tape out your lines carefully—using a level or laser leveler ensures they’re straight and level. Trace the outline of your first cut panel onto the rest to keep everything uniform. Always double-check all measurements and markings before cutting to prevent gaps or misalignments, saving you time and effort in the long run.
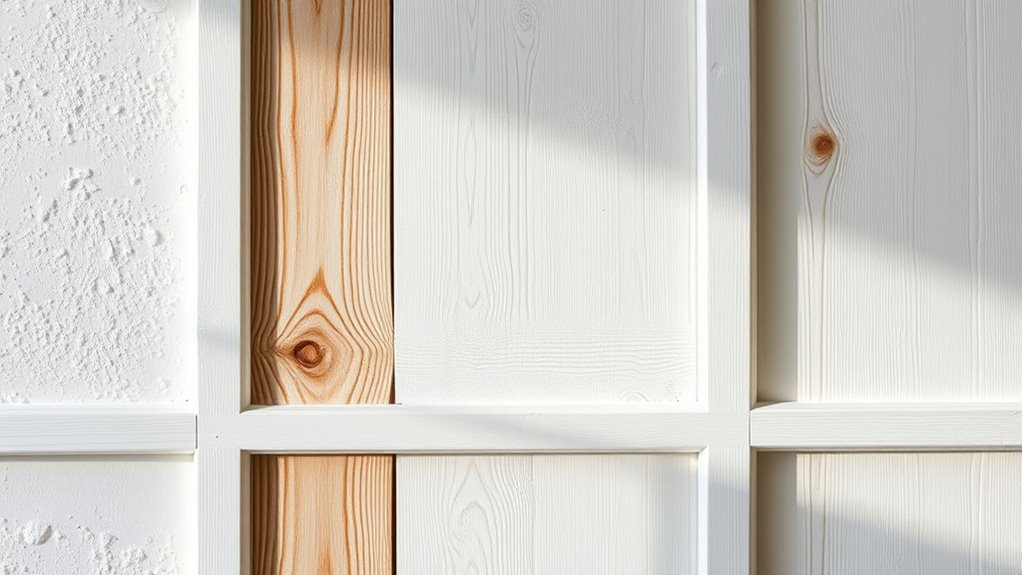
Cutting and Shaping PVC Panels Safely

Wondering how to cut and shape PVC panels safely? Proper cutting is key to achieving clean, professional results without injury. Always use a sharp utility knife or scissors for precise edges, avoiding damage to the material. Measure and mark your cut lines carefully with a pencil or chalk before starting. Score the PVC surface lightly along the marked line multiple times, then apply more pressure to cut through completely. For intricate shapes or outlet outlines, trace your pattern onto the panel and cut slowly to maintain control. Remember to wear safety gloves and work on a stable surface to prevent slips.
Always use sharp tools, measure carefully, and prioritize safety when cutting PVC panels.
- Use sharp tools for clean cuts
- Measure and mark accurately
- Score lightly before cutting through
- Cut slowly for detailed shapes
- Prioritize safety at all times
Attaching Panels Using Tape and Leveling Techniques
After cutting and shaping your PVC panels, the next step is to secure them to the wall with tape and guarantee they’re perfectly aligned. Apply double-sided tape along all four corners, the top, bottom, and center of each panel for a strong hold. Before pressing the panel against the wall, use a leveler to ensure it’s straight, making adjustments as needed. Start from a corner or edge to maintain consistency and ease the process. Press each panel firmly for several seconds to activate the adhesive and promote better adhesion. Throughout installation, regularly check the alignment with a level to catch any shifts immediately. This approach ensures your panels are securely attached and perfectly aligned, resulting in a seamless, professional-looking finish.
Handling Outlets and Wall Details Effectively
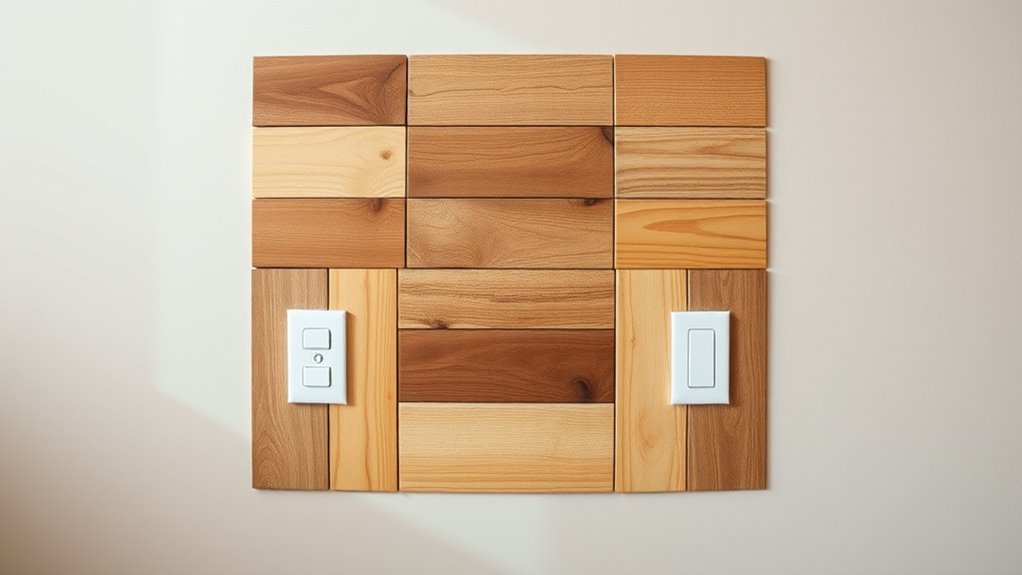
To achieve a clean and professional look around outlets and wall details, start by accurately marking their positions on both the wall and your PVC panels with painter’s tape. This ensures precise placement before cutting or drilling. Trace the outlet pattern onto the panels with chalk, then carefully cut along the outline for a snug fit. To prevent cracking, pre-drill small holes around outlet areas before installing screws or fixtures. For a seamless finish, cut slightly within the outlet outline and sand the edges smoothly. Cover any gaps or imperfections with painter’s tape, small cut pieces, or black tape to create a polished look.
- Use painter’s tape for precise markings
- Trace outlet patterns carefully
- Pre-drill to avoid cracking
- Sand edges for smoothness
- Conceal gaps for a polished finish
Finessing Edges and Covering Imperfections
Finessing edges and covering imperfections is essential for achieving a polished look with your wall panels. To do this, start by sanding edges thoroughly after cutting to smooth out any rough spots. Use painter’s tape or small pieces of cut PVC to conceal gaps, holes, or uneven edges for a seamless finish. When trimming around outlets or fixtures, cut deeper within the outline, allowing room for adjustments and better concealment. During installation, regularly inspect and adjust panel alignment, using filler or decorative elements to hide any gaps or misalignments. For minor imperfections, apply matching paint, black tape, or strategically place decor to divert attention. This finessing process makes your DIY wall panels look professional and well-crafted.
| Finessing Technique | Purpose |
|---|---|
| Sand edges thoroughly | Smooth out rough or jagged edges |
| Use painter’s tape or PVC | Conceal gaps and uneven edges |
| Adjust panel alignment | Correct misalignments during installation |
| Cut deeper around outlets | Better conceal flaws around fixtures |
| Cover imperfections with decor | Distract from minor flaws |
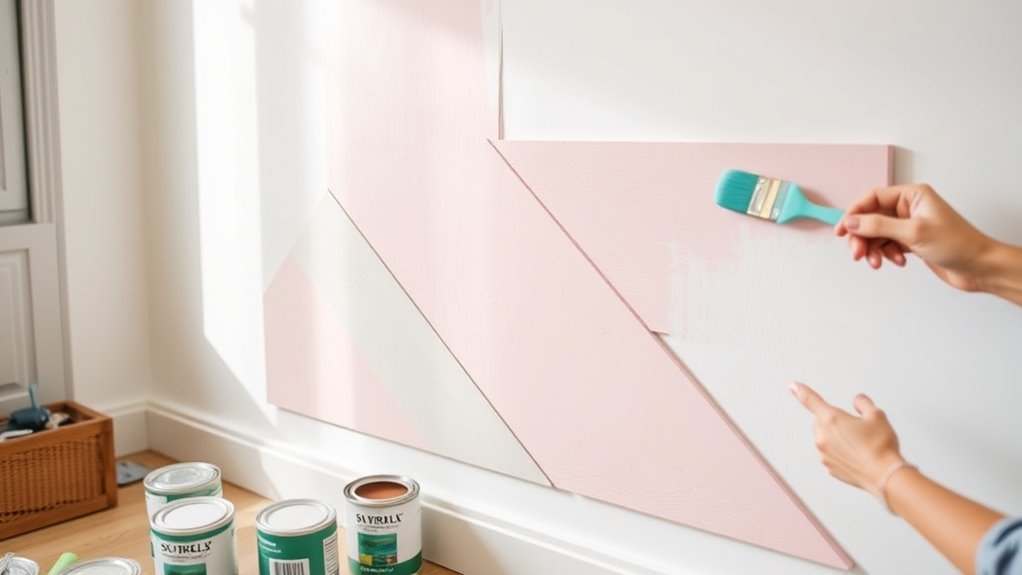
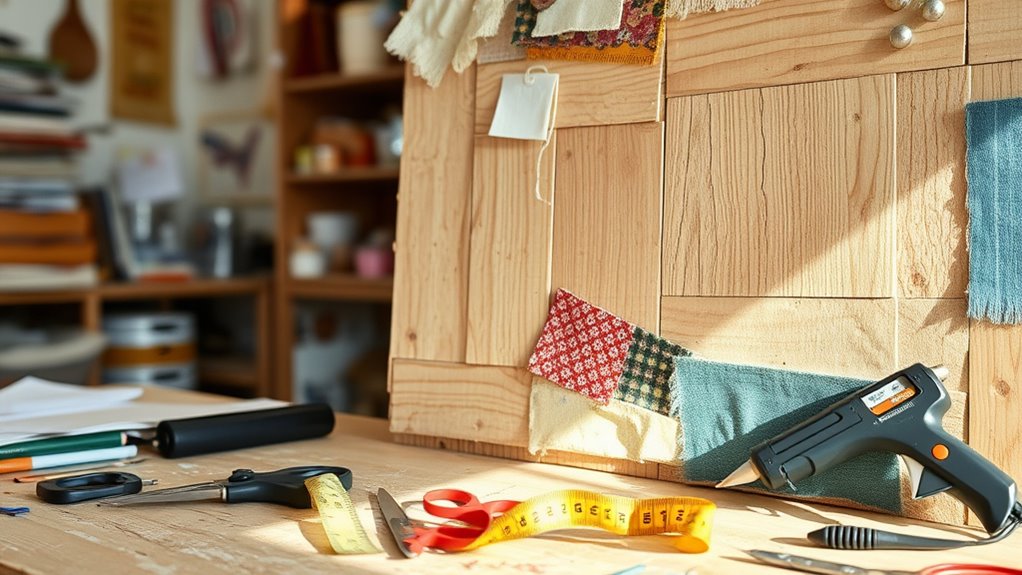
Adding Decor and Final Touches on a Budget
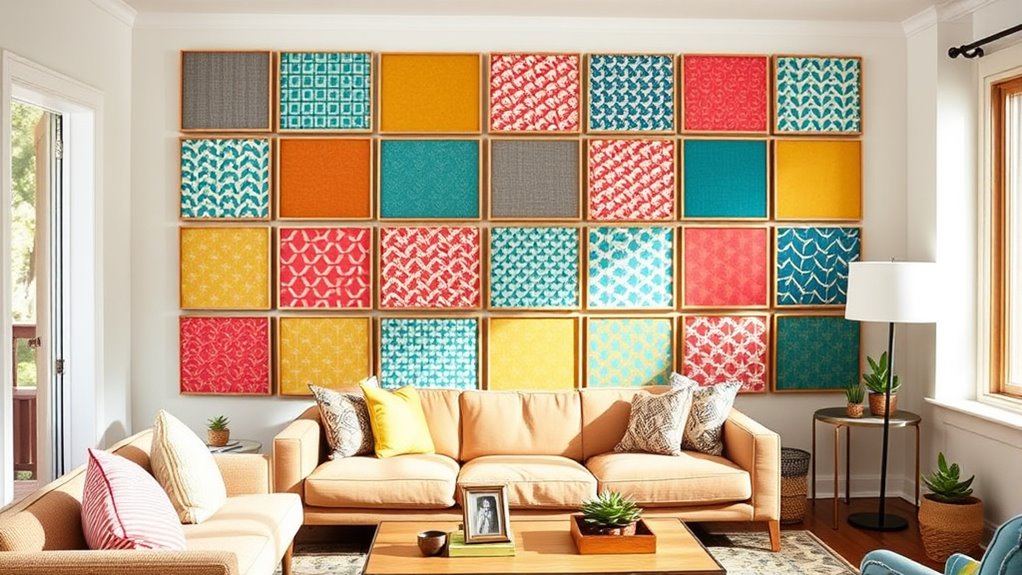
Adding decor and final touches on a budget allows you to personalize your wall panels without overspending. You can elevate your space by incorporating affordable decor items that make a big impact. Consider using inexpensive mirrors, sconces, or framed art to add depth and style. Spray paint or peel-and-stick wallpaper are budget-friendly ways to introduce color and texture. Repurposing existing decor, like vintage frames or trays, creates a layered, personalized look. Enhance the ambiance with affordable lighting options such as battery-operated LED sconces or string lights, which highlight your wall design. To keep your space fresh, regularly update with seasonal or DIY accessories. These simple, affordable touches transform your DIY wall panels into a unique, stylish focal point.
Frequently Asked Questions
What Is the Cheapest Way to Panel a Wall on a Budget?
The cheapest way to panel a wall is by using affordable materials like foam boards or PVC panels. You can salvage leftovers from previous projects, cutting costs further. Use simple tools like scissors and painter’s tape for installation, and choose easy patterns like grids or zigzags to minimize waste. Proper surface prep and precise measurements will give you a professional look without spending much, making it an effective budget-friendly solution.
What Is a Cheaper Alternative to Wood Paneling?
Imagine transforming your wall without breaking the bank, like turning a cardboard box into a treasure chest. PVC panels that mimic wood, foam board painted to look like timber, or vinyl wallpaper with woodgrain patterns are your secret weapons. Reclaimed pallet wood or painted MDF also give you that warm, wood-like feel at a fraction of the cost. These affordable alternatives help you achieve a stylish look without overspending.
How to Build Your Own Wall Panels?
To build your own wall panels, start by measuring and marking the wall space carefully. Cut your PVC panels to size, following outlet outlines with a sharp cutter. Secure the panels using double-sided tape, pressing firmly for a seamless look. Use painter’s tape and a level to align them precisely. Finish by smoothing edges, detailing cutouts, and adding decorative accents for a polished, custom appearance.
Is It Cheaper to Use Drywall or Paneling?
Oh, the timeless debate—drywall or paneling? You might think drywall’s cheaper, but once you factor in taping, mudding, and drying time, it adds up. Paneling, especially DIY options with plywood or PVC, can be more budget-friendly and quicker. If you’re after an affordable, straightforward project, paneling often wins out. So, yes, on a shoestring, paneling usually costs less and gets the job done faster.
Conclusion
With a little creativity and resourcefulness, you can transform your walls into stunning focal points without breaking the bank. Picture your freshly paneled walls catching the light, casting inviting shadows that add depth and character to your space. As you step back and admire your handiwork, feel proud knowing your DIY spirit brought this stylish upgrade to life—beautiful, budget-friendly, and uniquely yours. Your dream wall is just a project away.