To make DIY wall panels on a shoestring budget, start by measuring your space carefully and sketching your design. Choose inexpensive materials like plywood, foam boards, or reclaimed wood, and customize them with paint, fabric, or wallpaper remnants. Cut panels with a utility knife and attach using affordable adhesive or double-sided tape. Arrange everything neatly and add simple decor to elevate the look. Keep exploring to discover more tips for achieving a stylish finish without overspending.
Key Takeaways
- Use inexpensive materials like foam boards, reclaimed wood, or cardboard for easy and budget-friendly wall panels.
- Measure and sketch carefully to minimize waste and ensure a precise fit with minimal material costs.
- Customize panels with paint, wallpaper, or fabric scraps for a personalized look without extra expense.
- Cut panels with a utility knife and painter’s tape for clean edges and accurate openings around outlets.
- Secure panels with strong double-sided tape or adhesive strips, reducing the need for hardware or professional installation.
Planning Your Design and Measuring Your Space
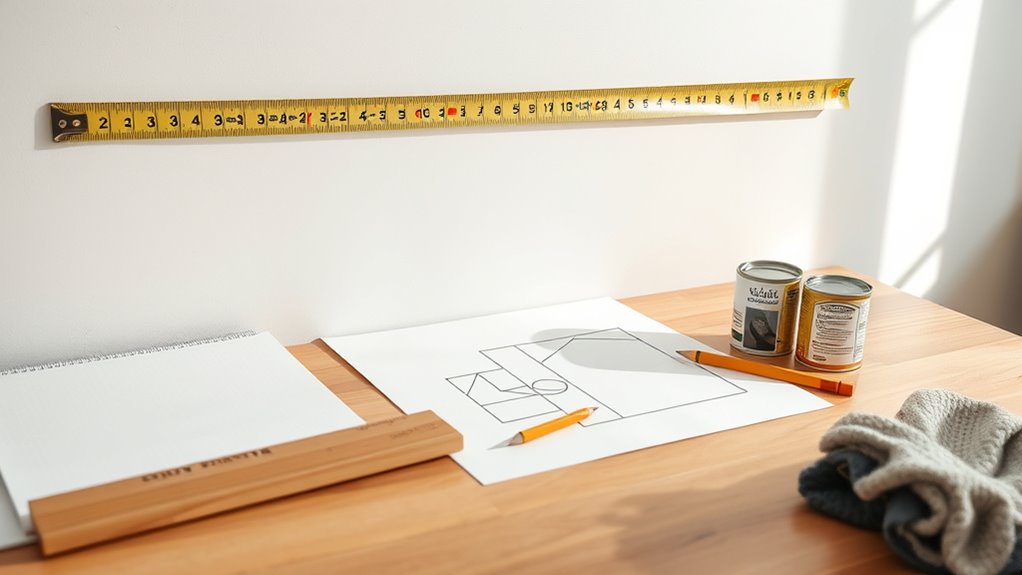
Before you start installing your DIY wall panels, it’s essential to plan your design and measure your space carefully. Grab a tape measure and accurately measure the entire wall to determine how many panels you’ll need and their sizes. This step guarantees your project fits perfectly and avoids surprises later. As you measure, keep notes or sketch a simple blueprint to visualize your layout. Create a detailed mood board that includes color schemes, textures, and decor styles to guide your choices. Mark exact placement points for each panel with painter’s tape and chalk to maintain even spacing and alignment. Don’t forget to measure and sketch cut lines for outlets and switches, so you can plan for any adjustments before cutting your panels. Additionally, considering home maintenance and regular cleaning tips can help preserve your DIY wall panels and keep your space looking fresh. Incorporating project planning strategies can also streamline the process and ensure a professional-looking finish. Being aware of installation techniques can further enhance the durability and appearance of your wall panels over time. Furthermore, understanding material selection can influence the longevity and overall aesthetic of your DIY project.
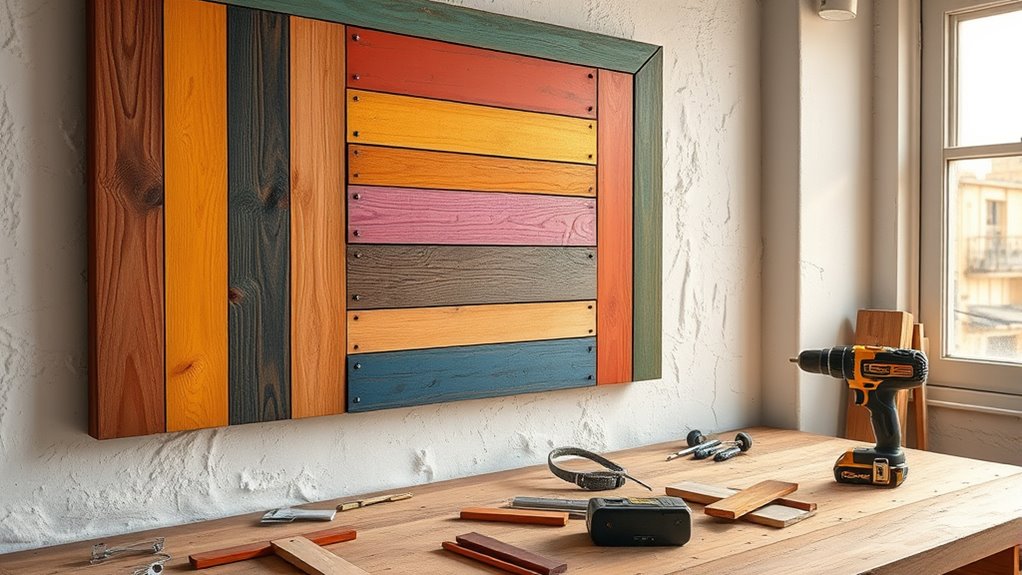
Choosing Budget-Friendly Materials for Wall Panels
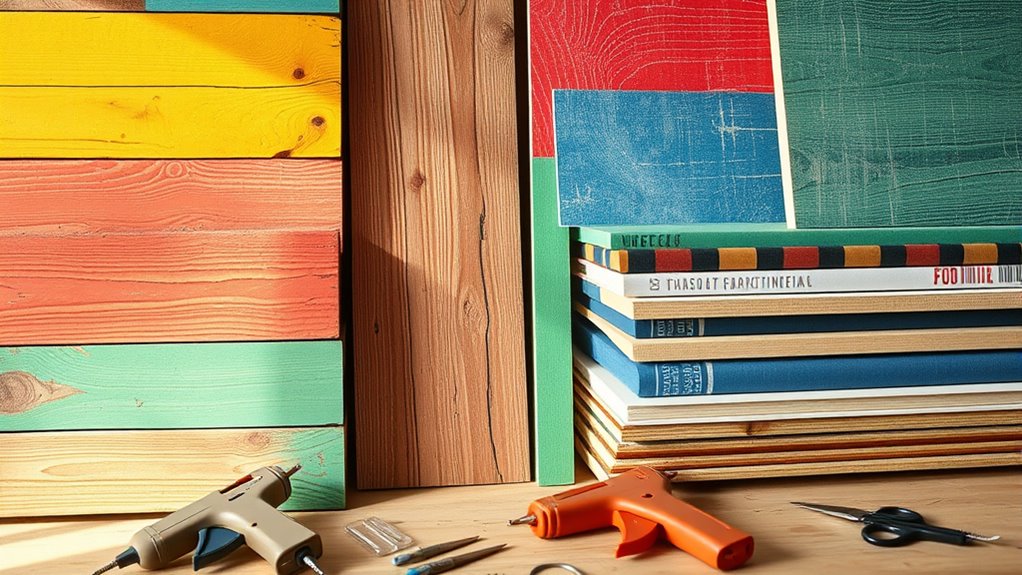
When selecting materials for your wall panels, you want options that are both affordable and easy to work with. Consider lightweight choices like PVC, foam boards, or plywood that won’t break the bank and are simple to cut. Reclaimed wood or repurposed crates can also add character without added costs, and inexpensive decorative touches can elevate your design without overspending. Additionally, using self watering plant pots and other low-maintenance materials like these can make your project more manageable and sustainable. Incorporating vintage furniture or rustic accents can create an authentic look without a high price tag. To further enhance stability, attaching panels with simple fastening methods ensures they stay secure over time.
Affordable Material Options
Choosing budget-friendly materials for wall panels doesn’t mean sacrificing style or durability. You can opt for affordable options like foam boards, MDF, or PVC panels instead of costly wood or decorative tiles. These materials are easy to work with and readily available at discount stores or online marketplaces where you can find bulk deals on adhesives, paint, and finishes. Reusing or repurposing items like old picture frames or cardboard adds a unique, eco-friendly touch without stretching your budget. DIY alternatives, such as fabric-covered panels or painted cardboard, provide a stylish look at a fraction of the cost. To maximize savings, measure carefully and plan your layout to minimize waste and avoid unnecessary purchases. Additionally, selecting cost-effective materials that are lightweight and simple to install can further reduce your overall expenses. Exploring upcycling opportunities can also help you find creative ways to reuse materials you already have, further lowering costs. Incorporating easy-to-install options can make the project more manageable for DIY enthusiasts. Using simple construction techniques can enhance the durability and appearance of your panels without increasing costs. With these affordable options, creating custom wall panels is both simple and budget-friendly.
Cost-Effective DIY Choices
Opting for budget-friendly materials like PVC or foam boards allows you to create stylish wall panels without overspending. These materials are affordable and easy to work with, making them ideal for cost-effective DIY choices. To add flair without extra costs, reuse leftover paint, wallpaper remnants, or contact paper to customize your panels. Buying materials in bulk or during sales can also help you save considerably. Don’t forget to repurpose household items—such as picture frames or decorative tiles—as unique accents, which adds character without extra expense. DIY installation using basic tools and minimal hardware further cuts costs. Additionally, understanding space organization can help you plan your panel layout efficiently and maximize your room’s potential. Incorporating budget management strategies can ensure that your project stays within financial limits while still achieving a polished look. Considering material durability can help your wall panels last longer and reduce the need for frequent replacements. Focusing on cost-effective materials and smart planning ensures your project remains budget-friendly while achieving a professional look. By choosing these cost-effective DIY choices, you’ll achieve a stylish and affordable wall panel project.
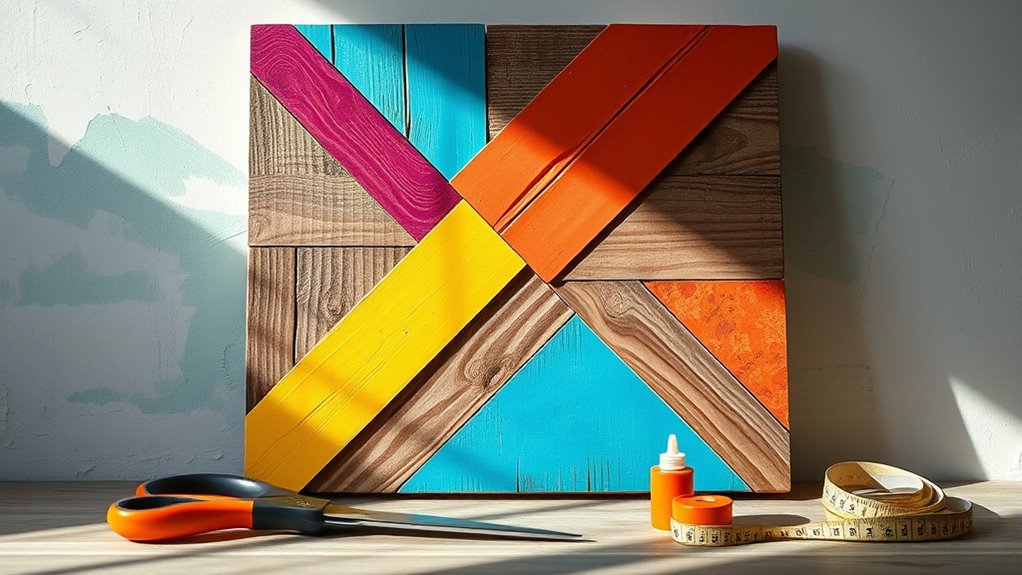
Cutting and Preparing Your DIY Panels
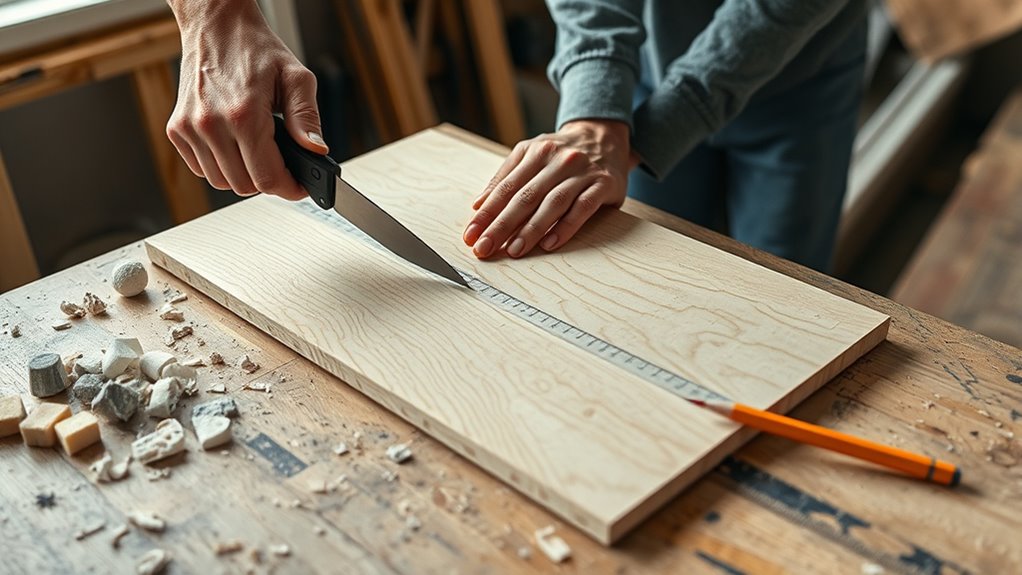
To get your panels just right, you need to measure and mark carefully before cutting. Use painter’s tape and a chalk line to guarantee accuracy around outlets and edges, and cut slowly with a sharp utility knife for clean results. When working on curved or detailed shapes, outline them precisely and take your time to cut smoothly. Incorporating fabric decorating markers can help you add custom designs or markings to your panels for a personalized touch. For added precision, consider using a measuring tape to ensure consistent dimensions throughout your project. Paying attention to energy efficiency can also help you optimize your design for better performance and sustainability. Additionally, understanding industry transformations in materials and techniques can inspire innovative approaches to your DIY projects, especially as new advanced tools become more accessible for home use.
Accurate Measurement Techniques
How can you guarantee your DIY wall panels fit perfectly? The key is precise measurement. Start by using a tape measure and chalk to mark each panel’s placement before cutting. Measure carefully and double-check your marks to avoid mistakes. When planning to install outlets or switches, measure and mark their locations accurately, then transfer these marks onto your PVC panels. This ensures your cuts will align perfectly once installed. When cutting, follow your marked pattern closely, making small, controlled cuts with a cutter or sharp scissors for clean edges. For outlet openings, cut slightly inside your marks to allow for a snug fit when reassembling. Always verify measurements and alignment during the process to prevent errors and achieve a seamless, professional look. Incorporating accurate measurement techniques is essential for achieving a precise fit and a polished finish.
Precise Cutting Methods
Once you’ve marked your panels accurately, the next step is cutting them precisely to guarantee a perfect fit. Use a sharp utility knife or cutter, applying consistent pressure along your full size marked lines for clean edges. Score the panel multiple times before applying full force; this ensures controlled, accurate cuts. For outlet or fixture openings, tape the shape with painter’s tape first, then carefully cut inside the outline to prevent chipping. When working with irregular shapes, drill small holes at corners or curves to create starting points, making smoother cuts easier. Always measure twice and cut once. Double-check your markings to avoid costly mistakes. Precise cutting not only saves time but also ensures your DIY wall panels will fit perfectly, giving your project a professional finish.
Attaching the Panels Using Affordable Adhesives
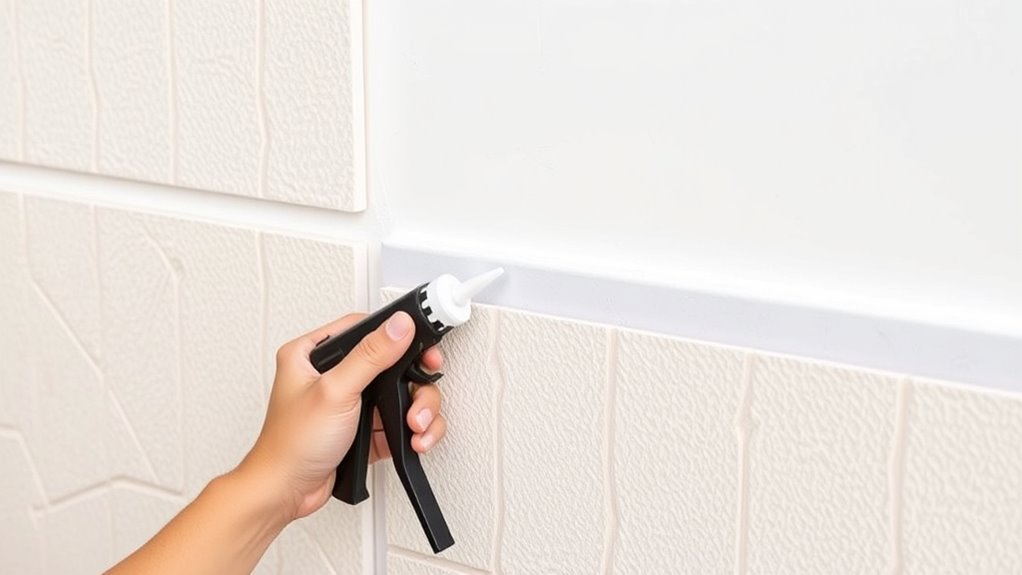
Are you looking for an affordable way to attach your wall panels securely? Double-sided tape with strong adhesive properties is much easier than other options and works really long time ago for DIY projects. When you’re going to use it, make sure to apply the tape in the corners, along the top, bottom, and middle of each panel for even adhesion. Cover the tape with painter’s tape until you’re ready to install; this little bit of extra care keeps the adhesive sticky and precise. Using a leveler during installation is essential to ensure your panels are aligned, reducing adjustments later. After placement, press the panels firmly to improve adhesion. This simple method keeps your project budget-friendly while giving you a professional-looking finish.
Customizing and Decorating Your Wall Panels
To make your wall panels truly stand out, customizing and decorating them allows you to reflect your personal style and complement your interior design. You can paint or add wallpaper that matches your color scheme, creating a cohesive look. Incorporate decorative elements like faux or real plants, mirrors, or LED lights to boost visual interest. Using stencils or decals helps you create patterns or motifs for a unique touch. Attaching small shelves or hooks can add functional decor, perfect for picture frames or jewelry storage. Experiment with different textures, such as fabric or textured wallpaper, to add depth and dimension. These simple DIY techniques enable you to transform plain panels into personalized statement pieces without breaking the bank.
Installing and Arranging Your Wall Panels for a Polished Look
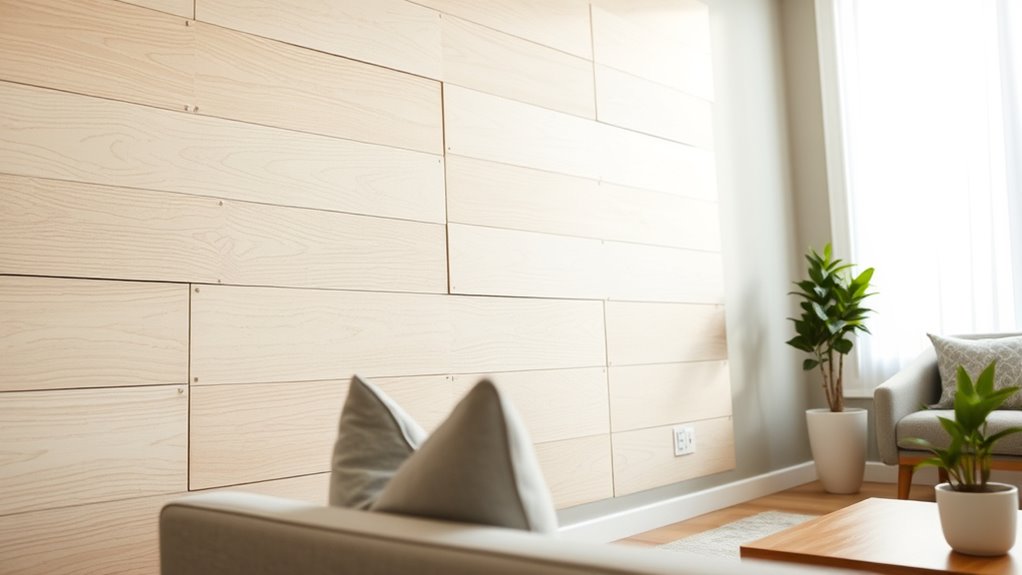
Achieving a polished look when installing and arranging your wall panels begins with careful measurement and precise marking. Use a tape measure and painter’s tape to mark each panel’s placement, ensuring everything lines up perfectly. Next, employ a leveler or laser level to align multiple panels evenly, preventing crooked results. When cutting around outlets and switches, use a cutter and sharp scissors for clean edges that blend seamlessly. Secure the panels with strong double-sided tape at the corners, top, bottom, and middle, pressing firmly to guarantee good adhesion. Before removing the tape, double-check the overall layout and make small adjustments if needed. This careful approach guarantees a neat, professional finish that enhances your space’s aesthetic.
Tips for Maintaining and Refreshing Your DIY Wall Decor
Regular maintenance and thoughtful updates can keep your DIY wall decor looking fresh and inviting. To do this effectively, consider these tips:
- Regularly dust and clean your wall panels with a soft cloth or microfiber duster to prevent dust buildup and maintain their appearance.
- Refresh your decor by swapping out small elements like plants or picture frames without reinstalling the entire setup, giving your space a quick update.
- Use removable adhesive strips or hooks to add new decorative accents or lighting, making changes simple and budget-friendly.
Additionally, periodically inspect the adhesion points and fix any loose panels or trim to keep everything looking polished. Repainting or touching up your panels with inexpensive craft paint can also help match your evolving style.
Frequently Asked Questions
What Is the Cheapest Way to Panel a Wall on a Budget?
You want to budget-friendly panel your wall, so focus on using affordable materials like foam boards, PVC panels, or reclaimed wood. Repurpose leftover or scrap materials to cut costs further. Buy panels in bulk or look for sales to save extra. Install everything yourself with basic tools, and add simple finishes like paint or trims for a polished look without overspending. This approach makes wall paneling both affordable and stylish.
What Is a Cheaper Alternative to Wood Paneling?
Like finding a hidden treasure, a cheaper alternative to wood paneling is PVC or plastic wall panels. They’re waterproof, lightweight, and easy to install, making them a smart choice if you want the look of wood without the high cost. You could also consider foam boards or peel-and-stick decals, which mimic wood’s appearance and are budget-friendly. These options give you style and savings all in one.
How to Build Your Own Wall Panels?
You can build your own wall panels by measuring and marking your chosen affordable materials like foam or PVC boards. Cut them carefully with a utility cutter, then attach using double-sided tape or a strong adhesive. Make sure to align each panel using a level or laser line for a seamless look. Finish by trimming excess, sanding edges, and adding decorative touches to personalize your space without breaking the bank.
Is It Cheaper to Use Drywall or Paneling?
Did you know paneling can cut your wall upgrade costs by up to 30%? When deciding between drywall and paneling, paneling is usually cheaper upfront because it costs less and installs faster. Drywall requires extra materials and finishing, which adds to your expenses. So, if you’re on a tight budget, using pre-finished panels is a smarter choice—they provide a stylish look without the extra work or cost.
Conclusion
With a little creativity and these budget-friendly tips, you can transform your walls into stunning focal points without breaking the bank. Your DIY panels will breathe new life into your space, making it feel like a designer’s masterpiece—at a fraction of the cost. Keep experimenting, maintaining, and revitalizing your decor, and you’ll turn your home into a masterpiece that’s truly worth a thousand words. Who knew budget-friendly could look this incredible?