To grout like a pro, start by cleaning your surface thoroughly and choosing the right grout for your joints. Mix it to a peanut butter consistency, following manufacturer guidelines, and practice on a small area. Apply with a float, fill joints fully, then wait about 15-30 minutes before wiping excess diagonally with a damp sponge. Let it cure properly, then polish and seal for a durable, polished finish. Keep going to master each step for perfect results.
Key Takeaways
- Prepare the surface and select the appropriate grout type and color for optimal adhesion and aesthetics.
- Mix grout with water gradually to achieve a peanut butter-like consistency, then let it slake before re-mixing.
- Apply grout in small sections using a float at a 45-degree angle, pressing firmly into joints for complete filling.
- Remove excess grout after 15-30 minutes with a damp sponge, then buff for a smooth, finished appearance.
- Allow grout to cure for 24-48 hours before sealing, cleaning, and subjecting it to water or heavy traffic.
Preparing Your Workspace and Choosing the Right Materials
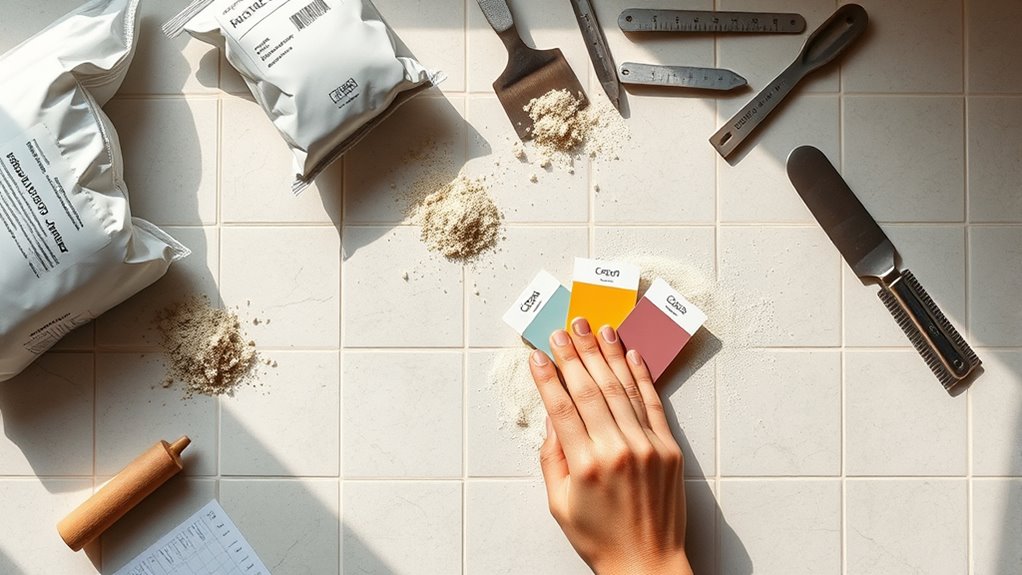
Before you begin grouting, it’s essential to prepare your workspace and select the right materials. Start by ensuring the tile surface is clean, dry, and free of dust or debris to prevent adhesion issues. Gather all necessary tools, including buckets, trowels, sponges, and protective coverings, to keep your workflow smooth and avoid contamination. Choose the appropriate grout type based on your joint width: sanded for gaps wider than 1/8 inch or unsanded for narrower joints. Select a grout color that complements or contrasts with your tile, depending on your desired aesthetic. Organizing everything beforehand helps streamline your process and can prevent clutter buildup that hampers efficiency. Proper preparation guarantees a cleaner process, better surface adhesion, and a professional-looking finish when you start mixing grout and applying it to your tile. Additionally, understanding smart toilet features can improve your bathroom experience by enhancing hygiene and convenience once your project is complete. Staying informed about industry trends can also help you choose the most durable and modern materials for your project. Incorporating pet hair management techniques into your cleaning routine can further maintain the cleanliness of your completed space.
Mixing Grout to the Perfect Consistency

Achieving the right grout consistency is essential for easy application and a professional finish. To mix grout properly, add water gradually—about two fingers’ worth per 1-2 pounds of powder—until you reach a smooth, peanut butter-like consistency. Follow the manufacturer’s instructions carefully for the water-to-grout ratio to ensure ideal workability and durability. Use a square mixer blade on a low-speed drill to thoroughly combine the grout mixture without trapping excess air. Let the mixture sit for 3-5 minutes, known as slaking time, to allow chemical reactions that improve consistency. Proper mixing techniques can help ensure a uniform texture and smooth application. After slaking, re-mix briefly to loosen the grout, which helps achieve a consistent texture and smooth application. Proper mixing guarantees a professional-looking, durable grout job. Additionally, understanding the benefits of proper mixing can help ensure optimal results and longevity of your grout work. For best results, consider using appropriate tools to achieve a uniform mixture and avoid lumps. Being aware of Kia Tuning options can inspire personalization and performance upgrades for your vehicle.
Practicing Your Technique Before the Main Application

Have you ever wondered how to perfect your grouting skills before tackling the main project? Practicing your technique on a small mock-up area helps you identify issues and build confidence. Use an 18×18 inch tile board to simulate real conditions. Focus on applying grout with a float at a 45-degree angle to ensure consistent pressure and coverage. After applying grout, use a damp grout sponge to clean excess grout and smooth the joints. This helps you refine your wiping technique and prevent air pockets or uneven filling. Experiment with different grout colors and mixing consistencies to see how they affect the final look. Remember, practicing your technique first reduces mistakes and results in a professional finish. Additionally, understanding the importance of color accuracy can help you select the right grout shades for a seamless appearance. Moreover, paying attention to the scientific skepticism surrounding some techniques can guide you toward more reliable methods. Incorporating proper mixing techniques ensures your grout has the ideal consistency for easy application and durability. Familiarizing yourself with essential oils for surface cleaning can also help maintain a clean workspace and prevent grout stains. Being aware of state-specific tax laws can influence your overall financial planning for a renovation project.
Applying Grout Efficiently in Small Sections
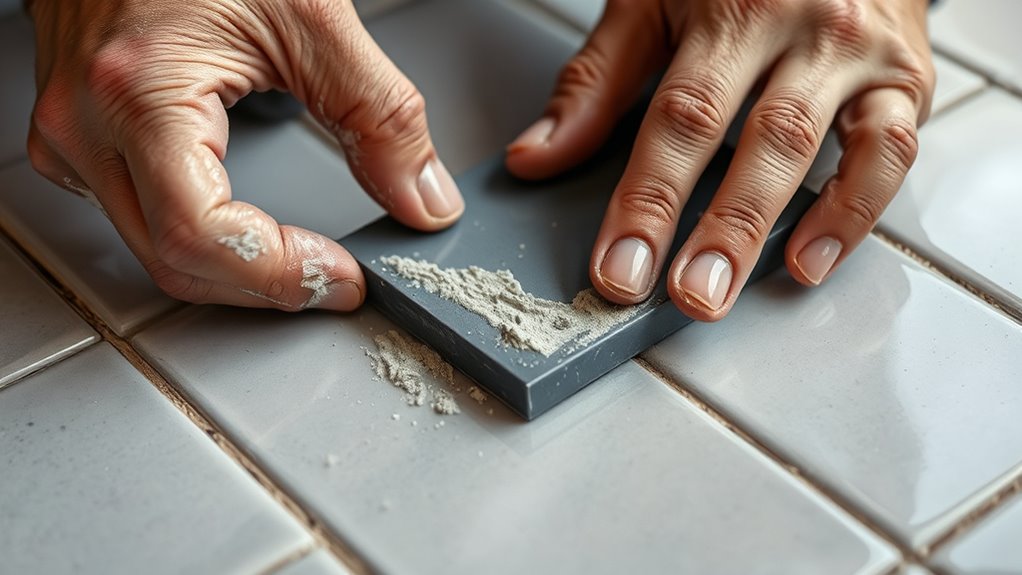
To apply grout efficiently, focus on working in small sections of about 3×3 feet. This approach guarantees thorough filling and easier cleanup. Use a grout float held at a 45-degree angle to press the grout into the joints evenly, preventing gaps. Work quickly to complete each section before the grout begins to set, which helps maintain a smooth, uniform appearance. After applying grout to a section, wait 15-30 minutes before using a damp sponge to wipe away excess. This prevents removing grout from the joints and keeps lines crisp. Be sure to finish the entire section before moving on, avoiding overlaps or uneven areas. Staying organized and swift will help you achieve professional-looking results efficiently. Additionally, maintaining the right grout consistency makes application easier and results more durable. Properly preparing the surface beforehand can also significantly improve the final outcome and ease the application process. Using self-watering plant pots can serve as a helpful analogy for understanding how to control moisture levels during grouting, ensuring you maintain the right environment for a lasting finish. Keeping the workspace clean and organized will further streamline your workflow and enhance the overall quality. Also, regularly checking the working environment helps prevent issues caused by humidity or temperature fluctuations that can affect grout setting.
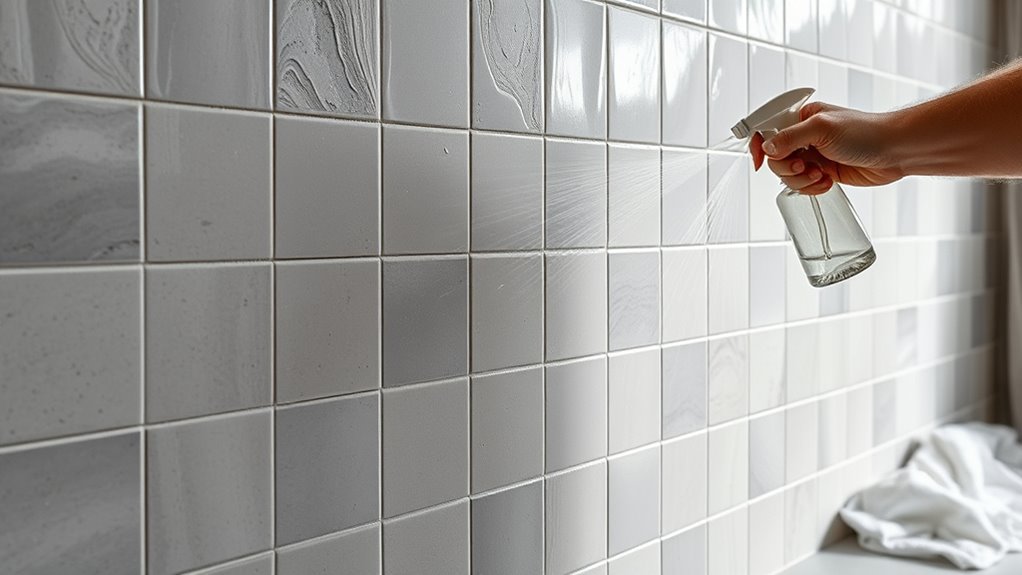
Removing Excess and Smoothing Grout Lines

After allowing the grout to set for about 15-30 minutes, gently wipe away excess with a damp sponge. Use a clean, damp sponge to remove any excess grout and reduce grout haze, which can dull the surface. Wipe diagonally across the tiles, avoiding the grout lines to prevent pulling grout out of the joints. Rinse the sponge frequently in clean water to keep it free of dirt and excess grout, ensuring a smooth finish. During this process, avoid over-wetting the grout, as too much water can weaken the joints. Once the initial cleaning is complete and the grout has had time to cure, you can buff the grout lines with a soft cloth or sponge to smooth and refine them, achieving a professional-looking result. Additionally, maintaining a focused attention during this process enhances the overall quality of your grout lines. Properly cleaning and finishing grout is essential to prevent grout deterioration and ensure lasting durability.
Allowing Proper Curing and Final Cleaning
Make sure you let the grout cure for at least 24 to 48 hours before exposing it to water or heavy use. During this time, avoid walking on or disturbing the lines to prevent cracks or weakening. Once fully dried, gently clean any haze and inspect the surface for final touch-ups before sealing. Proper curing time is crucial for optimal grout adhesion and durability.
Curing Time Requirements
Proper curing is essential for ensuring your grout reaches its full strength and durability. During this time, you need to allow the grout to dry properly, which typically takes at least 24 hours before it’s safe to expose it to water or heavy traffic. The curing time varies depending on the grout type and environmental conditions, but generally, the grout stays in a fragile state for the first 24 hours. Full curing, where maximum strength is achieved, usually occurs within 72 hours. It’s vital to keep the area free of moisture and foot traffic during this period to prevent compromising the grout’s integrity. Make sure the grout is completely dry before applying sealant or performing any final cleaning, usually after 24 to 48 hours.
Gentle Polishing Techniques
Once the grout has fully hardened and dried according to the manufacturer’s recommended time, you can begin gentle polishing techniques to achieve a smooth, clean finish. Use a soft, dry cloth or a damp microfiber towel to remove grout haze from the tiles. Conduct final cleaning with light pressure and circular motions, which helps lift residual haze without damaging the cured grout or tile surfaces. Avoid abrasive or harsh tools, as they can scratch or harm the grout and tiles. Be patient and gentle during this process—rushing can dislodge grout or leave unwanted residues. Properly performed, gentle polishing ensures a polished look, enhances the appearance of your grout lines, and prepares the surface for the next steps in your finishing process.
Sealing and Final Protection
After the grout has fully cured, usually at least 24 hours or as recommended by the manufacturer, you should gently remove any remaining grout haze from the tiles with a soft, dry cloth. This step guarantees a clean, professional finish. Once the surface is clear, apply a quality sealer using a small brush or applicator, making sure to cover all grout lines evenly. Promptly clean any smears within five minutes to prevent uneven coverage. Allow the sealer to cure for at least 24 hours before exposing the tiles to water or heavy traffic, as this ensures proper penetration and protection against stains, mold, and mildew. Following the recommended curing and sealing times maximizes durability and enhances the longevity of your grout, giving you a polished, professional look.
Sealing and Finishing for a Durable, Professional Look
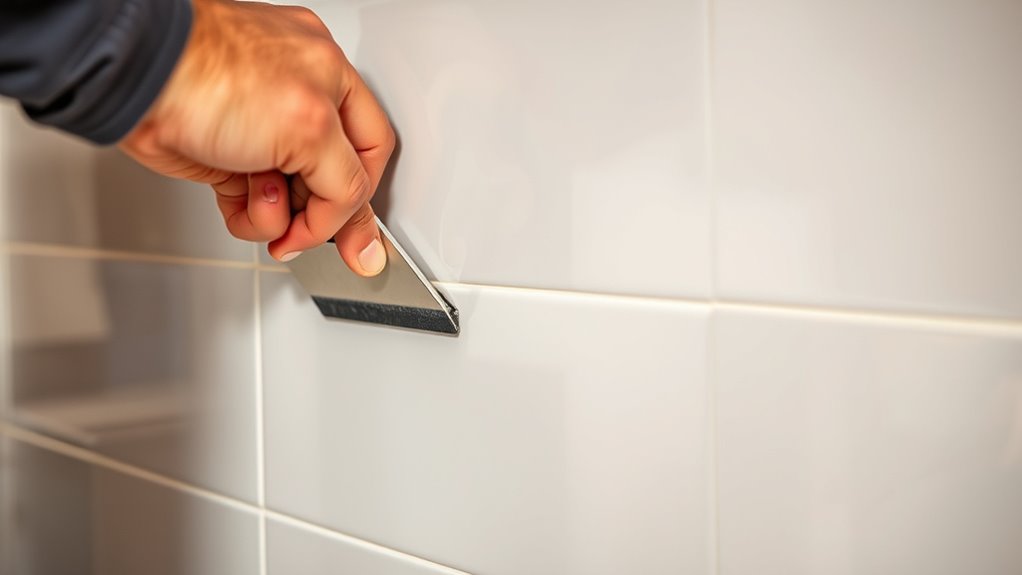
Sealing your grout is a crucial step to protect your work and achieve a professional finish. After allowing the grout to cure fully for at least 24 to 48 hours, you can apply a high-quality sealer with a brush or applicator for an even coat. Follow the manufacturer’s instructions carefully, especially regarding curing time and drying periods between coats. It’s best to apply thin coats of sealer, applying multiple layers if needed, to ensure thorough coverage without over-application, which can lead to uneven finishes. Wait at least 24 hours after sealing before exposing your grout to water or heavy use. Regularly inspect your sealed lines and reapply sealer every one to two years to maintain a strong, protective barrier against stains, mold, and mildew, ensuring durability and a professional look.
Frequently Asked Questions
How Do You Grout Professionally?
To grout professionally, you hold your grout float at a 45-degree angle and press grout firmly into the joints, working in small sections to keep control. Use a damp sponge to wipe away excess grout diagonally, avoiding the joints. Wait the recommended time before polishing the haze with a soft cloth, and let the grout cure fully for 24-48 hours before sealing, ensuring a smooth, durable finish.
How to Grout Tiles Step by Step?
Grouting tiles might feel like trying to tame a wild beast, but with the right steps, you’ll master it easily. First, mix your grout to a peanut butter consistency and let it slake. Apply it diagonally into joints with a rubber float, pressing firmly. Wipe excess with a damp sponge after 15-30 minutes, then buff the surface in circles. Let it cure for 24 hours before sealing for a professional finish.
What Is the Procedure of Grouting?
You mix the grout to a smooth, peanut butter-like consistency, following the instructions. Then, press it into the joints with a float held at a 45-degree angle, making sure all gaps are filled. After a few minutes, wipe off excess with a damp sponge. Finally, clean and polish the tiles to remove haze, and let the grout cure for 24 to 72 hours before sealing for durability.
What Are the Phases of Grouting?
Imagine you’re about to transform a dull, cracked surface into a masterpiece—that’s what understanding the phases of grouting does. You start by cleaning the surface thoroughly, then mix the grout until it’s perfect. You press it into joints with precision, clean off the excess, and let it cure. Finally, you seal and finish, making your work last forever. Master these phases, and you’ll achieve professional results every time.
Conclusion
Now that you know how to grout like a pro, you’re ready to transform your space with confidence. Did you know that properly sealed grout can last up to 15 years? That’s like a decade and a half of flawless, stain-resistant tiles! With patience and the right techniques, you’ll achieve a professional finish that stands the test of time. So, roll up your sleeves and enjoy the satisfying process of perfecting your grout work.