Transforming old doors into stunning headboards is a fun, budget-friendly project. Start by selecting a vintage door with charming details, measure your bed, and trim it to fit perfectly. Sand, clean, and fill imperfections before painting or staining. Add decorative trim or molding for a custom look, and attach support boards for stability. Finish with your favorite paint or distress techniques. If you keep exploring, you’ll discover creative ways to personalize your unique headboard even further.
Key Takeaways
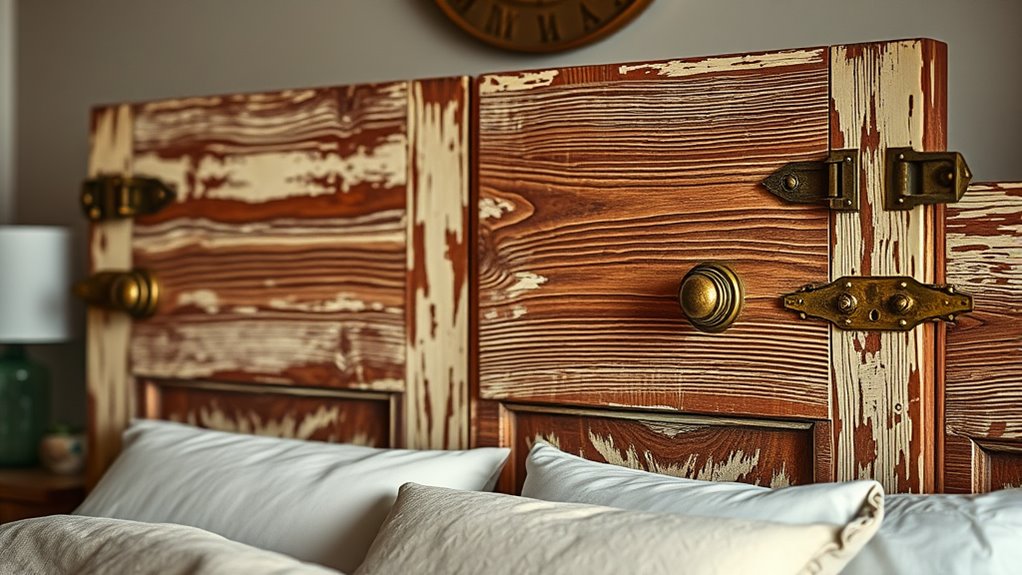
- Select vintage doors with charming, aged features that complement your bedroom style and ensure symmetry for a balanced headboard.
- Measure, trim, and sand the door to fit your bed’s width and desired height, maintaining a polished, even surface.
- Finish the surface with paint, stain, or distressing techniques, then seal for durability and personalized aesthetic.
- Attach decorative trim, support boards, and hardware to enhance design, stability, and character.
- Mount the headboard securely on the bed frame or wall, adding hardware details for a stunning, customized look.

Heavy Duty 4 Wheel Mobility Scooters for Seniors & Adults 500lbs Capacity - Electric Powered Chair - 1000W All Terrain Fast Mobility Scooter for Travel w/Long Range Battery Remote Key
- Speed Control: Adjustable 1-15 mph speed
- All-Terrain Tires: 16-inch fat tires for rough terrain
- Safety Features: Anti-tippers and full lighting system
As an affiliate, we earn on qualifying purchases.
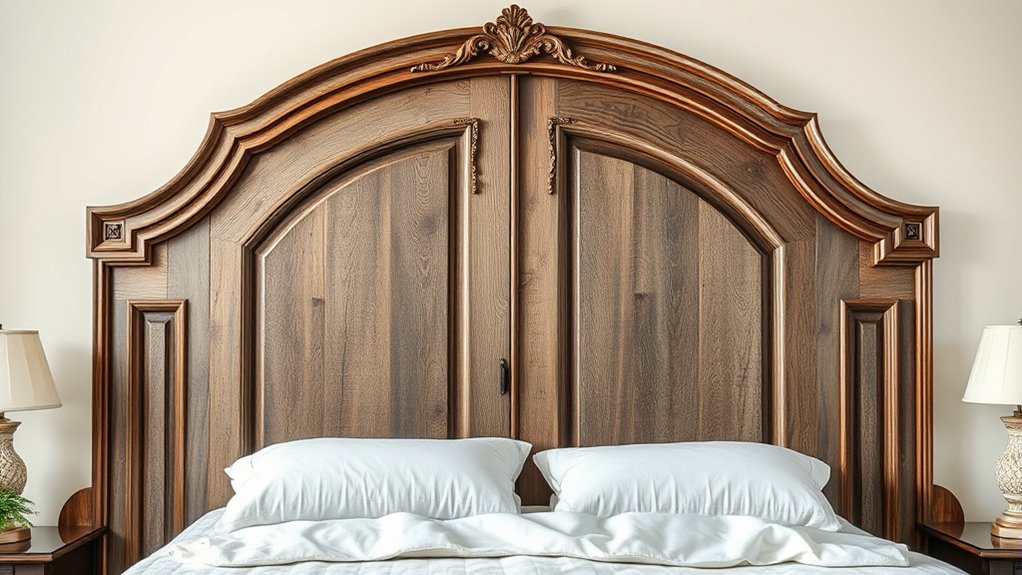
Selecting the Perfect Vintage Door for Your Headboard

When choosing a vintage door for your headboard, start by considering the door’s size and style. Most vintage doors suitable for a headboard measure around 80 inches in height, making them ideal for standard beds. The width varies depending on your bed size: about 60 inches for a queen or 76 inches for a king. For a balanced look, ensure the panels are symmetrical when turned sideways. Many salvaged doors fit well for king or queen beds without trimming, but you might need to cut from both ends to match your bed frame’s width and keep the design centered. Focus on doors with charming characteristics like a distressed, “chippy,” or aged finish. Architectural salvage shops, antique stores, and online marketplaces are excellent sources for finding the perfect vintage door to create a stunning headboard. Additionally, practicing mindful decluttering strategies can help you organize your space and make your decorating project more enjoyable and sustainable. Incorporating vintage design elements can also enhance the overall aesthetic and give your room a unique, personalized touch. Exploring sustainable renovation techniques can further ensure your project remains eco-friendly and cost-effective. Moreover, considering organic farming methods for your garden or space can promote sustainability and environmental health. Keeping in mind the importance of financial literacy can also help you budget effectively for your renovation and decorating projects.
Measuring and Trimming the Door to Fit Your Bed Frame
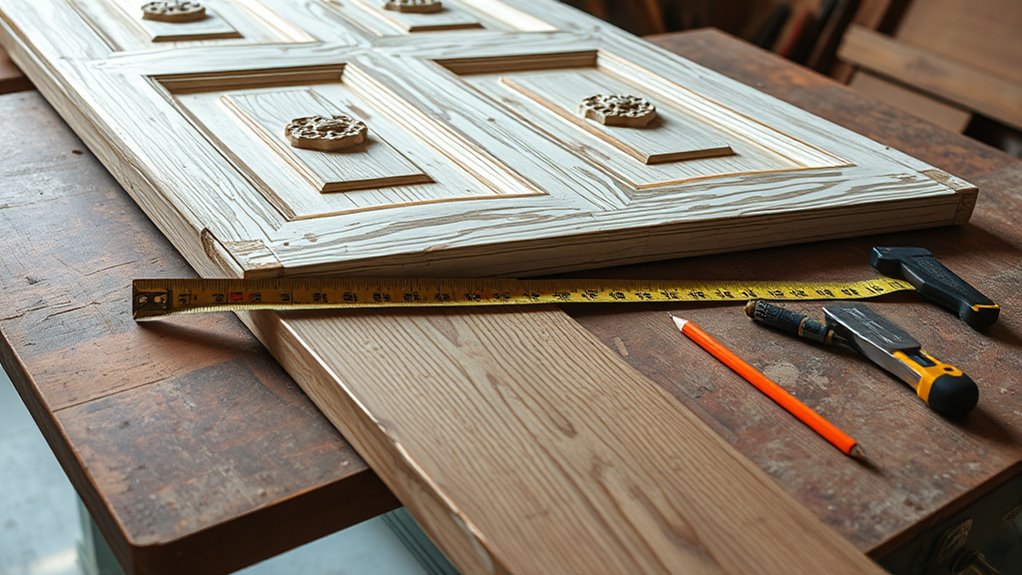
Start by measuring your bed frame’s width and adding a few inches to guarantee the headboard extends slightly beyond the sides for a balanced look. Next, determine the ideal height, usually around 38-40 inches from the floor, and mark where you’ll trim the door. Use a level and measuring tape to make precise cuts, trimming evenly from both ends if needed to keep it centered and proportional. To enhance the farmhouse aesthetic, consider choosing a door with vintage charm, which will add character and authenticity to your headboard. Additionally, selecting a door with appropriate material can help ensure durability and style, especially if you plan to paint or stain it for a customized finish. Staying informed about Legislative changes can also help if you’re considering any modifications or upgrades to your DIY project. Incorporating removable hardware can also make future adjustments or maintenance easier, and choosing a door with good insulation qualities can add extra comfort if the headboard is in a drafty space.
Determine Ideal Height
To determine the ideal height for your door headboard, begin by measuring from the floor to the top of your mattress. This assures your headboard complements your bed without overwhelming or underwhelming the space. Consider these steps:
- Decide on a headboard height that leaves about 1-2 inches above the mattress for a balanced look.
- Check the standard headboard range, typically 38 to 54 inches, but customize based on your bedroom style. Customizing headboard height
- For an 80-inch door, trim the door to your desired height, adding decorative trim if needed, and ensure the top edge is clean and finished. Additionally, selecting sustainable materials can enhance the environmental friendliness of your project.
- Remember that environmental impacts of materials used can influence your choice of wood or alternative materials, promoting sustainability in your project. Using eco-friendly and sustainable materials can also contribute positively to the environment.
Use a level and measuring tape for accuracy, double-check your measurements, and mark your trimming lines carefully. Incorporating proper tools ensures a precise cut and a professionally finished headboard. This process guarantees a perfectly fitting door headboard.
Select Proper Width
Measuring the width of your bed frame guarantees your door headboard fits perfectly and looks balanced. To make sure, start by selecting a door at least as wide as your desired headboard, matching or slightly exceeding your mattress width (e.g., 60 inches for queen). Use a measuring tape to determine the exact width. If the door is wider, you’ll need to trim it evenly from both ends. Keep in mind the design’s symmetry when turning the door sideways. Use a straight edge and mark your cut lines carefully, accounting for the saw blade’s thickness to avoid removing too much material. Here’s a quick guide:
| Bed Size | Typical Width | Door Width to Make Sure |
|---|---|---|
| Queen | 60 inches | At least 60 inches |
| King | 76 inches | At least 76 inches |
| Full | 54 inches | At least 54 inches |
| Twin | 39 inches | At least 39 inches |
Being aware of pinball machine design can help you choose the right shape and size for your headboard to ensure durability and aesthetic appeal. Additionally, considering the material strength of the door can prevent warping or damage over time. Ensuring proper structural integrity will also contribute to the longevity of your headboard project. Incorporating electric bikes into your planning can inspire creative features, such as integrated lighting or charging stations, to enhance your headboard’s functionality. Recognizing TikTok trends related to DIY furniture can also provide you with innovative ideas and inspiration.
Trim for Balance
Have you determined the ideal height for your headboard? Trimming the door guarantees it fits your bed frame and maintains balance. To do this effectively, follow these steps:
- Measure the bed frame’s width to match or slightly overhang the headboard.
- Mark the desired height, ensuring the top is even and proportionate to your mattress.
- Use a level and measuring tape to draw precise cut lines, paying close attention to decorative panels for symmetry.
- Be mindful of the angel number meanings associated with love and relationships, as the symbolism can inspire your design choices for a heartfelt touch.
When trimming, cut from both ends if needed to keep the design centered, and sand the edges smooth for a professional look. This process helps create a balanced, visually appealing headboard that complements your bed and room.
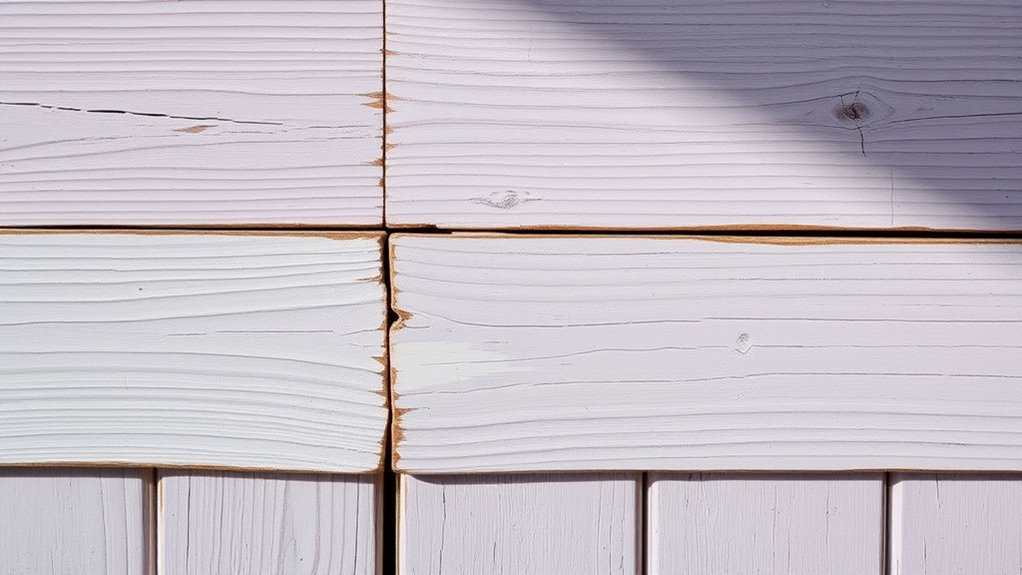
Preparing the Door Surface for Painting or Staining
Before you start painting or staining your reclaimed door, it is essential to prepare its surface thoroughly. Begin by cleaning the door with soap and water or a mild cleaner to remove dust, dirt, and grease, ensuring a clean base for your paint or stain. Lightly sand both sides with medium-grit sandpaper (around 120-150 grit) to create a smooth surface and improve adhesion. Fill any holes, cracks, or imperfections with wood filler or Bondo, then sand smooth once dry. Remove all sanding dust using a tack cloth or vacuum with a brush attachment to prevent debris from interfering with your finish. If the door has a glossy or uneven surface, applying a primer is recommended. Always test your paint or stain on a small hidden area first for best results. Additionally, understanding the importance of surface preparation can significantly enhance your final finish and durability of your project.
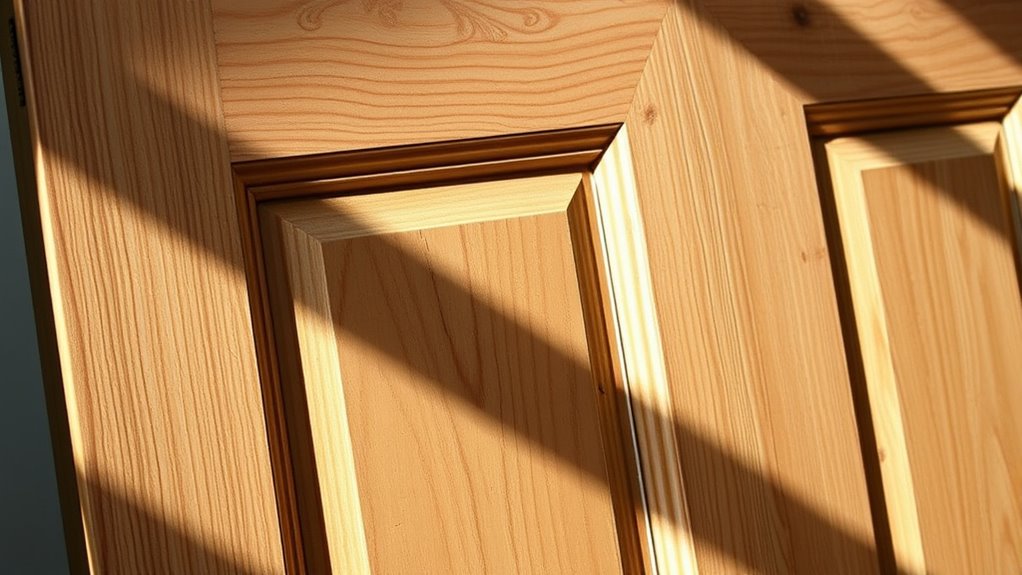
Adding Decorative Trim and Molding for a Custom Look
Adding decorative trim and molding can instantly elevate the look of your reclaimed door turned headboard, giving it a polished, custom touch. First, measure and cut a 1 x 3 flat board slightly longer than the width of your headboard made, using a miter saw to cut clean, precise edges. Next, attach the flat board to the top edge, ensuring it’s flush at the back and overhanging evenly on both sides for a seamless finish. Finally, cut picture molding or shingle molding to length, adding extra inches for mitered corners at 45 degrees to create seamless joints. Nail the molding into place, then fill joints and nail holes with wood filler or caulk. Lightly sand, then paint or stain to match, blending the joints for a cohesive, custom look.
Attaching Support Boards and Ensuring Structural Stability
To guarantee your reclaimed door headboard stays sturdy and secure, attaching support boards correctly is essential. Support boards provide the necessary stability by reinforcing the door’s structure. Cut two 2×4 boards to about 57 inches, and paint or stain them to match your decor before attaching. Screw the support boards into the back of the door, ensuring they are flush and evenly spaced, using long wood screws and washers for a tight fit. Position the boards so they touch the floor, which helps keep the headboard stable while allowing easy repositioning. Adding felt pads or furniture sliders to the bottom of the support boards prevents floor damage and makes sliding easier. Properly installed support boards are key to a secure, long-lasting headboard.
Mounting the Headboard on the Bed Frame or Wall
You can mount your reclaimed door headboard directly onto the bed frame or attach it to the wall for a secure and stylish look. For mounting on the bed frame, use long screws and nuts to guarantee the headboard is level and firmly attached. Alternatively, wall-mounting offers a sleek, space-saving option with hardware like French cleats or tracking systems. Consider these steps:
- Position the headboard so it extends slightly below the mattress for balance.
- Use felt pads or furniture glides on the bottom to protect floors and ease repositioning.
- Check that the mounting hardware is secure and level before finalizing the setup.
Whether on the frame or wall, proper mounting guarantees your headboard stays put and adds aesthetic charm.
Finishing Touches: Painting, Sealing, and Distressing Techniques
Once your reclaimed door headboard is securely mounted, finishing touches can truly transform its appearance. Start by selecting a high-quality paint like milk paint or latex for a smooth, durable finish. For a vintage, distressed look, apply a single coat of milk paint, then gently use a paint scraper or fine-grit sandpaper to remove some areas, revealing underlying textures or layers. To achieve a seamless, blended appearance, lightly sand the painted surface between coats and after sealing to smooth brush strokes and enhance the distressed effect. Seal your work with a clear, matte or semi-gloss sealer such as Minwax Polycrylic to protect against chips and scratches while preserving the aged look. Experiment with colors, layering, or decorative accents to add depth and personality.
Personalizing Your Headboard With Unique Paint Finishes or Accents

Adding unique paint finishes and accents is a great way to personalize your reclaimed door headboard and make it truly yours. You can achieve a distinctive look by experimenting with different paint finishes. For example:
- Apply a milk paint finish with minimal coats for a distressed, vintage appearance that highlights the door’s character.
- Use contrasting or metallic paint accents on panels or edges to add visual interest and emphasize details.
- Incorporate stenciled patterns, decorative motifs, or hand-painted designs to transform the door into an artistic focal point.
Sealing your paint finish with a matte, satin, or high-gloss topcoat not only protects your design but also enhances the overall aesthetic. These accents and finishes give your headboard a personalized touch that reflects your style.
Tips for Maintaining and Caring for Your Vintage Headboard
Maintaining the beauty of your vintage headboard requires regular care and attention. To keep the paint looking fresh, clean your headboard weekly with a soft, damp cloth to remove dust and prevent buildup that can damage the finish. For deeper cleaning, use a gentle, non-abrasive cleaner or a mild soap and water mixture, avoiding harsh chemicals that could degrade the paint or wood. Periodically, apply a clear protective sealer like Minwax Polycrylic to preserve the distressed paint finish and prevent chipping. Keep your headboard away from direct sunlight and high humidity to avoid fading, warping, or cracking. Regularly inspect the paint for chips or damage, filling and touching up as needed to maintain its vintage charm and structural integrity.
Creative Variations and Alternatives for Upcycling Old Doors

You can customize your door headboard with various paint and finish styles to match your room’s vibe, from distressed looks to bold color blocking. Adding decorative molding or unique hardware, like vintage handles or brackets, boosts its character and visual appeal. Mixing and matching materials or hardware lets you create a truly one-of-a-kind piece that reflects your style.
Different Paint & Finish Styles
Choosing the right paint and finish styles can dramatically transform an old door into a stunning headboard. You can achieve various looks by experimenting with different paint and finish choices. For instance, using milk paint creates a distressed, vintage vibe with minimal effort, while a single color with lightly sanded edges delivers a charming farmhouse aesthetic. To add depth, consider applying contrasting or metallic paints on trim details for a modern or luxe effect. Additionally, selecting the right finish—matte, satin, or high-gloss—lets you customize the headboard’s appearance and durability. For added protection, a clear sealer like Minwax Polycrylic enhances the finish’s longevity and preserves the paint’s beauty. These options give you the flexibility to craft a headboard that perfectly suits your bedroom style.
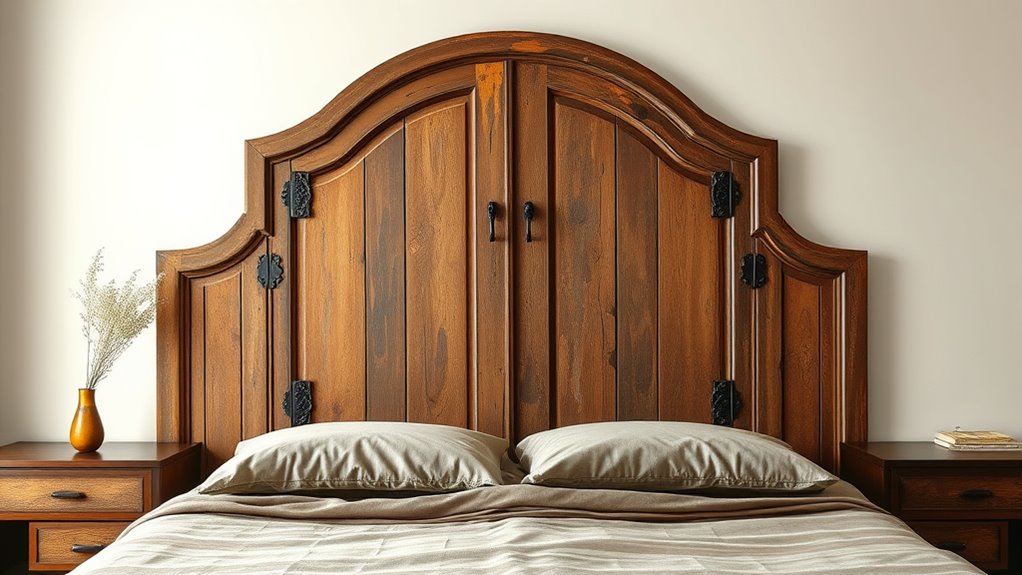
Incorporate Decorative Molding
Adding decorative molding to your upcycled door headboard is a simple way to elevate its style and create a more polished look. Decorative molding, like picture moulding, chair rail, or door and window casing, can be glued and nailed around the edges of old doors to add a custom, upscale detail. Use a miter saw to cut the molding at precise 45-degree angles for seamless corners that enhance the overall finish. You can also play with colors—contrasting or complementary—to highlight the molding and add visual interest. For a more elaborate design, consider framing inset panels or creating layered borders. You can even repurpose vintage trim or ornate crown molding to give your headboard a unique, personalized touch that transforms old doors into stunning bedroom focal points.
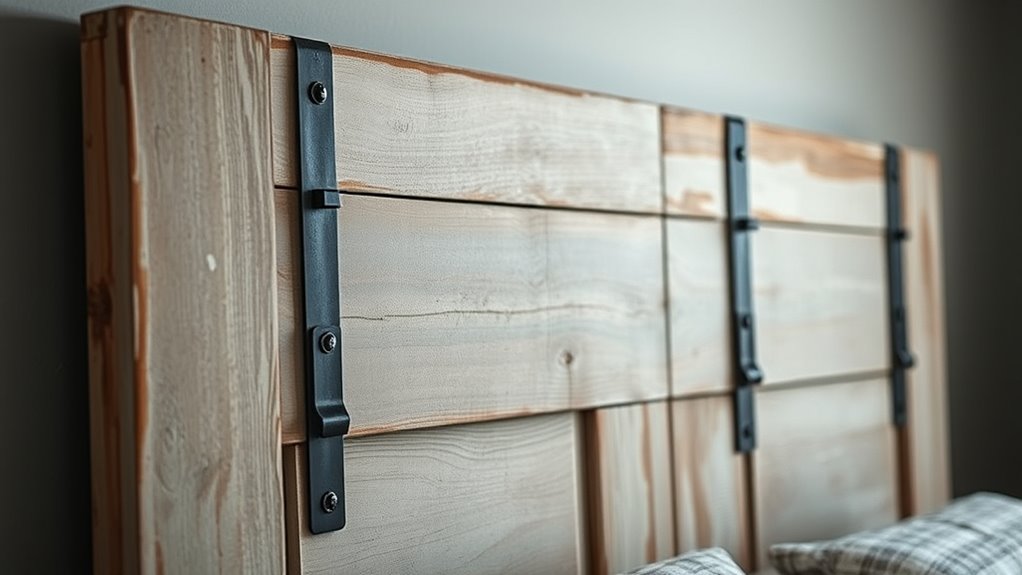
Use of Unique Hardware
Have you considered how unique hardware can transform your upcycled old door into a truly one-of-a-kind headboard? By choosing distinctive hardware, you add character and personality to your piece. For example:
- Use vintage door handles, knobs, or latch hardware to introduce charm or functional elements like a bookshelf or storage pocket.
- Replace traditional hardware with decorative brackets, leather straps, or metal bands for a sleek, industrial look.
- Attach antique or salvage hardware—such as ornate hinges or vintage door knockers—as accents along edges or panels, creating a layered, eclectic aesthetic. Magnetic or adhesive hardware options also allow for easy customization, letting you swap decorative accents over time. Incorporating these creative hardware choices will make your upcycled old door headboard truly stand out.
Frequently Asked Questions
What Is a Floating Headboard?
A floating headboard is a wall-mounted piece that creates the illusion of floating above your bed. You secure it with hidden brackets or track systems, giving your space a sleek, modern look. Unlike traditional headboards, it doesn’t attach to your bed frame, making it easy to adjust height and style. This design can be customized with different materials, helping your bedroom feel more spacious and stylish.
How Can I Decorate My Bed Without a Headboard?
You can turn your bed into a stunning centerpiece without a headboard by thinking outside the box. Hang a bold piece of wall art or a tapestry that practically screams style. Add floating shelves or a giant chalkboard for personality. Use plush pillows or a bed skirt to create cozy framing. Paint an eye-catching accent wall, or place a chic bench at the foot of your bed to boost both function and flair.
How Do You Make It Look Like You Have a Headboard?
To make it look like you have a headboard, start by attaching decorative trim or molding along the top edge of your door, giving it a classic headboard profile. Paint or stain it in a color that matches your bedroom decor, and add fabric panels or upholstered inserts for softness. Mount the door at the right height behind your bed, ensuring it’s securely framed or wall-mounted to complete the illusion of a stylish, custom headboard.
How to Attach Headboard to Wood Frame Without Holes?
Imagine your bed as a stage, and the headboard as the star. To attach it without holes, you can use furniture-grade brackets or L-brackets on the back, secured directly to the frame, keeping the surface pristine. Alternatively, wall-mounted solutions like French cleats or tracking systems act as invisible hands, holding your star in place. Heavy-duty Velcro or elastic bands also work, ensuring your headboard stays put without a single hole.
Conclusion
Transforming old doors into stunning headboards isn’t just a project—it’s the secret to turning your bedroom into a palace of vintage charm and personality. With a little creativity and effort, you’ll create a masterpiece so breathtaking, guests will swear you hired a professional designer. Get ready to wake up every morning feeling like royalty, surrounded by the most incredible, one-of-a-kind headboard your house has ever seen. Your bedroom will never look the same again!