
To paint furniture without stripping, start by thoroughly cleaning the surface with soap and water or a deglosser like Krud Kutter Gloss-Off to remove grease and gloss. Remove hardware carefully, then apply a deglosser in circular motions to prepare the surface. Use a high-quality primer suited for glossy finishes and finish with thin, even coats of your chosen paint, followed by a protective top coat. For detailed tips on achieving a professional look, keep going—there’s more to discover.
Key Takeaways
- Use deglossers like Krud Kutter Gloss-Off to chemically remove the existing finish without sanding.
- Apply a high-quality primer designed for glossy surfaces to enhance adhesion and coverage.
- Choose durable, high-quality paints such as chalk, milk, or latex for better results without stripping.
- Lightly sand or degloss the surface if necessary, focusing on smoothing rather than complete removal of old paint.
- Finish with a protective top coat to seal the paint and prolong the furniture’s new look without stripping.

Sophia & William Patio Outdoor Table and Chairs Set, Patio Dining Sets for 8, 9 Pieces Patio Table Set Acacia Wood Table Expandable and Rattan Chairs for Backyard Deck Porch Outside
Premium Outdoor Dining Set: The outdoor table and chairs are made of 100% tough and abrasion-resistant Acacia wood,...
As an affiliate, we earn on qualifying purchases.
Assessing and Preparing Your Furniture for Painting

Before you start painting, it is essential to assess and prepare your furniture properly. Begin with thorough cleaning using a solution like TSP or a TSP substitute to remove grease, grime, and dirt, ensuring good paint adhesion. Next, use a deglosser such as Krud Kutter Gloss-Off with a lint-free rag or steel wool to safely remove the gloss without sanding, promoting better paint grip. Remove all hardware and detailed components to prevent damage and achieve a smooth finish. Carefully inspect the surface for damage or imperfections, repairing cracks or dents with wax fill sticks or epoxy. Additionally, check the furniture’s structural integrity by tightening loose joints or fixing wobbliness. Recognizing potential trust issues and ensuring open communication can help prevent future setbacks. Proper surface preparation sets the foundation for a flawless, long-lasting paint job. Incorporating knowledge of preppers pack crossword can also remind you to double-check your tools and supplies, ensuring everything is ready and accounted for before starting the project. Engaging in sound healing science techniques, like listening to calming music during prep, can improve focus and reduce stress, making the process more enjoyable. Understanding how dream symbols work can help you interpret subconscious signals you might experience during your project, such as feelings of frustration or satisfaction, which can influence your approach and mindset. Being aware of toilet flushing mechanisms and how they work can also help you understand how to conserve resources and avoid unnecessary waste during your DIY projects.

Wisteria Lane 9 Pieces Acacia Outdoor Patio Table and Chairs Set for 8, Patio Outdoor Dining Table Set with Cushion, Modern Outdoor Patio Table Set for Lawn Backyard Garden Deck, Beige
【Natural Elegance of Acacia Wood】Carefully constructed from solid acacia wood, this dining set highlights the natural grain and...
As an affiliate, we earn on qualifying purchases.
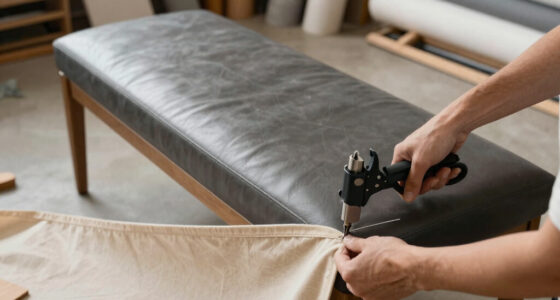
Removing Hardware and Cleaning the Surface Effectively
Start by carefully removing all hardware with a screwdriver to prevent damage and make cleaning easier. Next, clean the surface with a mixture of dish soap and water, scrubbing gently to remove dirt and grease, paying close attention to detailed areas with a soft brush. For enhanced skin hydration and nourishment, consider using an eye patch to prepare your skin for painting. Additionally, water-based cleaners can be effective for a thorough surface prep without harsh chemicals, and choosing the right surface material can improve the overall finish of your project. Using appropriate cleaning tools tailored to your furniture’s material can help ensure a smooth and even surface. Remember that selecting the appropriate cleaning method based on your furniture’s material can help achieve the best results. Finally, rinse and dry the surface thoroughly before testing the finish with mineral spirits to guarantee it’s ready for painting.
Hardware Removal Tips
Removing hardware from your furniture requires careful handling to prevent damage and guarantee a smooth painting process. Proper hardware removal and cleaning set the stage for a flawless finish. Here are essential hardware tips:
- Use the right screwdriver to prevent stripping screws or damaging surfaces during hardware removal. Carefully unscrew knobs, pulls, or hinges, and store them in labeled containers for easy reattachment.
- Clean hardware thoroughly with warm, soapy water or a degreasing cleaner to remove dirt, oils, and residues. Use a soft cloth or toothbrush to scrub intricate parts and crevices.
- If hardware is painted or corroded, soak it in rust remover or repaint after cleaning for a fresh look. Proper hardware care and preparation ensure your furniture looks its best after painting.
Surface Cleaning Methods
To guarantee your furniture is properly prepared for painting, you need to remove all hardware, such as knobs and handles, before cleaning the surface. This step ensures thorough surface prep and prevents damage. Use a soap solution made from liquid Ivory dish soap and water, and gently scrub the surface with a soft sponge to remove grease, dirt, and grime. Pay special attention to detailed areas like carvings and moldings by using a paintbrush dipped in the soapy water to reach hard-to-clean spots. After cleaning, rinse the surface with a clean, damp cloth to eliminate soap residue and prevent sticky buildup that could interfere with paint adhesion. Proper surface cleaning techniques can significantly improve paint adhesion and finish quality. Additionally, inspecting the surface for material compatibility ensures that the paint will adhere properly without damaging the furniture. Checking for previous finishes or coatings helps identify any treatments that might require special preparation or primer. Finally, dry the furniture thoroughly to avoid moisture damage and prepare it for priming or painting.
![[Hi-End]Cast Aluminum Patio Furniture Set 9-Piece Outdoor Dining Set Includes 86.6’’ Rectangular Patio Table with Umbrella Hole and 8 Cushioned Dining Chairs,Rust-Free for Patio Deck Garden Pool](https://m.media-amazon.com/images/I/51SvuTO39aL._SL500_.jpg)
[Hi-End]Cast Aluminum Patio Furniture Set 9-Piece Outdoor Dining Set Includes 86.6’’ Rectangular Patio Table with Umbrella Hole and 8 Cushioned Dining Chairs,Rust-Free for Patio Deck Garden Pool
DURABLE FOR ENJOYING EACH SUMMER AND FALL TIME: Materials manufactured in this 9-piece outdoor dining set are heavy-duty...
As an affiliate, we earn on qualifying purchases.
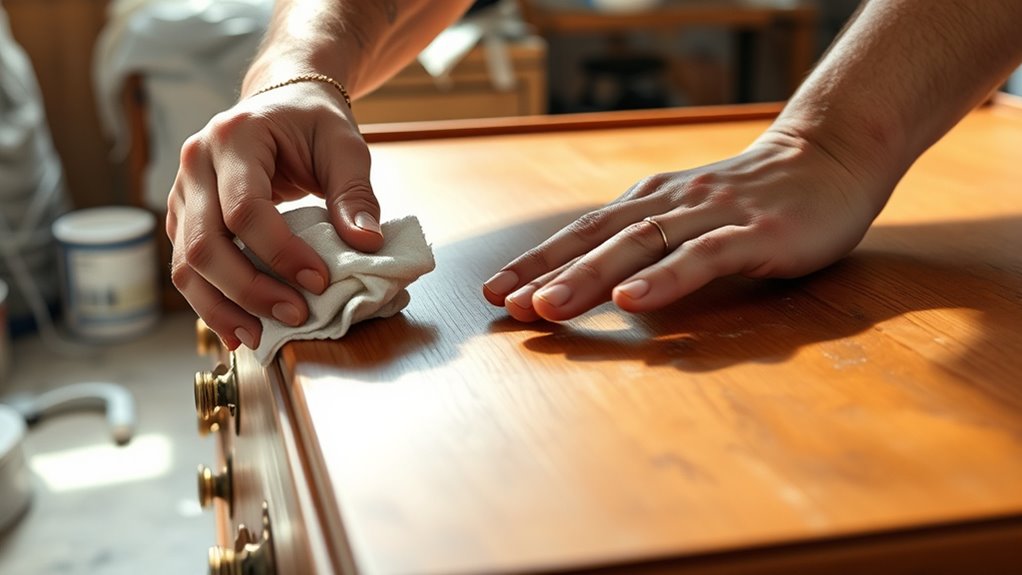
Using Deglossers to Prepare Without Sanding
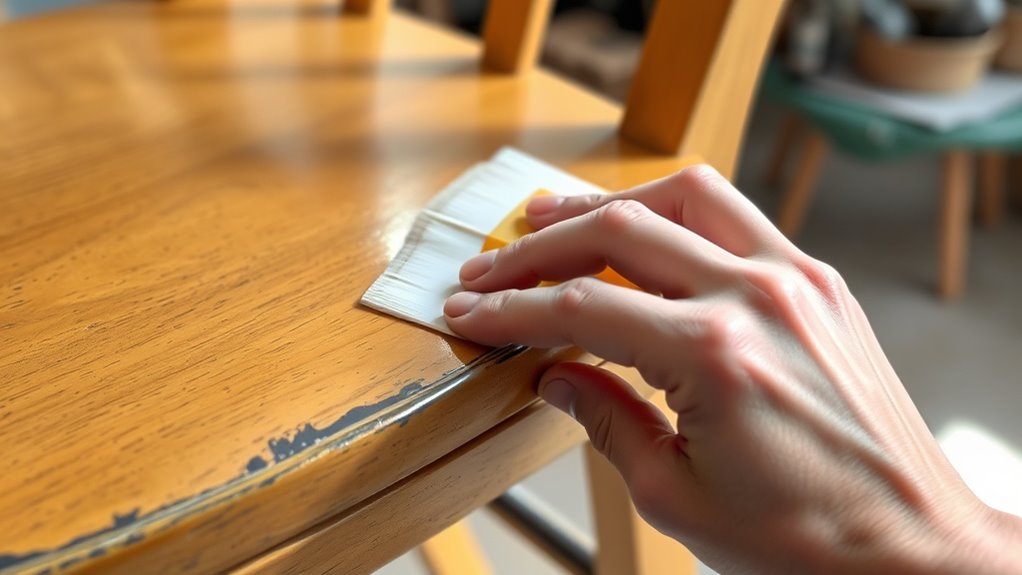
Using a deglosser like Krud Kutter Gloss-Off makes preparing furniture quick and easy by removing glossy finishes without sanding. Apply it with a lint-free rag or Scotch Brite sponge in circular motions, then wipe away any residue with a damp cloth before painting. When used correctly, deglossers save you time and provide a smooth surface for a flawless finish. Incorporating deglossers into your DIY furniture project helps maintain the integrity of the original material while achieving a professional look. Additionally, utilizing professional services can ensure that your furniture receives expert advice for optimal results. Utilizing automation technologies in the preparation process can further streamline your project and improve efficiency. Proper application and regular maintenance of the deglosser will help ensure long-lasting, high-quality results.
Benefits of Deglossers
Deglossers offer a straightforward way to prepare furniture for painting without the hassle of sanding. They chemically remove the glossy finish, improving adhesion and ensuring your paint or primer bonds well. Using a deglosser like Krud Kutter Gloss-Off saves time and effort, making prep faster and less messy. Here are some key benefits:
- They eliminate the need for sanding, reducing dust and debris.
- They penetrate the existing finish, allowing for better adhesion and a smoother final coat.
- They restore vintage or high-gloss furniture to a matte or satin finish, ready for painting with minimal surface disruption.
- Additionally, deglossers can be effective on various finishes, including some automotive paints, making them versatile for different projects.
- When choosing a deglosser, consider the type of finish on your furniture to ensure compatibility and optimal results.
- Proper application of deglossers can also help prevent future chipping and ensure a longer-lasting paint job.
Proper Application Techniques
Applying a deglosser correctly is essential for achieving a smooth, paint-ready surface without sanding. To do this, use proper application techniques by applying the deglosser with a lint-free cloth or Scotch Brite sponge in circular motions, applying even pressure. This ensures thorough removal of surface gloss, which improves paint adhesion. After applying, wipe away the residue with a clean rag or damp cloth to leave a clean surface for priming or painting. Allow the deglosser to sit for about an hour to ensure complete surface preparation. Avoid skipping steps—proper application techniques help you achieve even coverage and a better bond without the need for sanding, saving time and effort while providing a durable, professional finish.

SERWALL 9 Piece Outdoor Dining Set, 84" HDPE Outdoor Table and Chairs for 8,All Weather Patio Furniture Set with Umbrella Hole for Backyard, Garden, Gray
【Versatile 9-Piece Outdoor Dining Set】 Complete your outdoor space with this durable patio table and chairs set, featuring...
As an affiliate, we earn on qualifying purchases.
Applying Primer for Better Adhesion and Coverage
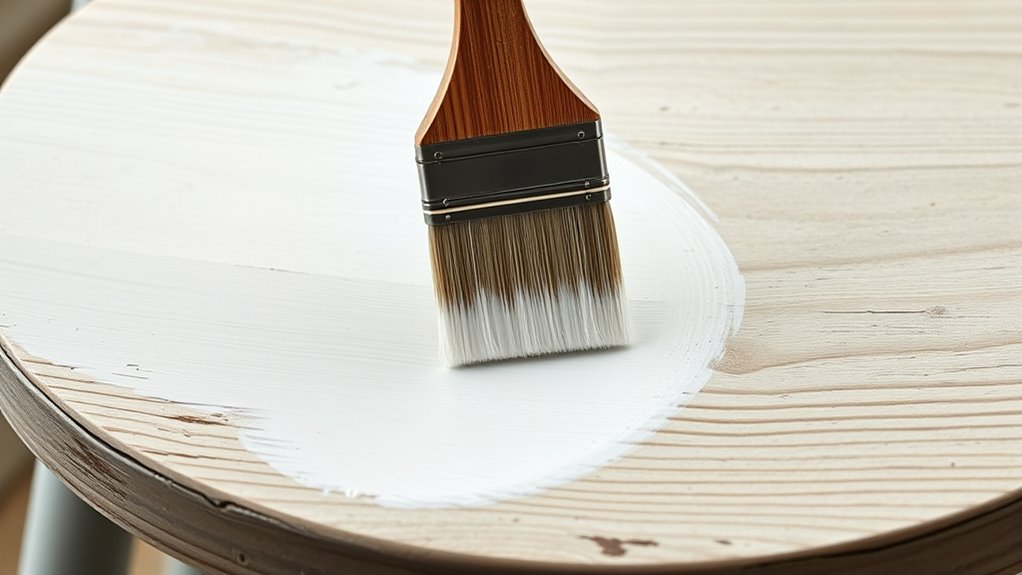
To guarantee your paint adheres properly and covers evenly, start with a high-quality oil-based primer. This creates a strong bond between the surface and your paint, improving adhesion without needing sanding. Applying two coats of primer boosts coverage, especially on glossy or sealed surfaces, reducing the number of paint coats you’ll need later. Primers formulated for glossy finishes help prevent peeling and chipping by providing a porous, matte surface for the paint to grip. Additionally, using spray primer in thin, even layers outside minimizes brush marks and speeds up drying, resulting in a smoother finish.
Here are some tips:
- Use a primer close in color to your final paint for better coverage.
- Apply two coats for ideal adhesion.
- Avoid sanding when using a quality primer designed for easy adhesion.
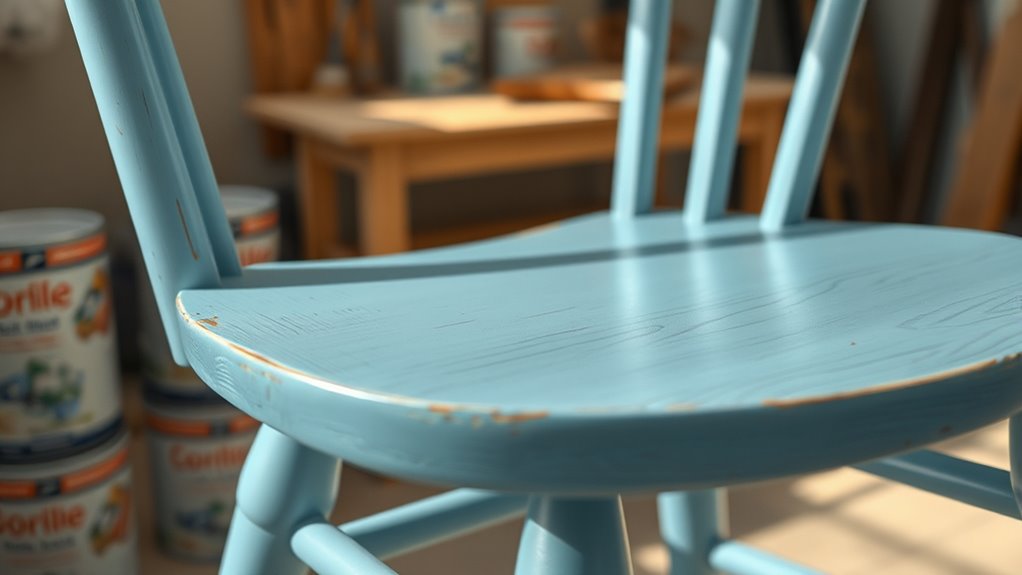
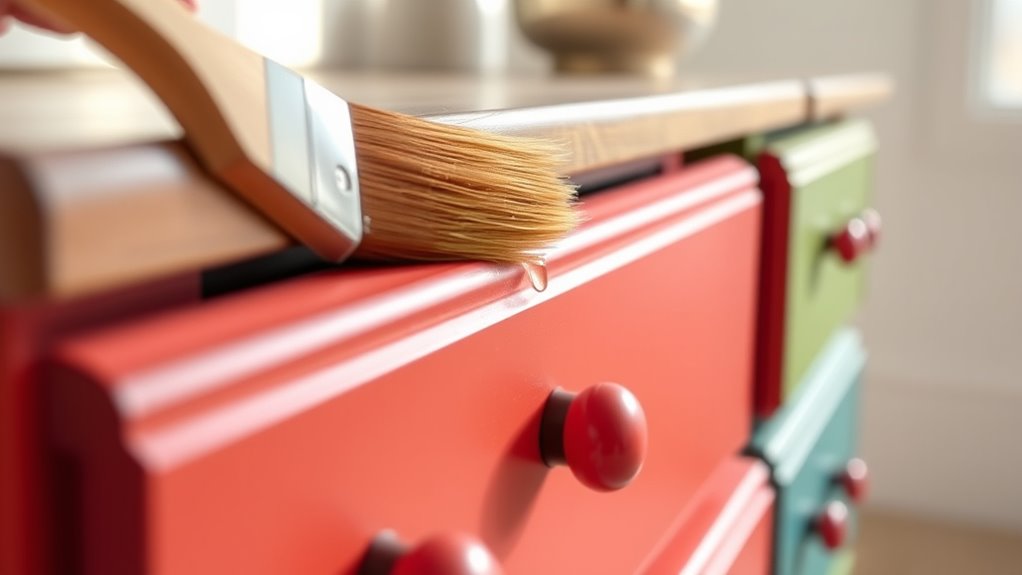
Choosing the Right Paint and Application Techniques

Choosing the right paint is essential for achieving a durable and attractive finish on your furniture without stripping the existing surface. High-quality paints like chalk, milk, or latex provide excellent coverage and durability, reducing prep work. For smooth application, use a foam brush or high-quality roller to minimize brush marks. Applying multiple thin coats (2-3), with proper drying time, ensures a smooth, even finish and better coverage. Using a primer formulated for glossy or coated surfaces enhances adhesion and color richness. Finish your project with a protective topcoat like polyurethane or polycrylic to extend the paint’s life.
| Paint Type | Application Tools | Finish Quality |
|---|---|---|
| Chalk, Milk | Foam brush, roller | Smooth, durable |
| Latex | High-quality brush | Even, long-lasting |
| Purpose-specific | Proper application | Rich coverage |
| Primer | Before painting | Better adhesion, finish |
Achieving a Smooth Finish Without Traditional Sanding
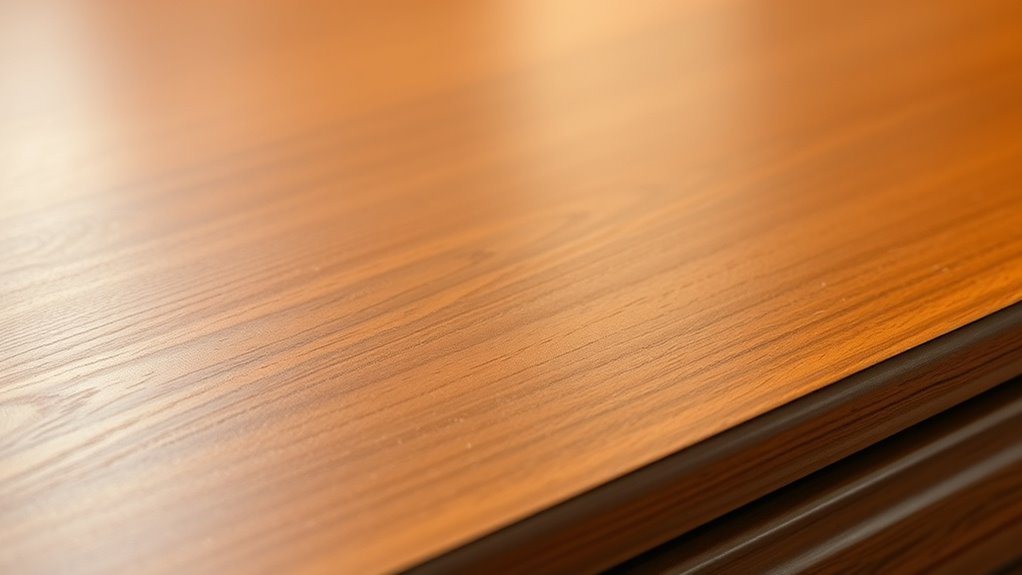
Achieving a smooth, professional-looking finish on your furniture doesn’t require traditional sanding if you use the right techniques. Start by applying a deglosser to remove gloss and prepare the surface for painting furniture without the sanding step. This helps reduce brush marks and creates a better bond for the paint. Use high-quality paint and apply it in thin, even coats with foam brushes or rollers, using long, consistent strokes for a flawless finish. Multiple coats, usually 2-3, ensure durability and a polished look. Between coats, a light, quick sanding isn’t always necessary but can be helpful. Instead, focus on proper application techniques and a good top coat to seal everything in and achieve a smooth, professional finish without extensive sanding.
Adding a Protective Top Coat for Durability
Applying a protective top coat is essential for enhancing your furniture’s durability and resisting everyday wear. Choose a high-quality polyurethane or polycrylic topcoat to safeguard your work. Apply two thin layers with a clean brush or foam applicator, working in smooth, even strokes to prevent streaks and bubbles. Lightly sand the surface with very fine grit sandpaper between coats to ensure better adhesion and a smooth finish. Allow each coat to dry completely, following the manufacturer’s recommended drying time of 2-4 hours, before applying the next layer. Opt for polyurethane if your furniture will be exposed to moisture, as it offers greater water resistance. For a clear finish that resists yellowing, polycrylic is a great choice. This topcoat will protect your painted furniture and extend its lifespan.
Reassembling and Final Touches for a Professional Look

Once the paint and topcoat are completely dry, you can begin reassembling your furniture. This step ensures a professional look with a seamless appearance.
After drying, carefully reassemble your furniture for a flawless, professional finish.
- Reattach hardware only after everything is fully dry to prevent smudging or damage. Use gentle pressure to avoid disturbing the paint finish.
- Gently buff the surface with a soft cloth or painter’s wax for a polished look and enhanced shine before final assembly.
- Double-check all joints and connections, tightening screws gradually to avoid damaging the fresh paint. After reassembly, touch up any small scratches or chips with matching paint. Finish by applying a protective top coat like polyurethane to lock in the paint and boost durability. These final touches will give your furniture a professional, long-lasting finish.
Tips and Tricks for Long-Lasting Results

To guarantee your painted furniture stays looking fresh and durable, it’s essential to follow some key tips and tricks. Start by applying a high-quality topcoat, like polyurethane or polycrylic, in two thin layers to boost durability and resistance to scratches. Lightly sanding between coats of topcoat enhances adhesion and creates a smooth, professional finish without damaging the paint. Use a proper brush or foam applicator to ensure even coverage, reducing streaks and bubbles that could compromise longevity. Allow the topcoat to cure fully—typically 24 to 48 hours—before using the furniture to prevent chipping or peeling. Also, select a topcoat suited for the furniture’s environment, such as water-based for indoor pieces or oil-based for high-moisture areas, to maximize protection over time.
Frequently Asked Questions
Can I Paint Furniture Without Stripping?
You can definitely paint furniture without stripping it first. Just make sure you clean the surface thoroughly and use a deglosser or spray to remove any gloss or varnish. Applying a high-quality bonding primer helps the paint stick better. This method works well on well-maintained furniture with minimal damage. Proper prep is key—clean, degloss, prime—and you’ll get smooth, durable results without stripping.
How Do You Get Paint off Furniture Without Ruining the Finish?
Did you know that 70% of furniture damage occurs from improper paint removal? To get paint off without ruining the finish, use a gentle solvent like mineral spirits with a soft cloth or plastic scraper. Test on a hidden spot first. Carefully work in a well-ventilated area, applying the remover gradually. For detailed areas, a cotton swab works best. Patience guarantees a safe, damage-free paint removal process.
Can I Paint Over Varnished Wood Without Sanding?
Yes, you can paint over varnished wood without sanding. Start by thoroughly cleaning the surface with a deglosser or liquid sander to remove the gloss. Apply a high-quality oil-based or bonding primer to help the paint stick better. Make sure the surface is dry, clean, and free of grease or wax. Once primed, you can paint directly over the varnish, achieving a smooth, durable finish without sanding.
Should You Paint Furniture With a Brush or Roller?
When deciding whether to paint furniture with a brush or roller, consider the surface and detail level. Use a brush for intricate areas, edges, and hardware, giving you precision and control. Opt for a roller on large, flat surfaces to cover more quickly and achieve a smooth finish. Many DIYers combine both tools: brushes for detail work and rollers for broad areas, ensuring a professional-looking result with less effort.
Conclusion
With these techniques, you’re armed to transform your furniture into timeless masterpieces without the harsh undertow of stripping. Think of your project as a delicate dance — each step deliberate, each stroke purposeful. As you seal in your work with a protective layer, you’re not just finishing a piece; you’re crafting a legacy that whispers elegance and durability. Embrace the process, and watch your furniture blossom into a stunning affirmation of your skill and vision.