
To patch wall holes like a pro, gather quality tools like a putty knife, joint compound, and sandpaper. Gently remove wall plugs using a screwdriver or pliers, then prep the area by cleaning dust and debris. Fill the hole smoothly, feather the edges, and sand once dry for a seamless look. Finish with primer and matching paint, blending carefully. Keep these smart tips in mind, and you’ll master the art of flawless wall repairs.
Key Takeaways
- Gently remove loose debris and dust for better adhesion before applying patching materials.
- Use a putty knife to feather the joint compound beyond the hole for a seamless blend.
- Opt for quick-drying putty sticks and touch-up pens for small holes to save time.
- Sand patches thoroughly once dry, then prime and paint with thin, even coats for a flawless finish.
- Keep tools organized and work in stages to ensure precision and a professional-looking repair.

BigWig Prints Soccer Poster - Soccer Decor For Boys Bedroom, Messi And Ronaldo Poster, Messi Posters For Boys Bedroom, Mbappe Wall Art, Neymar Wall Art, Ronaldo Posters - Unframed Set Of 9 (8x10”)
Inspirational Soccer Poster: Kick off your room's decor with our Set of 9 (8x10") Unframed soccer posters, featuring...
As an affiliate, we earn on qualifying purchases.
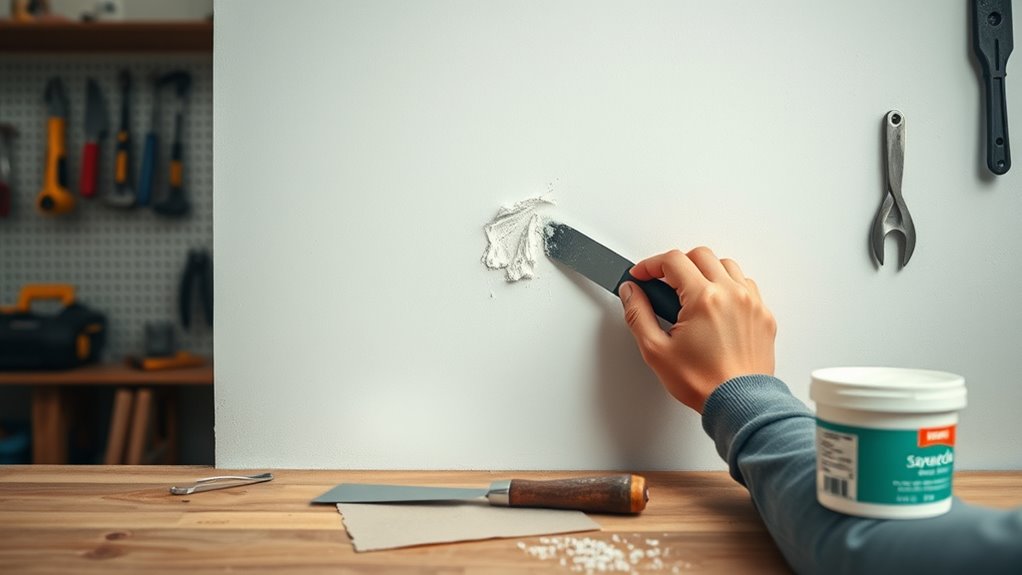
The Essential Materials That Make Wall Patching Easy

To patch walls effectively, you need the right materials to make the process smooth and successful. First, grab a putty knife—this tool helps you evenly spread joint compound over holes, creating a smooth surface. Use a high-quality joint compound to fill in the gaps and holes; it’s essential for a seamless finish. Once the compound dries, grab some sandpaper—medium to fine grit—to gently sand the patched area until it’s flush with the wall. This step ensures a smooth surface ready for priming and painting. Incorporating proper surface preparation techniques can further improve the adhesion and durability of your patch. Additionally, choosing the right angle for patching can influence how well the repair blends with the surrounding wall. Being mindful of lighting conditions can also help you assess the smoothness and uniformity of your repair as you work. Proper tool handling techniques can prevent damage to the surrounding wall and make your patching more precise. Utilizing the right patching materials can also significantly enhance the overall appearance and longevity of your repair. Having these materials on hand makes your patch jobs look professional and neat. With the right tools and supplies, you’ll save time and effort, achieving flawless results every time.

Soccer Gifts for Boys 8-12 Poster Men Stuff Boy Room Decor Wall Art Vintage
⚽ ULTIMATE SOCCER GIFTS FOR MEN - Perfect vintage soccer wall art that every football fan will treasure,...
As an affiliate, we earn on qualifying purchases.
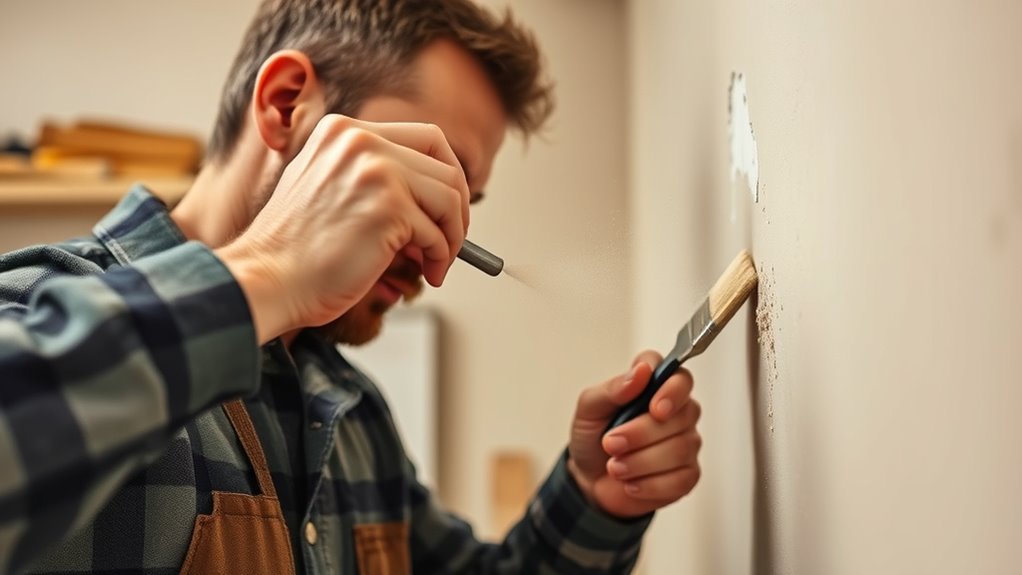
The Smart Way to Remove Wall Plugs Without Damage
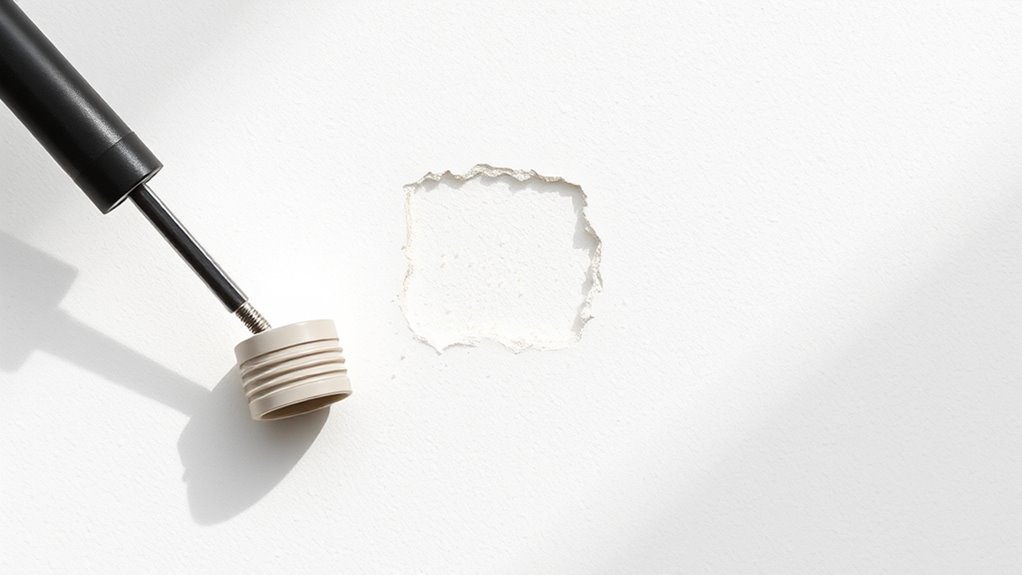
Removing wall plugs without causing damage requires a careful approach. Start by gently screwing the wall plug back into the wall until it sits flush, which can help loosen it without tearing the drywall. For stubborn plugs, use pliers to grip the screw’s sharp end and carefully lever it out, minimizing drywall damage. Before patching, clear debris and loose drywall around the hole, then scrape chipped paint and wipe the area with a damp cloth for a clean surface. If the wall plug refuses to budge, you can carefully drill around it or gently tap it out with a hammer and chisel, avoiding enlarging the hole. Using these patching techniques preserves your wall’s integrity and ensures a smooth finish once repaired. Additionally, considering remote work benefits can motivate you to take on DIY projects at home, making it a productive and satisfying task.

Korser Recliner Sofa, Reclining Loveseat with Console, Oversized Reclining Couch with Drop Down Table, 3-Seater Sofa with Cup Holder and Recessed Power Strip, Grey
3-Seat Manual Reclining Sofa: Korser 3 seater couch adopts split backrest design, and the seats on both sides...
As an affiliate, we earn on qualifying purchases.
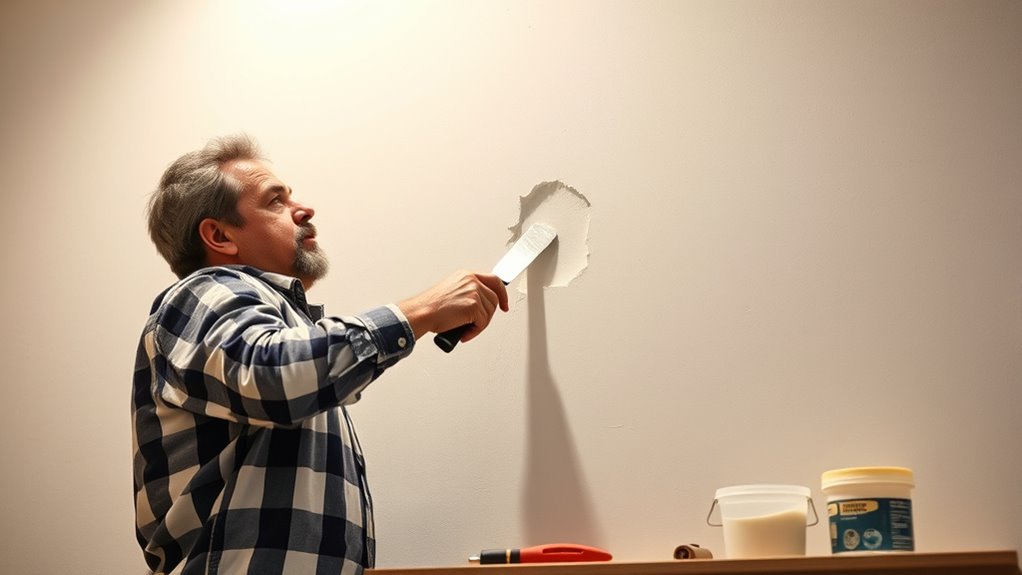
Step-by-Step Technique for Flawless Wall Patches
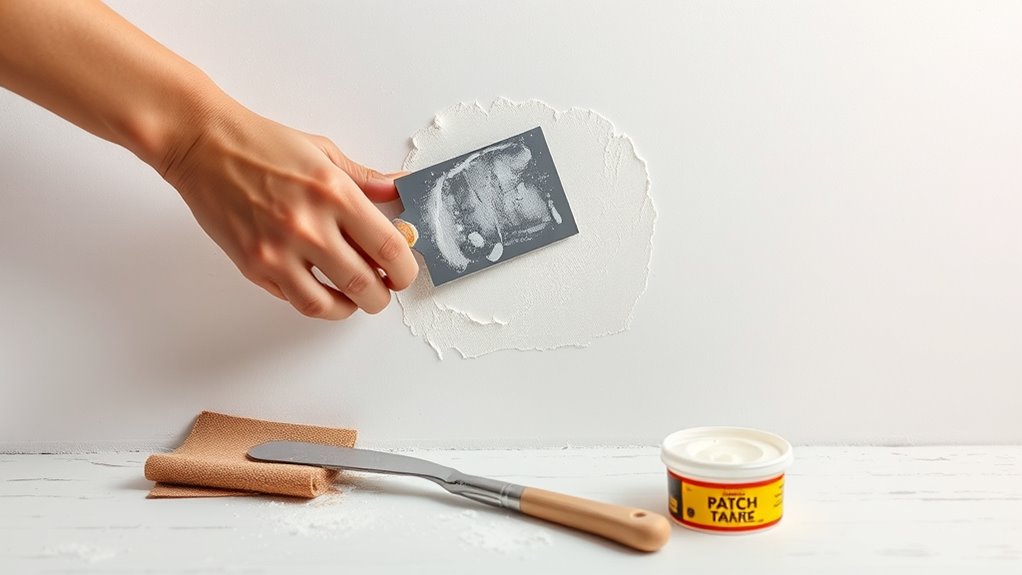
Achieving a seamless wall patch starts with preparing the surface properly. Use a putty knife to remove loose debris around the hole and smooth the area for better adhesion. Your patching technique should involve applying a thin layer of joint compound over the hole, slightly overlapping the edges and feathering outward to blend with the wall. Allow the compound to dry completely, usually overnight, then sand it with medium- and fine-grit sandpaper until flush with the wall surface. Wipe away dust with a damp cloth before priming and painting. For the smoothest finish, carefully match the wall paint color and apply in thin, even coats. This step-by-step process ensures your repair is virtually invisible and professional-looking.

URRED Power Loveseat Recliner Sofa with Massage and Heat, Wall Hugger Reclining Loveseat with Console, RV Couch Home Theater Seating with LED Lights for Living Room (Dark Brown, 67" - 2 Seats)
Power Reclining Comfort: One-touch control lets you smoothly adjust the backrest and footrest for personalized comfort. Reclines up...
As an affiliate, we earn on qualifying purchases.
Finishing Touches: Blending and Painting Like a Pro
For a seamless finish, start by priming the patched area with a high-quality wall primer. This locks in the repair and prepares the surface for an even paint finish. When painting, use feathering techniques—extend your brush strokes beyond the patch edges to blend the new paint smoothly with the surrounding wall. Match the existing wall finish, whether matte, eggshell, satin, or semi-gloss, to prevent noticeable differences. Apply multiple thin coats of paint instead of one thick layer, ensuring an even, professional look. After painting, step back and inspect the area under different lighting conditions. Make final touch-ups as needed to eliminate any visible discrepancies. These finishing touches will help your repair blend flawlessly, leaving your wall looking freshly restored. Additionally, paying attention to environmental considerations such as minimizing paint fumes and proper disposal can contribute to a safer and more sustainable repair process. Incorporating proper surface preparation can further enhance the durability and appearance of your paint job, especially when considering the moisture levels in the wall to prevent future issues. Properly assessing wall materials can also improve the overall quality of your repair.
Bonus Tips for Quick Repairs and Perfect Results
To get quick, professional results, start by wiping away dust and loose debris with a damp sponge or cloth before applying any patching material. For small holes, use an easy-to-use, quick-drying putty stick to fill the gap, then conceal it with a color-matched touch-up pen for a seamless look. Recognizing soulmate angel numbers can also help you understand the emotional context of your repairs and relationships. Here are bonus tips for flawless repairs: 1. Sand once the joint compound changes color and feels firm to ensure a smooth, durable surface. 2. Feather the edges of primer and paint beyond the patch for a natural blend with your wall. 3. Keep your tools organized and ready beforehand, so your repair process flows smoothly without multiple trips. Additionally, using the right patching materials can make a significant difference in the durability of your repair, and choosing high-quality products can lead to better exfoliation results. Incorporating proper waterproofing techniques can also help prevent future damage in areas prone to moisture. For example, understanding celebrity transformations can inspire you to approach your home repairs with a fresh perspective, making the process more enjoyable. These simple steps help you fix cracks and holes quickly and achieve professional results every time.
Frequently Asked Questions
What Is the Best Thing to Repair Holes in Walls?
When repairing holes in walls, you’ll want to choose the right method based on size. For small holes, use quick-dry spackle or repair sticks for a quick, seamless fix. For larger damage, opt for a drywall patch or mesh repair kit, combined with joint compound for strength and invisibility. Always prep the surface properly, cleaning debris and applying primer before painting for a professional finish.
How Do You Fill Holes in Walls Hacks?
Did you know that over 85% of homeowners patch wall holes themselves? To fill holes, start by removing loose debris for a smooth surface. Use a putty knife to apply spackle or joint compound, feathering the edges for seamless blending. Let it dry overnight, then sand smooth. Finish with priming and painting to match your wall. Quick, simple hacks make wall repairs nearly invisible and professional-looking.
How Can I Make a Hole in the Wall Look Better?
To make a hole in the wall look better, start by filling it with spackle or joint compound, feathering the edges outward for a smooth shift. Sand the area once dry, then apply a primer before painting to guarantee a seamless finish. For larger holes, add a patch and texture it to match the wall. Hang artwork or furniture over the spot to distract from the repair and improve the overall look.
What Is the Best Way to Fill Holes in Drywall?
When filling holes in drywall, start by choosing the right method based on size. For small holes up to 1/2 inch, apply pre-mixed spackle or joint compound with a putty knife, then sand smooth. Larger holes need a patch secured with joint compound, layered if deep, and sanded once dry. Always prime before painting to blend the repair seamlessly with your wall, ensuring a professional finish.
Conclusion
Now that you know the essential materials, smart removal techniques, flawless patching steps, finishing touches, and bonus tips, you’re ready to tackle wall holes with confidence. Practice patience, pay attention to detail, and stay consistent in your approach. Whether it’s fixing a small dent or a large hole, remember: preparation makes perfect, precision matters, and your effort transforms your wall from damaged to flawless. With these hacks, you’re a pro in no time.