To restore old wood floors, start with a damp Magic Eraser to gently lift stubborn scuffs without harsh chemicals. Protect your floors by attaching recycled cork pads to furniture legs, preventing scratches and reducing noise. Dust cracks with a paintbrush and fill them with baby powder, then clean with natural solutions like vinegar, olive oil, or tea infusions for a gentle shine. Knowing your finish type helps you choose safe cleaning methods. To learn more secrets for keeping your floors looking their best, keep exploring.
Key Takeaways
- Use a slightly damp Magic Eraser to gently remove stubborn marks without damaging the finish.
- Seal cracks with baby powder pressed into gaps, then vacuum or wipe away excess for a smooth surface.
- Attach recycled cork pads to furniture legs to prevent scratches and reduce impact damage.
- Apply a baking soda paste for white water stains, leave for 24 hours, then wipe clean for effective removal.
- Test water beading or mineral spirits to identify finish type, guiding safe cleaning techniques for old wood floors.

Vtopmart 25 PCS Clear Plastic Drawer Organizers Set, 4-Size Versatile Bathroom and Vanity Drawer Organizer Trays, Storage Bins for Makeup, Bedroom, Kitchen Gadgets Utensils and Office
- Versatile Drawer Organizer: Suitable for bathroom, kitchen, office, and more
- Includes 25 Storage Bins: Four sizes for customized organization
- Multiple Sizes Included: 9x6x2, 9x3x2, 6x3x2, 3x3x2 inches
As an affiliate, we earn on qualifying purchases.
Use a Magic Eraser to Tackle Stubborn Scuffs
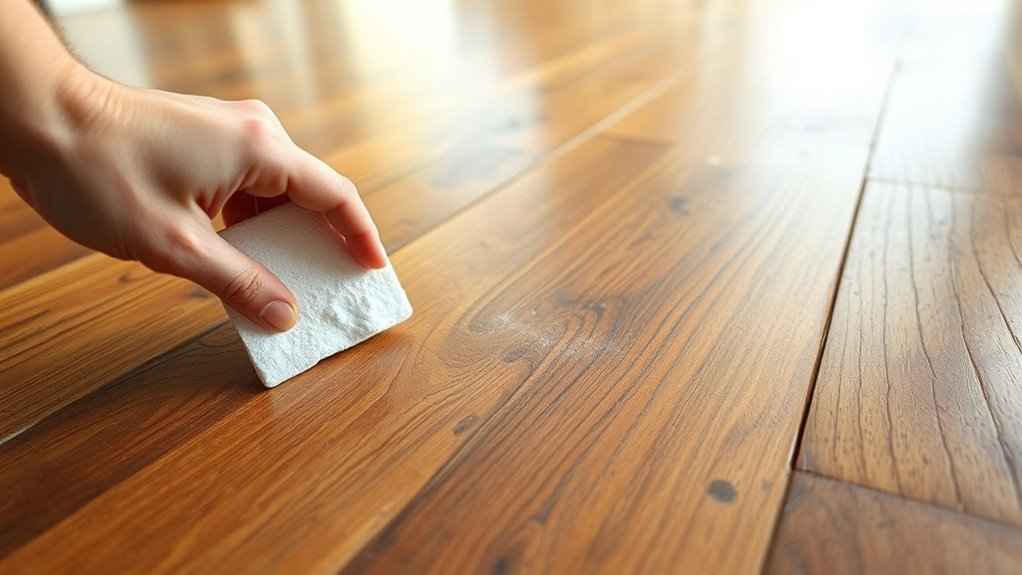
When your old wood floors develop stubborn scuffs or black streaks, a Magic Eraser can be a simple and effective solution. Dampen the Magic Eraser slightly before using it to gently scrub the affected areas. Its abrasive surface lifts dirt and marks without harsh chemicals, making it ideal for maintaining your wood floors’ integrity. Use light pressure to avoid dulling or damaging the finish. Focus on the scuffs or streaks, moving the eraser back and forth until they fade. Regular use of a Magic Eraser helps keep your aged hardwood floors looking fresh and nearly new. This easy hack saves you time and effort, restoring your floors’ natural beauty with minimal effort. Just remember, gentle pressure is key for the best results. Additionally, ensuring proper color accuracy in your cleaning tools can help you see the true condition of your floors as you work. For optimal results, understanding how wood finish types react to different cleaning methods can prevent unintended damage. Being aware of wood grain orientation can also guide your cleaning motions for more effective results. Incorporating AI-based cleaning recommendations can further optimize your maintenance routine and preserve your flooring longer.
Protect Your Floors With Recycled Cork Pads
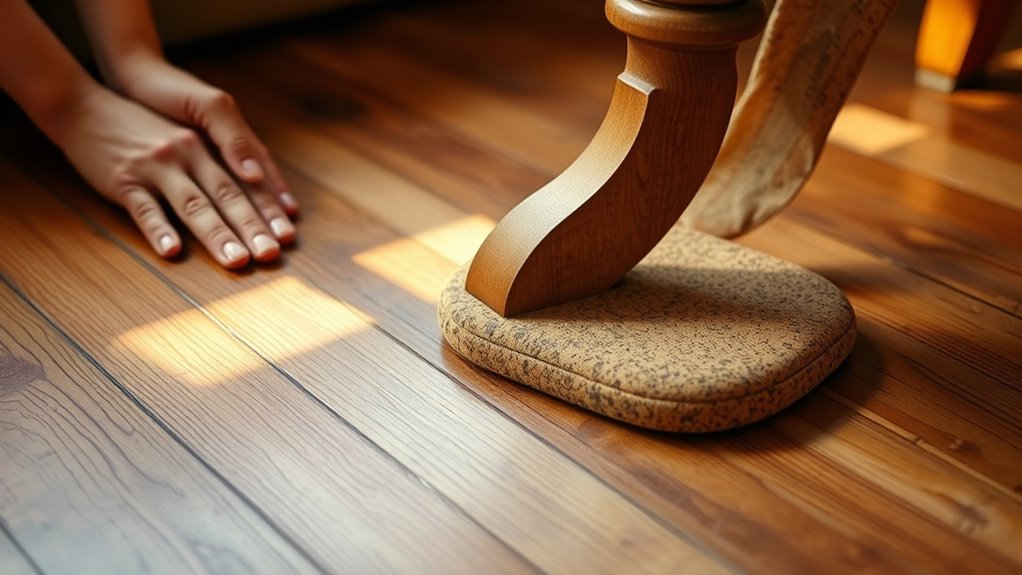
Adding recycled cork pads to your furniture legs creates a soft barrier that prevents scratches on your old wood floors. They’re an eco-friendly and affordable way to protect the floors from wear, especially in high-traffic areas. Installing them is simple and helps distribute weight evenly, ensuring your floors stay beautiful longer. Incorporating a mindset of gratitude can also help you appreciate the value of maintaining your home’s beauty. Additionally, choosing proper cleaning techniques can further preserve your floors’ condition and extend their lifespan.
Cork Pads Prevent Scratches
Cork pads are an effective and eco-friendly way to protect your old wood floors from scratches. By attaching cork pads to furniture legs, you create a soft barrier that absorbs movement and friction, safeguarding your surfaces. Regularly checking and replacing worn cork pads ensures continuous protection and prevents furniture from directly contacting and damaging your floors. Cork is a natural, durable material that won’t leave residues or scratches, making it ideal for protecting surfaces without compromising their beauty. Using cork pads is affordable and environmentally conscious, helping extend the lifespan of your wood floors.
- Prevents deep gouges and surface scuffs in high-traffic areas
- Absorbs movement, reducing damage from furniture shifts
- Keeps your floors looking pristine over time
- Easy to cut and fit onto various furniture legs
- Maintains the natural beauty of your wood floors
Recycled Cork Protects Floors
Recycled cork pads offer an eco-friendly way to protect your old wood floors from scratches and dents. These cork pads act as a natural cushion, preventing furniture from damaging delicate surfaces. By slicing recycled wine corks into small, flat pieces, you create an effective layer of protection under furniture legs. Cork pads provide gentle furniture protection while absorbing impact, which helps reduce dents on fragile hardwood. Regularly replacing worn cork pads ensures ongoing floor protection, maintaining the beauty of your vintage or aged wood floors. Unlike plastic or rubber protectors, cork offers a sustainable, natural alternative that’s gentle on your floors and the environment. Additionally, cork’s renewable and biodegradable properties make it a responsible choice for eco-conscious homeowners. This sound-absorbing material also helps minimize noise transfer and vibrations, further protecting your flooring and enhancing comfort. Sustainable flooring materials and eco-conscious protection strategies make cork an excellent choice for maintaining the integrity of your flooring. With cork pads, you can safeguard your floors with an eco-conscious solution that combines practicality and sustainability.
Easy Cork Pad Installation
Installing cork pads is a simple way to protect your old wood floors from scratches and dents. These recycled wine corks are easy to cut into thin pads with scissors or a utility knife, making them a cost-effective solution for furniture protection. To install, just lift each piece of furniture slightly, slide the cork pad under the leg, and guarantee it stays secure. Regularly check and replace worn cork pads to maintain floor safety. This eco-friendly option not only prevents damage but also preserves the finish of your hardwood floors. Using cork pads minimizes scratches and gouges, offering a quiet, sustainable alternative to commercial glides. Additionally, implementing automation in maintenance routines can help monitor and prompt timely replacements, ensuring ongoing protection. Incorporating floor protection strategies like cork pads can significantly extend the lifespan of your flooring and keep it looking pristine. Proper floor maintenance practices, including cleaning and periodic checks, further enhance the durability of your hardwood floors. Employing innovative materials such as recycled cork can also contribute to environmentally conscious home improvements.
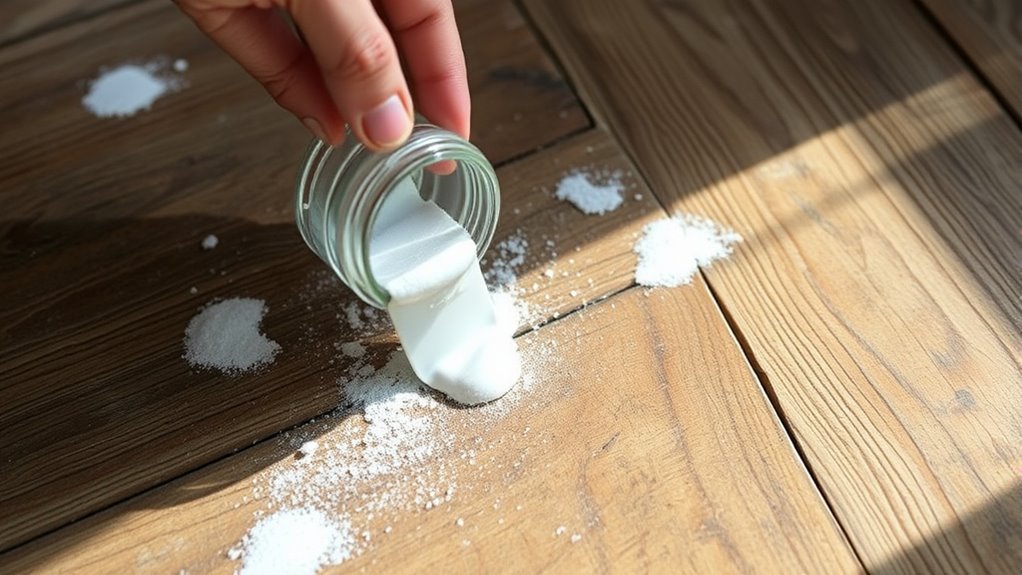
Dust and Fill Cracks With Baby Powder

To reduce creaking sounds, dust cracks with baby powder using a fine brush or soft cloth for precise application. This method naturally seals gaps and keeps your floor quiet without expensive repairs. Regularly sweeping away excess powder helps maintain a clean, smooth surface. Digital literacy programs can also teach seniors safe and effective ways to manage such home maintenance tasks. Additionally, using tuning techniques on your Kia vehicle can optimize performance and efficiency.
Effective Dusting Technique
Gently sprinkling baby powder directly into the cracks of your old wood floors is an effective way to dust and fill small gaps. This technique helps lift dust from crevices while smoothing out the surface. After sprinkling, use a paintbrush or toothbrush to carefully sweep the powder into the cracks, ensuring thorough coverage. Once done, grab a soft cloth or vacuum with a brush attachment to remove any excess powder and dust from the surface. This method not only keeps your floors cleaner but also reduces creaking caused by debris in the gaps. Regularly dust and fill cracks with baby powder to maintain a quiet, smooth, and well-preserved old hardwood floor. Proper dusting guarantees your floors stay in top shape over time. Utilizing the right fire pit tools can make outdoor cleaning and maintenance easier and safer. Additionally, using a HEPA filter air purifier nearby can help capture airborne dust particles and improve overall indoor air quality during cleaning.
Sealing Cracks Naturally
Sealing cracks naturally on old wood floors is simple and effective with baby powder. To do this, dust small cracks and crevices using a paintbrush to guide the baby powder into the gaps. Sprinkle the powder directly onto the cracks, then gently press it in to help seal and fill the space naturally. This natural repair method minimizes drafts and prevents debris from entering. Once the cracks are filled, use a soft cloth or vacuum to remove any excess powder, leaving a dusted seal behind. Regularly applying baby powder keeps dirt buildup at bay and maintains a smoother, more sealed floor surface. This cost-effective hack improves the floor’s appearance and integrity without relying on chemical fillers, making it an easy addition to your cleaning routine.
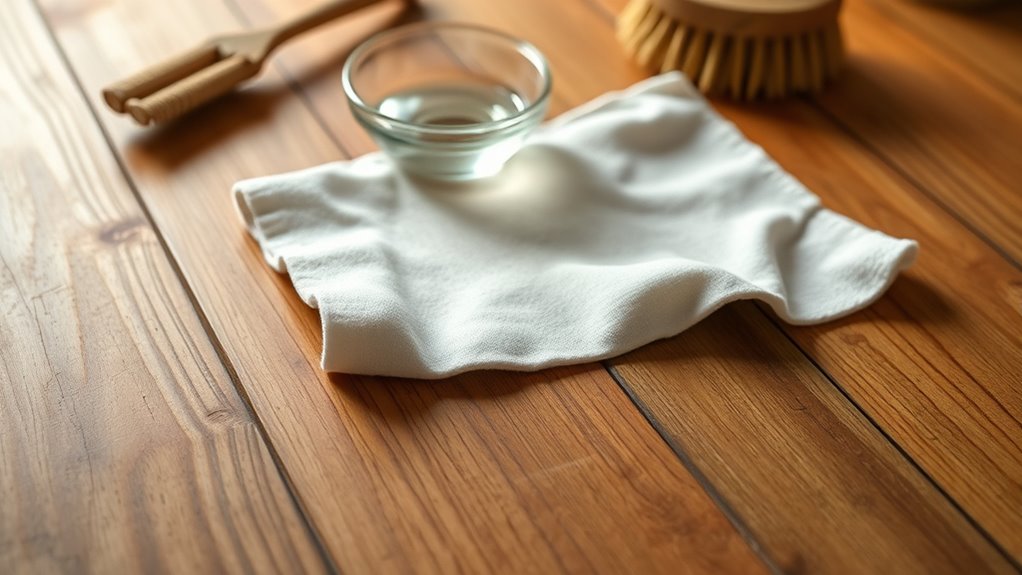
Mix Natural Cleaners for a Gentle Shine
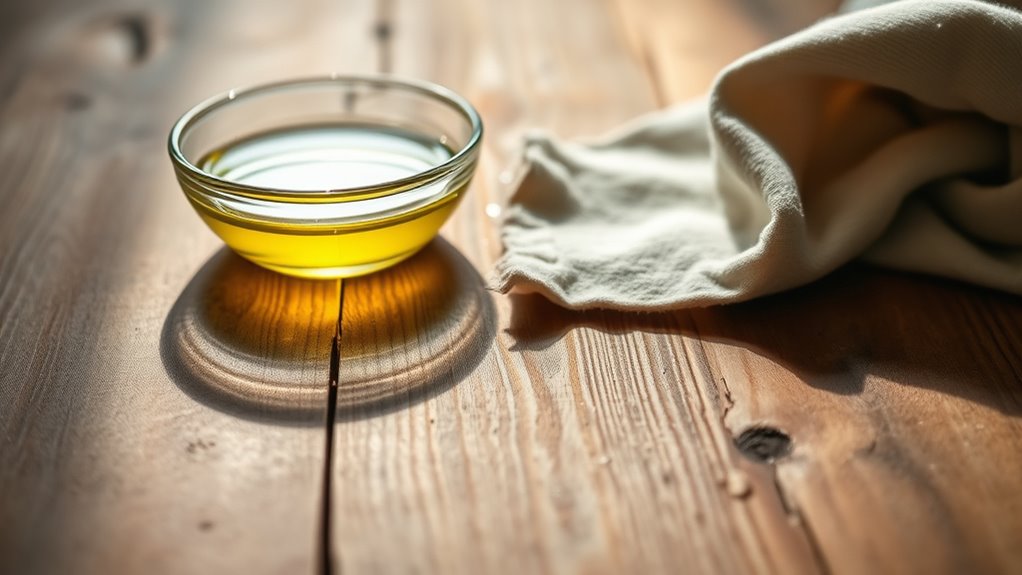
Mixing natural cleaners is an effective way to gently shine old wood floors without harsh chemicals. You can create a simple, effective solution using ingredients like white vinegar, olive oil, and tea infusions. This blend cleans, polishes, and preserves your wood flooring’s natural beauty. When combined properly, these natural cleaners won’t leave residues or damage the finish over time. Using household items such as vinegar and tea bags keeps your cleaning routine eco-friendly and safe. Additionally, avoiding excessive water during cleaning helps prevent water damage and prolongs the life of your flooring proper cleaning techniques. Incorporating a gentle cleaning method ensures the longevity of your floors while maintaining their aesthetic appeal. Moreover, understanding how to protect wood surfaces can further enhance the durability of your flooring over time.
Identify and Maintain Your Floor’s Finish Type
Understanding your floor’s finish type is essential for choosing the right cleaning approach and preserving its appearance. To identify the finish, try placing a few drops of water on an inconspicuous area. If the water beads up, your floor likely has a polyurethane or similar finish. If it absorbs, the floor is probably unsealed. To distinguish between waxed and non-waxed floors, apply mineral spirits; any residue or cloudy appearance indicates a wax coating that needs stripping before refinishing. Knowing your finish guides how you clean—use minimal water on waxed or shellac floors and more thorough cleaning for sealed polyurethane surfaces. Confirming your finish helps you avoid damage and select safe products, ensuring your old wood floors stay beautiful and well-maintained over time. Additionally, understanding protective coatings can inform your maintenance routine and prolong the lifespan of your flooring.
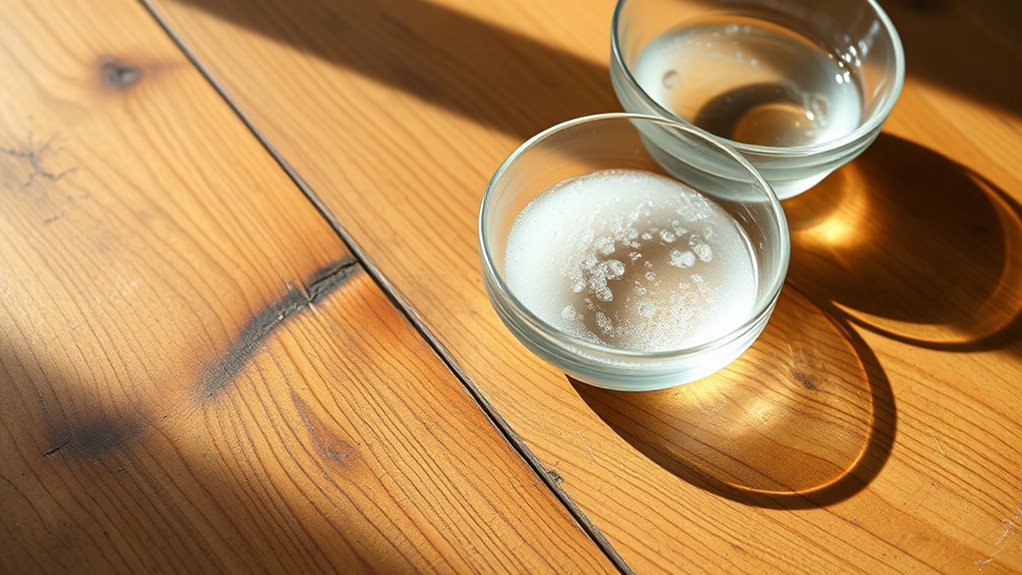
Spot Treat White Water Stains With Baking Soda Paste
White water stains can be a common nuisance on old wood floors, but you don’t need harsh chemicals to tackle them. Using baking soda is a natural, effective method. Mix a small amount of baking soda with water to form a thick paste. Apply it directly onto the stain, covering the entire area, and leave it undisturbed for 24 hours to absorb the moisture. Afterward, gently wipe the spot with a damp microfiber cloth to remove residue and check the stain’s progress. For stubborn marks, repeat the process or use gentle heat with a hairdryer to help lift the stain. This approach preserves your hardwood floors’ finish without damage.
- Restores appearance without harsh chemicals
- Minimizes risk of finish damage
- Uses common household ingredients
- Safe for regular applications
- Keeps old wood floors looking their best
Safely Remove Dark Stains Using Homemade Bleach Solutions
If you notice dark stains on your old wood floors, a gentle homemade bleach solution can effectively lighten or remove the discoloration without risking damage. Mix white vinegar and hydrogen peroxide, then test it on a small area first. Use a microfiber cloth to apply the solution directly to the dark stains, leaving it on for at least 8 hours or overnight. For embedded stains, gently sand the area afterward, then refinish to match the surrounding wood. Always perform a patch test to prevent further damage. Avoid harsh chemical bleaches, as they can strip the finish or harm delicate wood. Remember, patience is key for safe and effective stain removal.
| Key Point | Tip |
|---|---|
| Homemade bleach | Use a vinegar and hydrogen peroxide mix |
| Application | Apply with microfiber cloth, leave overnight |
| Embedded stains | Sand lightly and refinish |
| Precaution | Always test first to prevent damage |
Frequently Asked Questions
How to Clean Really Dirty Old Hardwood Floors?
To clean really dirty old hardwood floors, start by dry dusting with a microfiber mop to pick up loose dirt. Mix warm water, a few drops of dish soap, and half a cup of white vinegar for a deep clean. Use a damp mop to scrub greasy or stained areas gently, rinsing frequently. Finish by drying with a clean microfiber cloth to prevent water damage and restore your floor’s shine.
How Do You Make Old Wood Floors Look Good Again?
To make your old wood floors look good again, start by deep cleaning with a vinegar, water, and olive oil mixture to remove grime and boost shine. Then, apply a wood floor restorer like Rejuvenate to fill in scratches and cracks. Lightly buff the surface with a microfiber pad, and for minor scratches, rub walnuts into them to conceal imperfections. Protect your floors by replacing worn furniture pads with cork or felt.
What Is the Best Hack for Cleaning Hardwood Floors?
Think of your hardwood floors as a canvas that needs gentle care. The best hack? Use a microfiber dust mop regularly to sweep away dust and dirt, preventing scratches. Follow up with a homemade vinegar-water solution with a touch of olive oil to clean and restore shine. Finish by buffing with a soft cloth to bring out that natural glow, keeping your floors looking timeless and beautiful.
How Do You Clean 200 Year Old Wood Floors?
To clean 200-year-old wood floors, you should start with a gentle vacuum or microfiber dust mop daily to prevent dirt buildup. Use a diluted vinegar and water solution for cleaning, making sure to wring out your mop thoroughly. Avoid excess moisture, dry the floor immediately, and steer clear of harsh chemicals. For stains, try a baking soda paste or a low-heat hairdryer to lift marks without damaging the delicate finish.
Conclusion
Think of your old wood floors as a treasured garden—delicate yet resilient. With these hidden hacks, you’re nurturing its beauty without harsh chemicals or costly repairs. A little effort and clever tricks can turn back time, revealing the shine buried beneath years of wear. Treat your floors like a precious heirloom, and they’ll reward you with timeless charm. Keep these secrets in mind, and your floors will continue to tell a story of care and craftsmanship.