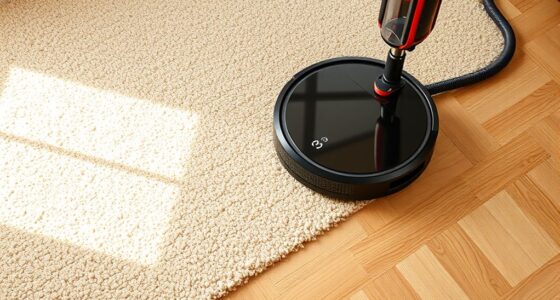
By building a simple DIY air filter with quality materials like HEPA filters and activated carbon, you can greatly reduce harmful particles indoors. Selecting the right fan ensures proper airflow without too much noise, while positioning your filter in areas with natural airflow maximizes efficiency. Regular maintenance and prompt filter replacements keep your lungs protected over time. Keep going to discover more tips on creating an effective air filter that safeguards your health.
Key Takeaways
- Using high-quality HEPA and activated charcoal filters effectively captures airborne pollutants and odors, protecting lung health.
- Proper placement of the DIY filter in areas of high airflow maximizes filtration efficiency.
- Building a sturdy, well-sealed frame prevents air bypass, ensuring cleaner air and healthier lungs.
- Regular maintenance and timely filter replacements sustain filter performance and prevent harmful particle buildup.
- Selecting the right fan size and noise level ensures efficient air circulation without causing discomfort or disruption.
Gathering Your Materials and Tools
Before you begin building your DIY air filter, you’ll need to gather all the essential materials and tools. Proper DIY project planning is key to ensuring smooth progress and safety. Start with high-quality filter materials, like activated carbon or HEPA filters, and sturdy frame supplies such as cardboard or wood. You’ll also need a reliable fan capable of circulating air effectively. Don’t forget safety gear like gloves, masks, and eye protection—air filter safety is vital during assembly. Prepare basic tools such as scissors, a hot glue gun, or screws and a screwdriver. Having everything ready beforehand prevents interruptions and reduces errors. Additionally, understanding the automation in business can help you optimize your project setup for efficiency. Remember, careful planning and the right materials make your project safer and more effective, giving you peace of mind as you create your personalized air filtration system.
Choosing the Right Fan for Your Filter

When selecting a fan, size is key—you want one strong enough to circulate air effectively without being overwhelming. Keep noise levels in mind, especially if you plan to use the filter in a quiet space. Finding the right balance guarantees your DIY air filter works efficiently without causing disruptions. Additionally, consider the wave and wind dynamics in your environment, as airflow patterns can influence how well your filter performs.
Fan Size Matters
Choosing the right fan size is essential because it directly affects how effectively your DIY air filter works. The size determines airflow dynamics, influencing how much air passes through the filter in a given time. A fan that’s too small won’t move enough air, reducing filtration efficiency, while a fan that’s too large may cause excessive noise or strain. You need to contemplate fan compatibility with your filter setup, ensuring it matches the airflow capacity required for your space. An appropriately sized fan helps maintain steady airflow, maximizing filter performance without overworking the motor. Remember, the goal is to strike a balance—adequate airflow without sacrificing safety or durability. Selecting the right fan size is key to creating an effective, safe DIY air filtration system. Proper airflow ensures your filter operates efficiently and safely.
Noise Level Considerations
Since noise levels can be important to your comfort and the practicality of your DIY air filter, it’s important to think about how loud the fan will be during operation. A noisy fan can disrupt your daily activities or sleep, so consider background noise when choosing a model. Look for fans labeled as quiet or designed for soundproofing options, which often feature noise-reduction features like rubber mounts or sound-dampening casings. You might also consider using soundproofing materials around the fan to minimize sound transmission. Keep in mind that larger, more powerful fans tend to be louder, so balance airflow needs with noise considerations. Selecting a quieter fan ensures your air filter works effectively without creating unnecessary disturbances in your space. Additionally, reviewing fan performance metrics can help you find a model that offers a good balance between airflow and sound levels.
Selecting the Most Effective Filter Material
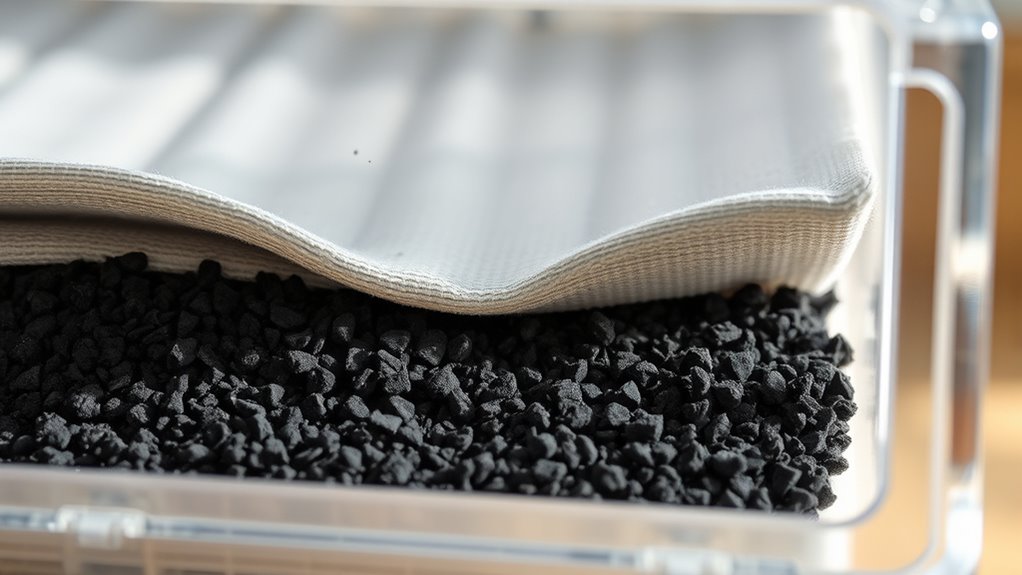
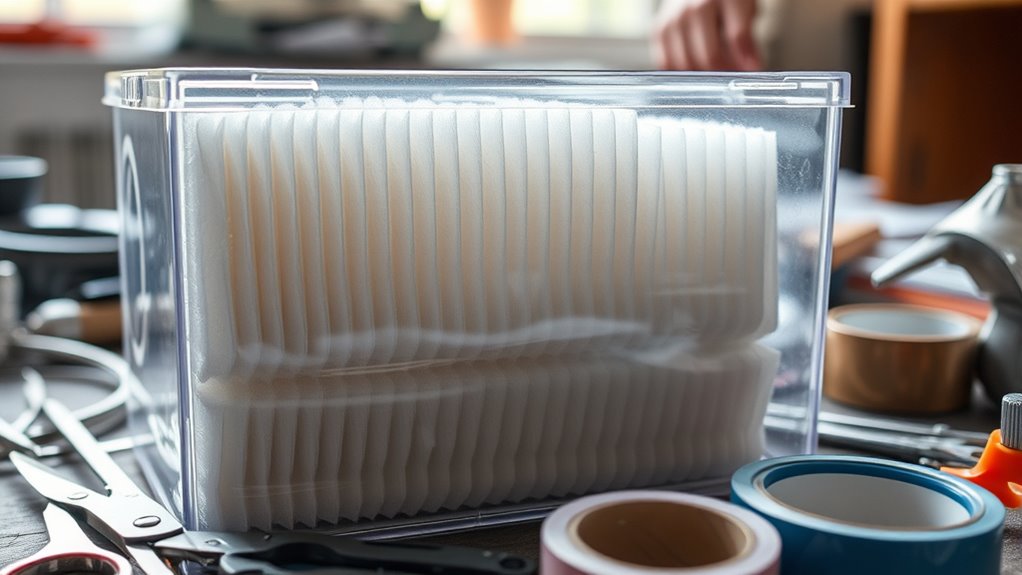
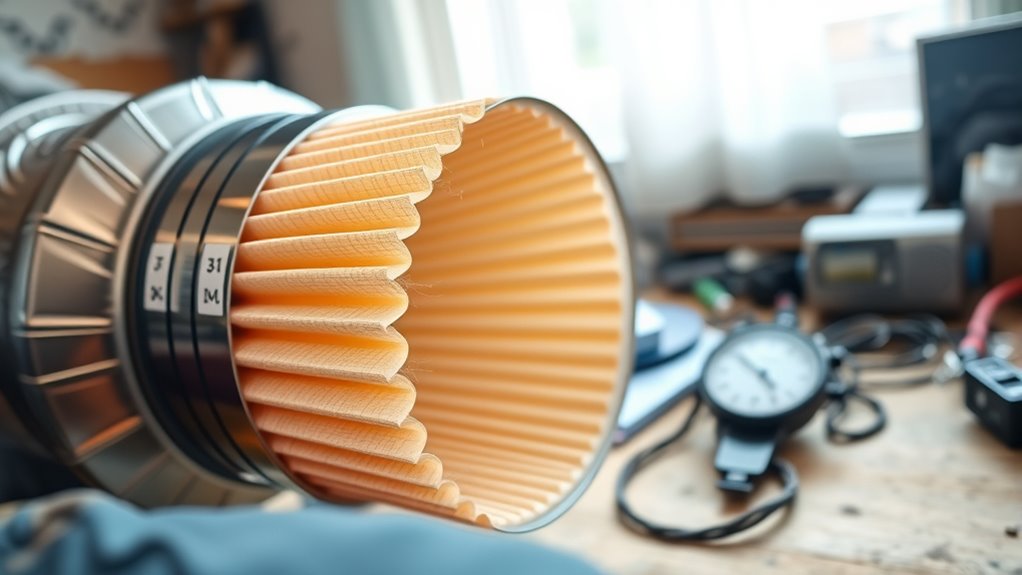
Selecting the right filter material is essential for maximizing your DIY air filter’s effectiveness. You want a material that’s HEPA compatibility, meaning it can trap small particles like dust, pollen, and smoke efficiently. HEPA filters are proven to capture 99.97% of particles as small as 0.3 microns, making them ideal for clean air. To enhance filtration, consider adding activated charcoal, which absorbs odors, gases, and volatile organic compounds (VOCs). Combining HEPA-compatible filters with activated charcoal layers boosts overall performance, targeting both particles and unpleasant smells. Avoid low-quality materials that may let harmful particles slip through or release fibers into the air. Choosing the right filter material ensures your DIY setup provides safe, effective air purification, protecting your lungs from pollutants and allergens. Enhanced filtration capabilities from integrating advanced materials can further improve your filter’s performance.
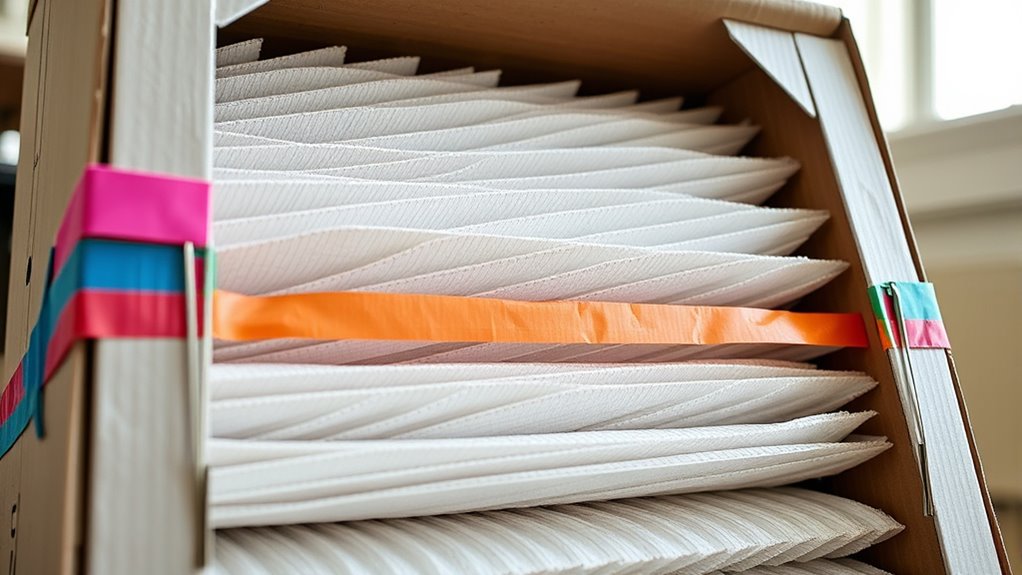
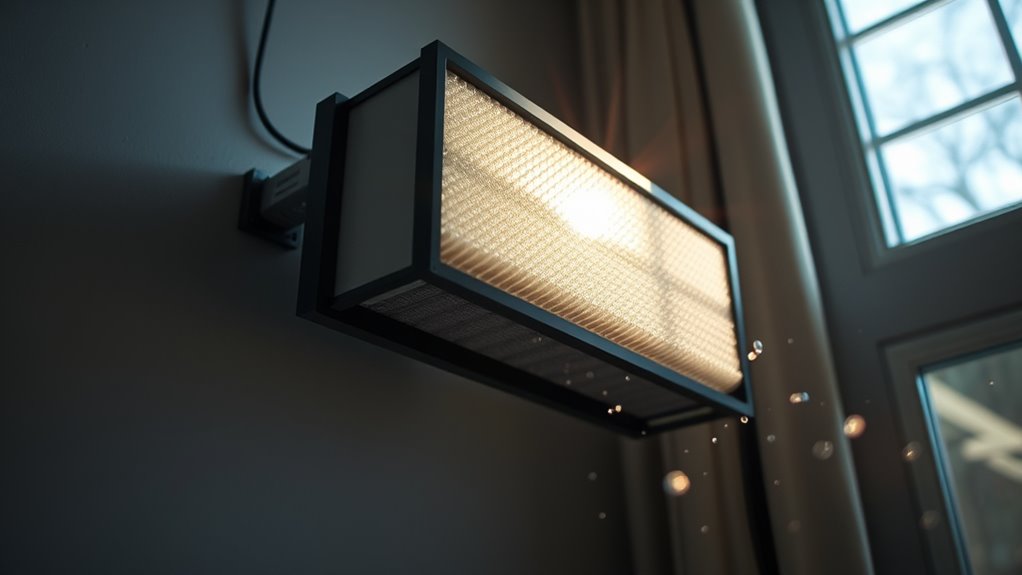
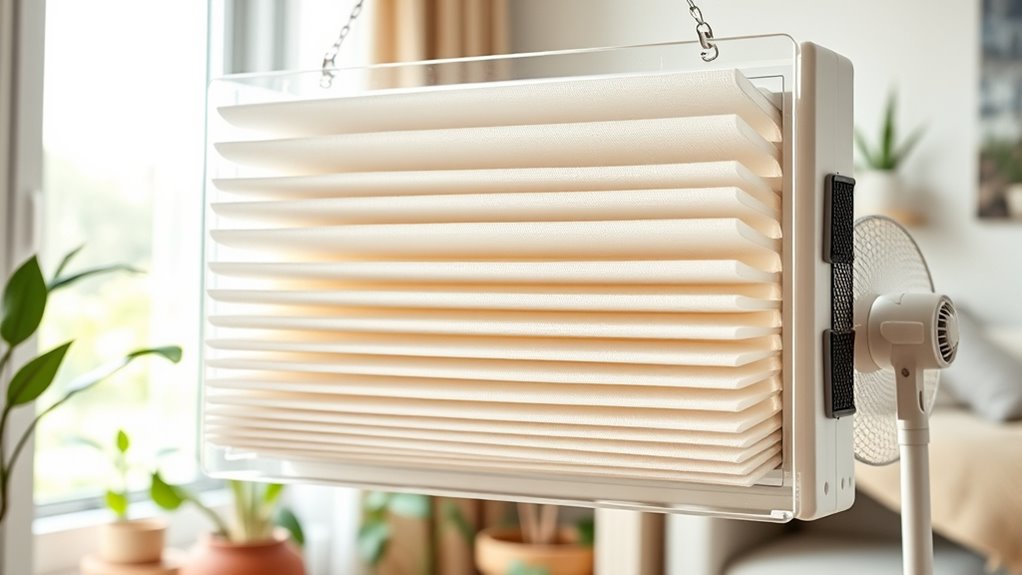
Assembling the Frame and Filter Layers

To begin assembling your DIY air filter, start by building a sturdy frame that can hold the filter layers securely. Use lightweight but strong materials like plywood or PVC to create a rectangular or square shape that fits your space. Once the frame is ready, place the filter material inside, ensuring it covers the entire opening evenly. The layer assembly involves stacking multiple filter sheets or layers if needed, depending on your filtration requirements. Make sure each layer is aligned properly and fits snugly within the frame. This ensures no air bypasses the filter, maximizing efficiency. Incorporating HEPA filtration into your layers can significantly improve the removal of particles as small as 0.3 microns. Keep the layers flat and secure within the filter frame, so they don’t shift during use. Proper assembly now sets the foundation for effective air filtration and easy maintenance later.
Securing the Components for Stability
Ensuring your filter components stay in place is essential for peak performance. Secure the filter layers with sturdy mounting brackets or strong adhesive solutions to prevent shifting. Mounting brackets provide a reliable physical hold, especially if you plan to move or adjust your filter. Adhesive solutions, like industrial-strength glue or double-sided tape, work well for permanent setups. Use the table below to choose the best method for your needs:
| Method | Pros | Cons |
|---|---|---|
| Mounting brackets | Easy to reposition | May require drilling |
| Adhesive solutions | Seamless, less visible | Permanent, harder to adjust |
| Combination | Extra stability | Slightly more effort |
| Clamps | Quick installation | Might need tools |
| Zip ties | Simple and cheap | Less secure long-term |
Pick the method that best fits your setup for a stable, effective air filter. Properly securing your components helps optimize filter performance and maintain clean air quality.
Testing Your DIY Air Filter for Efficiency
Before relying on your DIY air filter, it’s important to test its efficiency to guarantee it effectively removes airborne particles. You can do this by using a particle counter or air quality monitor to measure airborne contaminants before and after installing the filter. Check for improvements in air quality, especially regarding dust, pollen, or smoke. Regular testing helps you assess the filter’s performance and determine its actual lifespan—knowing when it needs replacing. If the air quality doesn’t improve or declines quickly, your filter may need adjustments or a better design. Consistently monitoring ensures you’re getting the most out of your DIY filter, maintaining its effectiveness and protecting your lungs over time. Proper testing guarantees your homemade solution works as intended. Additionally, understanding air quality standards can help you interpret your test results more accurately.
Positioning Your Filter for Maximum Airflow
To get the best airflow, place your filter where air naturally moves through the space. Make sure it’s not obstructed by furniture or walls, which can reduce efficiency. Proper positioning ensures your filter works effectively and keeps the air clean. Additionally, understanding family photoshoot fails can remind you to position your filter away from areas prone to pet antics or unexpected disruptions, ensuring consistent airflow.
Optimal Filter Placement
Positioning your filter in the right spot is key to maximizing airflow and filtration efficiency. Proper filter placement ensures your DIY air filter works effectively, capturing pollutants without obstructing air movement. Place your filter where air naturally flows, like near vents or in open pathways. Avoid areas blocked by furniture or corners that restrict air flow. Consider the layout of your space to find the most suitable position. Ensuring your filter’s airflow is unobstructed will help maintain consistent air quality.
Avoid Obstructed Airflow
Placing your filter where air can flow freely guarantees maximum filtration efficiency. If airflow obstruction occurs, your filter works harder, leading to faster filter degradation and reduced effectiveness. Make certain the filter isn’t blocked by furniture, curtains, or walls that can restrict airflow. Keep the area around the filter clear, and position it near a vent or fan for best results. Avoid placing the filter in tight corners or behind objects that hinder air movement. Proper placement maintains steady airflow, preventing strain on the filter and prolonging its lifespan. When airflow is unobstructed, your DIY air filter performs better, cleaning the air more efficiently and protecting your lungs. Remember, good airflow is key to keeping your filter functioning at its best.
Maintaining and Replacing Filter Elements

Regularly maintaining and replacing your filter elements is essential to guarantee your DIY air filter performs effectively. Following a consistent maintenance schedule ensures ideal airflow and filtration. Typically, check the filter every 1-2 months, replacing it when it’s visibly dirty or clogged. Here’s a simple guide:
| Task | Frequency |
|---|---|
| Inspect filter | Monthly |
| Replace filter | Every 1-2 months or when dirty |
Adhering to this schedule prevents airflow restrictions and maintains air quality. Proper filter replacement not only extends the lifespan of your DIY setup but also keeps your lungs safe. Remember, neglecting maintenance can lead to decreased efficiency and potential health risks. Stay diligent, and your air filter will serve you well.
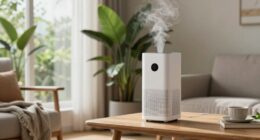
Tips for Enhancing Indoor Air Quality
Improving your indoor air quality begins with simple, proactive steps you can take daily. Start by ensuring proper air purification through regular filter maintenance. Clean or replace filters as recommended to keep air flowing freely and trap dust, allergens, and pollutants effectively. Keep your living space well-ventilated by opening windows or using exhaust fans, which helps dilute indoor contaminants. Avoid smoking indoors and limit the use of harsh chemicals or strong fragrances that can worsen air quality. Houseplants can also aid in natural air purification, but don’t rely solely on them. Regularly dust and vacuum to reduce airborne particles. Taking these small actions consistently can markedly improve your indoor environment and support healthier lungs.
Frequently Asked Questions
How Often Should I Replace or Clean the Filter Materials?
You should check your filter materials regularly as part of your maintenance schedule. Typically, for ideal filter lifespan, replace or clean the filters every 1 to 3 months, depending on usage and air quality. If you notice reduced airflow or increased dust, it’s a sign to do maintenance sooner. Staying consistent with these steps ensures your DIY air filter remains effective and your indoor air stays clean.
Can I Use Recycled or Eco-Friendly Materials for the Filter?
Imagine using a vintage typewriter in today’s digital world—that’s how some might see recycled or eco-friendly filter materials. You can definitely use recycled materials like old cloth, cardboard, or activated charcoal, which are eco-friendly options. Just guarantee they’re safe and effective at filtering airborne particles. By choosing recycled and eco-friendly options, you help the planet while keeping your indoor air clean and healthy.
What Are Signs That My DIY Filter Is No Longer Effective?
You’ll notice your DIY filter isn’t effective anymore if it shows filter discoloration, indicating it’s clogged or dirty. Airflow reduction is another sign, as less air passes through, making your filter work harder and less efficiently. If you experience stuffy air or increased dust, it’s time to substitute or clean the filter. Regular checks ensure your homemade filter continues to protect your lungs and maintain good air quality.
Is There a Preferred Noise Level for the Fan During Operation?
When it comes to fan noise, there’s no one-size-fits-all answer. You should choose a noise level that suits your noise preferences and comfort. Some people prefer quieter operation for minimal disturbance, especially at night, while others tolerate louder fans for faster air filtering. Experiment with different speeds to find a balance that keeps your air clean without creating excessive noise. Ultimately, your ideal fan noise level depends on your environment and personal tolerance.
How Do I Ensure the Filter Is Safe for Children or Pets?
Coincidentally, ensuring your filter is safe for children and pets starts with choosing pet-safe materials and childproofing measures. You should opt for non-toxic, BPA-free filters, and secure the filter so little hands or paws can’t access it. Regularly check for wear and tear, and keep the filter out of reach. These simple steps help create a safer environment, letting you breathe easier knowing your loved ones are protected.
Conclusion
So, there you have it—your DIY air filter masterpiece. Who knew saving your lungs could be as simple as a few household items and some DIY spirit? Just remember, while this hack might not turn you into an air purifying superhero, it’s a pretty good start. So go ahead, breathe easier—and maybe keep the fancy, expensive filters on standby for when you really want to show off. Your lungs will thank you.