To waterproof your basement interior yourself, start by sealing cracks with high-quality epoxy or polyurethane sealant to prevent water entry. Control humidity levels with a dehumidifier and ensure proper ventilation to reduce moisture buildup. Apply waterproof coatings or paints designed for basement walls for added protection. Consider installing sump pumps or drainage mats for long-term moisture control. If you’re ready to explore more effective interior waterproofing strategies, you’ll find detailed tips to keep your basement dry.
Key Takeaways
- Seal interior cracks with high-quality epoxy or polyurethane to prevent water intrusion.
- Install a dehumidifier and use exhaust fans to control indoor humidity below 60%.
- Improve ventilation by adding vents or exhaust fans to promote air circulation.
- Apply waterproof paint or sealant on interior walls for an extra moisture barrier.
- Incorporate sump pumps and drainage mats for long-term moisture management.
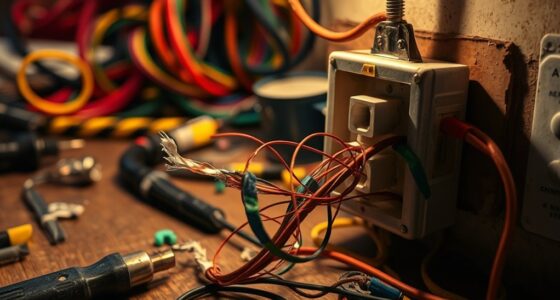
Are you tired of dealing with dampness and water leaks in your basement? If so, tackling interior waterproofing might be just what you need to create a healthier, more comfortable space. One of the most effective DIY techniques is crack sealing, which prevents water from seeping through small openings in your foundation walls. Over time, cracks can develop due to settling, temperature changes, or shifting soil, allowing moisture to enter and cause damage. To start, inspect your basement walls thoroughly, identifying any visible cracks or gaps. Use a high-quality epoxy or polyurethane sealant designed for concrete to fill these openings. Make sure to clean the cracks thoroughly before applying the sealant, removing loose debris, dust, and old paint to guarantee good adhesion. Once sealed, these cracks become a barrier to water intrusion, notably reducing the chance of leaks during heavy rains or snow melts.
Alongside crack sealing, humidity control plays a vital role in maintaining a dry basement. Excess moisture in the air can lead to mold growth, musty odors, and overall dampness, even if there’s no active water leak. To manage humidity effectively, consider installing a dehumidifier designed for basement spaces. This device pulls moisture out of the air, helping to keep humidity levels below 60%. Keep doors and windows closed during humid weather to prevent outside moisture from entering, and use exhaust fans in laundry or utility areas to vent humid air outside. Additionally, check that your basement has proper drainage around the foundation—poor drainage can cause groundwater to accumulate and increase indoor humidity, so ensure gutters are clean and downspouts direct water away from your home.
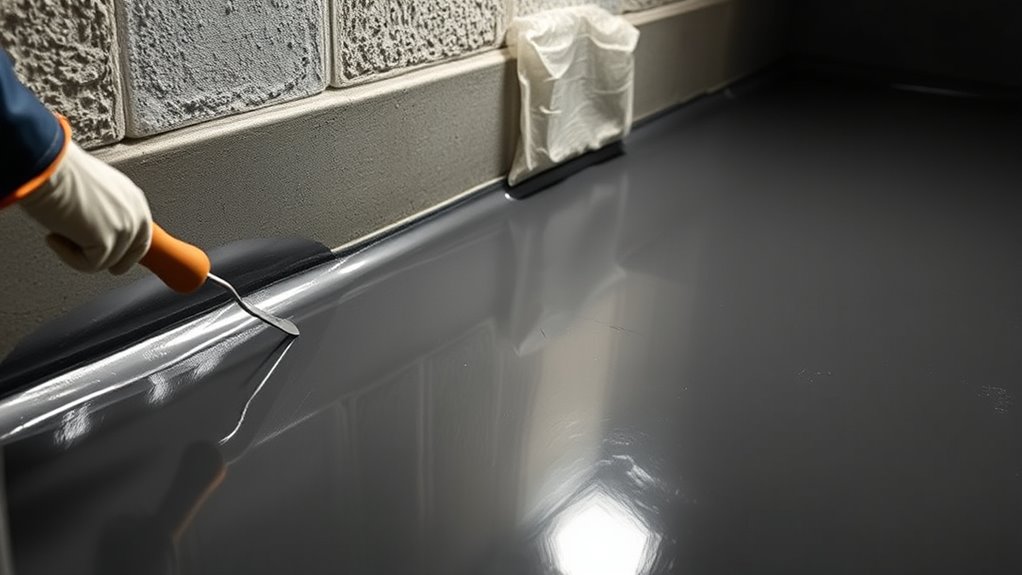
Another simple yet effective step is to improve ventilation. If your basement lacks windows, installing vents or using an exhaust fan can promote air circulation, which helps reduce humidity and prevents mold growth. For more long-term humidity control, applying a waterproof paint or sealant on interior walls can add an extra layer of defense against moisture. These products not only seal porous surfaces but also help regulate humidity levels inside the space. Remember, the goal is to create an environment where moisture can’t easily accumulate or penetrate, which means combining crack sealing, humidity control, and proper ventilation. Additionally, incorporating interior waterproofing systems such as sump pumps or drainage mats can further enhance your basement’s moisture resistance over time.
Frequently Asked Questions
How Do I Detect Hidden Water Leaks in My Basement Walls?
To detect hidden water leaks in your basement walls, look for moisture stains that indicate past or ongoing leaks. Use a moisture meter to measure moisture levels in the walls; high readings suggest leaks. Additionally, check for mold detection, as mold often thrives in damp, hidden areas. Investigate any suspicious spots thoroughly, and consider professional assessment if you’re unsure about the source or extent of the leaks.
What Are the Best Waterproofing Sealants for Interior Use?
Think of waterproofing sealants as your basement’s armor. For interior use, epoxy, polyurethane, and silicone sealants are your best bets. Epoxy offers durability, while polyurethane flexes with shifting walls. Silicone’s flexibility makes it ideal for cracks. Apply these sealants using caulking guns or brushes, ensuring a thorough, even coat. Your basement’s protection depends on choosing the right sealant type and applying it correctly—think of it as locking out water’s sneaky invasion.
Can DIY Waterproofing Fix Severe Basement Flooding Issues?
DIY waterproofing can help with minor interior repairs, but it usually isn’t enough for severe flooding issues. If you’re facing severe flooding, it’s best to call in professionals who can address the root causes, like cracks or drainage problems. Relying solely on DIY methods for severe flooding might only provide temporary relief, leaving your basement vulnerable to ongoing water damage. Prioritize expert help for lasting solutions.
How Often Should I Reapply Interior Waterproofing Coatings?
You should reapply interior waterproofing coatings every 3 to 5 years to maintain an effective barrier. Establish a maintenance schedule to inspect your basement annually for cracks or signs of moisture, and recoat as needed. Keep in mind that the waterproofing lifespan varies based on the product used and your home’s conditions. Regular inspections help guarantee your basement stays dry and protected, extending the effectiveness of your waterproofing efforts.
Are There Any Safety Precautions for DIY Basement Waterproofing?
Did you know over 20% of home accidents happen during DIY projects? When waterproofing your basement, always wear personal protective equipment like gloves and goggles to avoid chemical splashes. Also, prioritize electrical safety by turning off power in the work area to prevent shocks. These precautions keep you safe while tackling your project, ensuring you avoid injuries and complete the job effectively.
Conclusion
Now, as you finish waterproofing your basement, it’s funny how the effort often coincides with unexpected rainstorms—reminding you that your work is paying off. When the clouds roll in, you’ll be confident knowing your interior techniques are keeping water out. Just like that, your DIY project becomes a coincidence of preparation and protection. Stay vigilant, maintain your efforts, and enjoy a dry, cozy basement—proof that a little foresight can truly make all the difference.