Sealing cracks with caulking is an effective way to stop drafts and prevent water damage in your home. By filling gaps around windows, doors, and walls, you can improve energy efficiency and protect your property from moisture intrusion. Proper application guarantees a tight seal that keeps cold air out and moisture in check. When you take these steps now, you’ll help maintain your home’s comfort and durability, and there’s more to discover to keep your home protected.
Key Takeaways
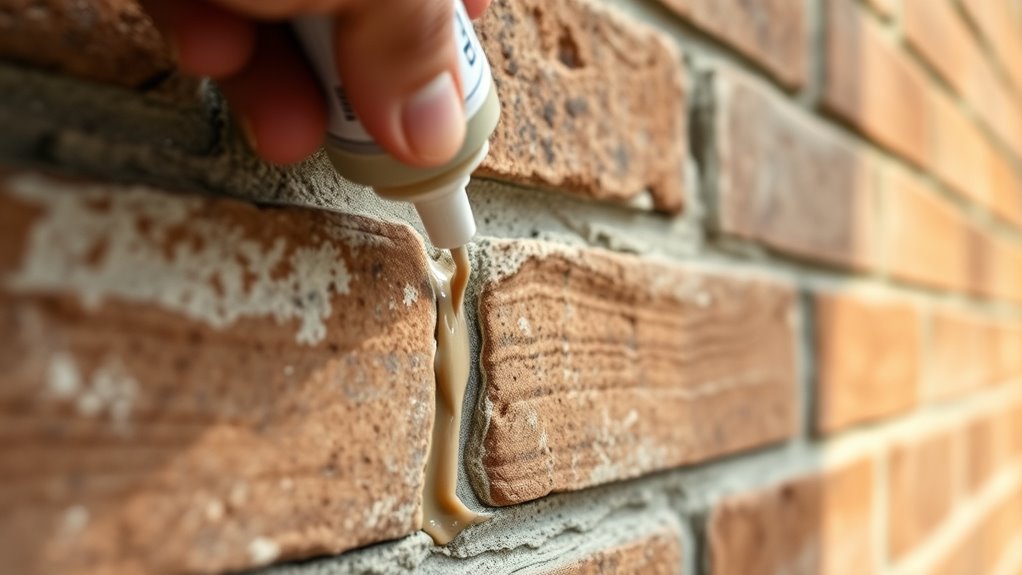
- Proper caulking seals gaps around windows, doors, and walls to prevent drafts and water infiltration.
- Inspect and clean surfaces before applying sealant to ensure adhesion and effectiveness.
- Use appropriate sealants or foam for larger gaps to maintain airtight and waterproof barriers.
- Regularly check sealed areas for deterioration and promptly repair any cracks to sustain protection.
- Sealing cracks enhances energy efficiency, reduces utility costs, and prevents moisture-related water damage.

Cracks in your walls and windows can lead to energy loss, water damage, and pest intrusion if left unaddressed. These small gaps might seem insignificant, but they can considerably impact your home’s overall condition and your energy bills. When you seal these cracks properly, you improve your home’s energy efficiency, making it easier and cheaper to keep your indoor space comfortable. Sealing gaps prevents warm or cool air from escaping, which means your heating and cooling systems don’t have to work as hard. As a result, you save money on energy costs and reduce your environmental footprint. Additionally, sealing cracks plays an essential role in mold prevention. Moisture can seep into tiny openings, creating the perfect environment for mold growth. Mold not only damages your property but also poses health risks, especially for allergy sufferers and those with respiratory issues. By addressing cracks early, you stop moisture from entering and prevent mold from developing. Proper caulking and sealing techniques ensure long-lasting protection and optimal performance. When you’re sealing cracks, it’s important to be thorough. Start by inspecting all areas around windows, doors, and walls for visible gaps or deterioration. Use high-quality caulk or sealant designed for your specific needs, whether for indoor or outdoor use. Apply the caulk smoothly, pressing it into the crack to create an airtight seal. Don’t forget to clean the surface beforehand; dust, dirt, and old paint can prevent proper adhesion. For larger gaps or holes, you might need to use foam sealant or backer rods before applying caulk. This ensures a more durable and effective seal, especially in areas exposed to weather or frequent use. Sealing cracks isn’t a one-time task; it’s an ongoing part of home maintenance. After applying the sealant, give it time to cure and set properly according to the manufacturer’s instructions. Regularly check your sealed areas for signs of cracking or deterioration, especially after severe weather. Repair any damage promptly to maintain your home’s energy efficiency and mold prevention efforts. Remember, sealing cracks not only makes your home more comfortable but also helps protect it from costly damages in the long run. Whether you’re tackling small gaps or larger openings, taking the time to seal cracks properly ensures your home stays energy-efficient, safe from water damage, and free from mold issues.
Frequently Asked Questions
How Often Should I Recaulk Around Windows and Doors?
You should recaulk around windows and doors during your seasonal maintenance, ideally once a year or if you notice cracks or gaps. Regular sealing helps with moisture control and keeps drafts out. Check for deterioration after harsh weather or extreme temperature changes, as these can cause caulk to crack or peel. Staying proactive guarantees your home remains energy-efficient and protected from water damage throughout the year.
Can I Use the Same Sealant for Indoor and Outdoor Cracks?
You shouldn’t use the same sealant for indoor and outdoor cracks because of sealant compatibility and indoor outdoor differences. Indoor sealants typically aren’t weather-resistant, while outdoor ones are designed to withstand moisture and temperature changes. Check the product labels to make sure they’re suitable for your needs. Using the right type prevents cracking or peeling, ensuring your repairs last longer and keep drafts and water out effectively.
What Are the Best Tools for Applying Caulk Precisely?
You’ll want precision tools to apply caulk effectively. Use a caulk gun for smooth, controlled application, helping you master caulking techniques. A utility knife or putty knife can smooth out the sealant and remove excess. For tight corners and edges, consider a silicone spatula or finger cot for better control. Proper sealant selection guarantees compatibility with your surface, making these tools essential for neat, effective sealing.
How Do I Remove Old or Peeling Caulk Effectively?
When you spot peeling caulk, don’t wait—start with caulk removal immediately. Use a utility knife or a caulk removal tool to carefully cut and lift the peeling sections. For stubborn areas, apply a caulk remover gel to loosen the old caulk. Be patient and thorough—removing all remnants prevents future leaks and guarantees a clean surface for new sealing. Your effort now keeps drafts and water damage at bay.
Are There Eco-Friendly Sealing Options Available?
Yes, eco-friendly sealing options are available. You can choose biodegradable sealants made from natural ingredients or use natural caulking materials like beeswax or plant-based compounds. These options are safe for the environment, reduce chemical exposure, and still provide effective sealing against drafts and water leaks. Switching to these eco-friendly products helps protect the planet while keeping your home energy-efficient and well-sealed.
Conclusion
So, here you are, sealing every crack to keep drafts and water out—yet, sometimes, the tiniest overlooked gap can undo all your hard work. It’s ironic how a small mistake can lead to big trouble, isn’t it? But don’t get discouraged; your effort still makes a difference. Just remember, even the smallest cracks deserve your attention. After all, a little seal today can save you from costly repairs tomorrow.