
Before pouring your DIY concrete countertops, it’s vital to understand proper sealing, surface preparation, and finishing techniques. Sealing your surface thoroughly and in multiple coats protects against stains and cracks, while careful form setup minimizes flaws. Patience during curing and finishing ensures a sleek look and durability. Skipping or rushing these steps can lead to future maintenance issues. To achieve a professional, lasting result, focus on these key details—if you keep going, you’ll discover even more essential tips.
Key Takeaways
- Proper form setup and surface preparation prevent surface flaws and air bubbles during pouring.
- Use compatible sealants and multiple coats for optimal water resistance and color longevity.
- Allow at least one week of curing before finishing or sealing for maximum strength and a smooth surface.
- Testing sealant and color samples beforehand helps predict final appearance and avoid surprises.
- Regular re-sealing is essential to maintain durability, protect against stains, and prolong countertop lifespan.
Ever wondered if you can create stylish, durable countertops without breaking the bank? DIY concrete countertops might be just what you need. But before you start pouring, there are some essential things I wish I knew. One of the most important aspects is understanding sealing techniques. Concrete is porous by nature, so without proper sealing, your countertops can stain easily or develop cracks over time. Investing in the right sealing products and applying multiple coats can dramatically improve durability and water resistance. It’s *crucial* to allow each coat to cure fully before applying the next, and to choose a sealant compatible with your concrete mix. This small step can save you from headaches later, especially when cleaning or maintaining your new surface.
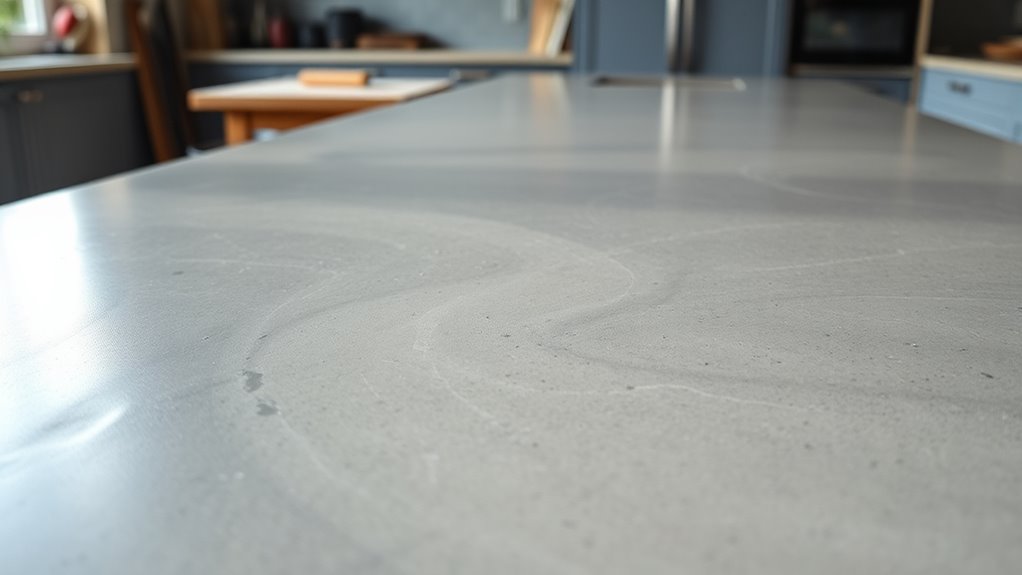
Another *critical* consideration is selecting the right color options. Concrete is incredibly versatile, offering a broad spectrum of shades, from sleek gray to bold, vibrant hues. You can add integral pigments during the mix or use stains afterward to achieve your desired look. Keep in mind that color can change slightly once sealed, so it’s wise to test your chosen hues on a small piece first. This way, you can see how the color reacts with your sealant and lighting in your space. Mixing colors or adding decorative aggregates can also give your countertops a unique, personalized touch. Just remember, the more complex the color design, the more attention it requires during the curing and sealing phases to *ensure* even application.
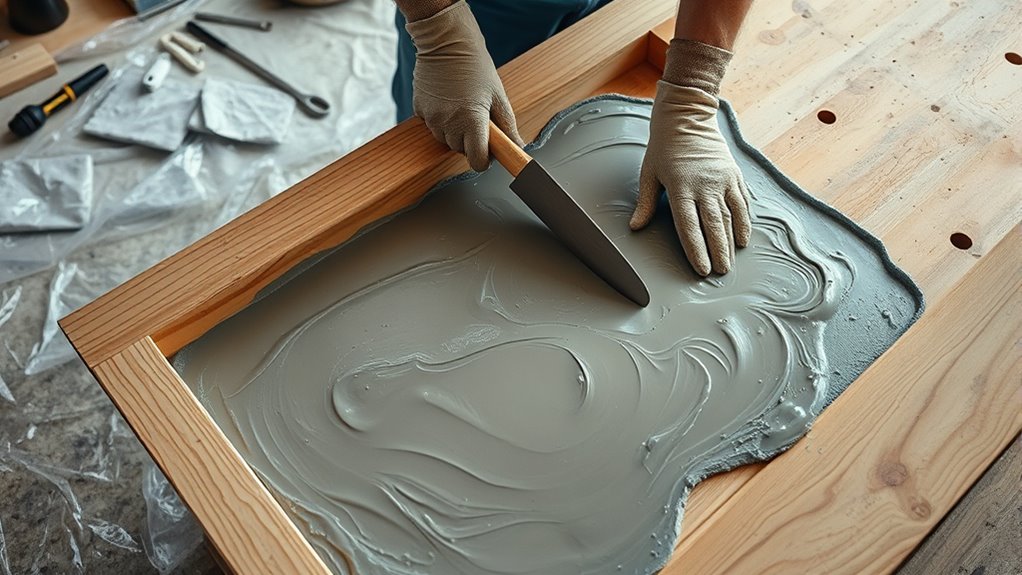
When it comes to pouring your concrete, preparation is everything. Make sure your forms are secure and smooth to prevent imperfections. Once poured, use a trowel to level the surface and eliminate air bubbles, which can cause surface flaws. After curing, which takes about a week, the real work begins—sanding and polishing to achieve a sleek finish. Then, sealing techniques come into play. Opt for a high-quality sealer, and follow the manufacturer’s instructions carefully. This step is *vital* to lock in color and protect your countertops from stains and scratches. Remember, the sealing process isn’t just a one-and-done deal; it requires periodic reapplication to keep your countertops looking their best.
Frequently Asked Questions
How Long Does Concrete Countertop Curing Typically Take?
Curing your concrete countertop usually takes about 7 to 14 days, depending on mixing ratios and curing temperature. You should keep the concrete moist during this period, especially if temperatures are lower, as it helps prevent cracks. Warmer temperatures speed up curing, but too much heat can cause cracking. To guarantee strength and durability, patience is key—don’t rush the curing process for the best results.
Can I Customize the Color of My Concrete Countertop Easily?
You can easily customize your concrete countertop color by using dye options designed for concrete. To achieve consistent color, mix the dyes thoroughly and test on a small sample first. Keep in mind that color consistency depends on careful blending and the type of dye you choose. With the right dyes and techniques, you’ll get a beautiful, personalized finish that matches your design vision perfectly.
What Are the Best Sealants for Long-Term Durability?
You might think any sealant will do, but the truth is, choosing the right sealant options greatly impacts durability factors. For long-term protection, epoxy or penetrating sealants are your best bets—they resist stains and moisture well. These options create a strong barrier, ensuring your countertop stands up to daily wear. Always consider the specific durability factors of your project, and apply sealants properly for lasting results.
Is DIY Concrete Countertop Installation Suitable for Beginners?
You might find DIY concrete countertop installation challenging if you’re a beginner, as it involves precise measurements, proper mixing, and finishing techniques. While DIY safety is vital, some steps may require professional assistance to guarantee safety and quality. If you’re new to such projects, consider consulting experts or gaining experience first. This approach helps prevent mistakes and guarantees a durable, professional-looking result.
How Do I Prevent Cracking During the Curing Process?
To prevent cracking during curing, you should incorporate expansion joints to control where cracks might occur. Keep the curing environment stable by maintaining consistent temperature and humidity, avoiding rapid drying or temperature swings. Cover the concrete with plastic or damp cloths to slow moisture loss, and avoid overworking the surface. Properly managing these factors guarantees your countertop cures evenly and reduces the risk of cracks.
Conclusion
So, there you have it—your foolproof guide to DIY concrete countertops. Just remember, if your masterpiece turns out more “abstract art” than sleek surface, you can always call it “modern decor.” Who needs perfection when you’ve got the thrill of the pour? Just don’t forget to wear gloves, hold your breath, and pretend you’re on a home renovation show. Happy pouring—your future “unique” kitchen is waiting!