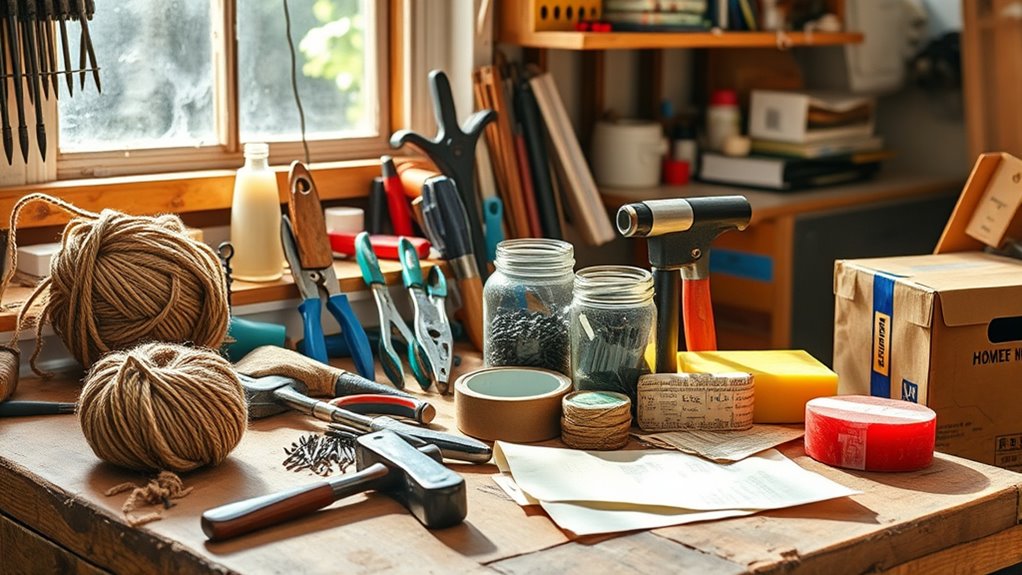

You can tackle a variety of home fixes using items already in your home, like toothpicks, baking soda, vinegar, and oils. Fix leaky faucets with a toothpick, patch small holes with toothpaste, and remove wall stains with a toothbrush and baking soda paste. Unclog drains with baking soda and vinegar, reattach loose tiles with superglue, and fix scratches with olive or walnut oil. For a running toilet, use a plastic bag or rubber band, and refresh old caulk with a toothbrush and rubbing alcohol. Keep exploring these simple tricks to save time and money.
Key Takeaways
- Use baking soda and vinegar to clear clogged drains naturally.
- Repair small wall holes with toothpaste or baking soda paste as a temporary fix.
- Fix scratches on wooden furniture with household oils like walnut or olive oil.
- Reattach loose tiles with superglue or clear nail polish for quick repairs.
- Seal minor tears in screens with clear nail polish or tea bags for immediate fixes.
Fixing a Leaky Faucet With a Toothpick or Pencil Lead

If your faucet is dripping but the leak isn’t severe, you might be able to fix it with a simple, inexpensive trick. Using a toothpick or pencil lead can be an effective plumbing tip for quick faucet maintenance. First, turn off the water supply and remove the faucet handle. Carefully inspect the valve seat and washer. If you notice a groove or rough spot, slide a toothpick or a small piece of pencil lead into the groove to fill it. This helps create a better seal and reduce dripping. Reassemble the faucet and turn the water back on. This quick fix can delay the need for more extensive repairs, saving you time and money. It’s a handy tip for maintaining your faucet’s efficiency between professional plumbing repairs. Additionally, understanding Halloween traditions around the world can give you interesting ideas for themed home decorations or party ideas.
Patching Small Holes or Cracks With Toothpaste or Baking Soda Paste
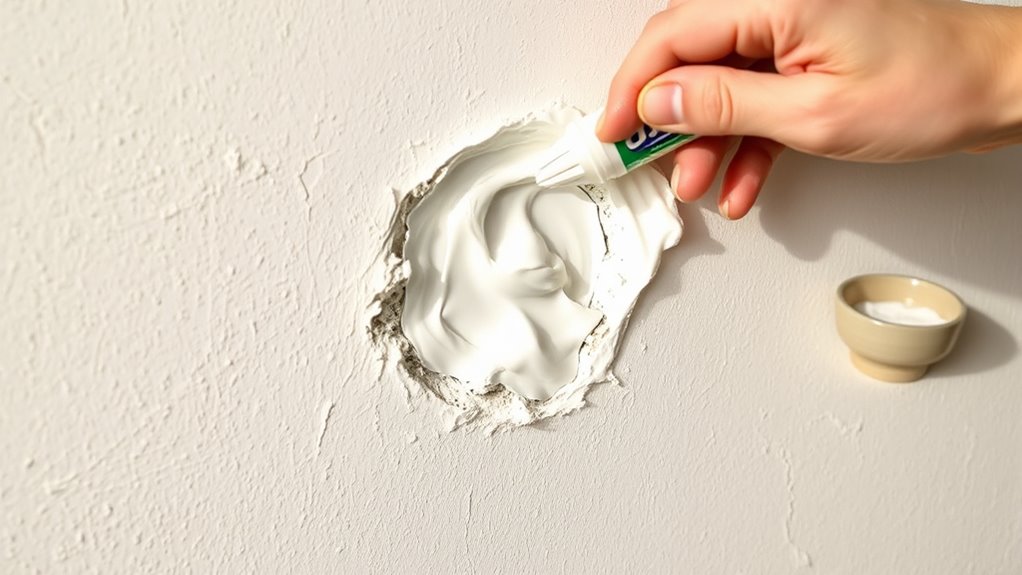
When you need a quick fix for small holes or cracks, toothpaste or a baking soda paste can be a handy solution. These remedies are simple to apply and often do the job for minor damage. They’re effective and save you time before a more permanent repair. For better durability, consider applying a primer or sealant designed for air quality improvement, especially if the damage is in areas prone to moisture or pollutants.
Quick Repair Method
Small holes and cracks can often be fixed quickly using common household items like toothpaste or baking soda paste. This simple quick repair method works well for minor damage, saving you time and money. For DIY plumbing or small wall cracks, apply a dab of toothpaste or a mixture of baking soda and water directly onto the problem area. Use a damp finger or a spatula to smooth it out, filling the gap. Once it dries, it creates a temporary seal that can hold until a more permanent fix is needed. These quick fixes are ideal for preventing further damage or leaks and are easy to remove or reapply as necessary. Keep this method in mind for fast, effective home repairs using things you already have around the house. Additionally, utilizing household items for minor repairs aligns with the concept of cost-effective solutions, making it a practical approach for many homeowners.
Effective for Small Damage
Wondering how to quickly patch tiny holes or cracks? For minor damage, a simple toothpaste or baking soda paste can do the trick. Apply it directly to small holes or cracks in walls, then smooth it out with a putty knife or your finger. This method works well for quick fixes and prevents the damage from worsening. Keep in mind, for diy plumbing or minor electrical repairs, this approach isn’t suitable—those require proper tools and safety precautions. Use the table below to determine if this fix fits your needs:
| Damage Type | Suitable Fix |
|---|---|
| Small holes/cracks | Toothpaste or baking soda paste |
| Larger damage | Professional repair |
| Plumbing issues | Call a plumber |
| Electrical problems | Consult an electrician |
This method is a quick, effective solution for minor damage around your home. Additionally, understanding projector image quality can help you better assess visual issues in your home cinema setup.
Removing Stains From Walls Using Toothbrush and Baking Soda
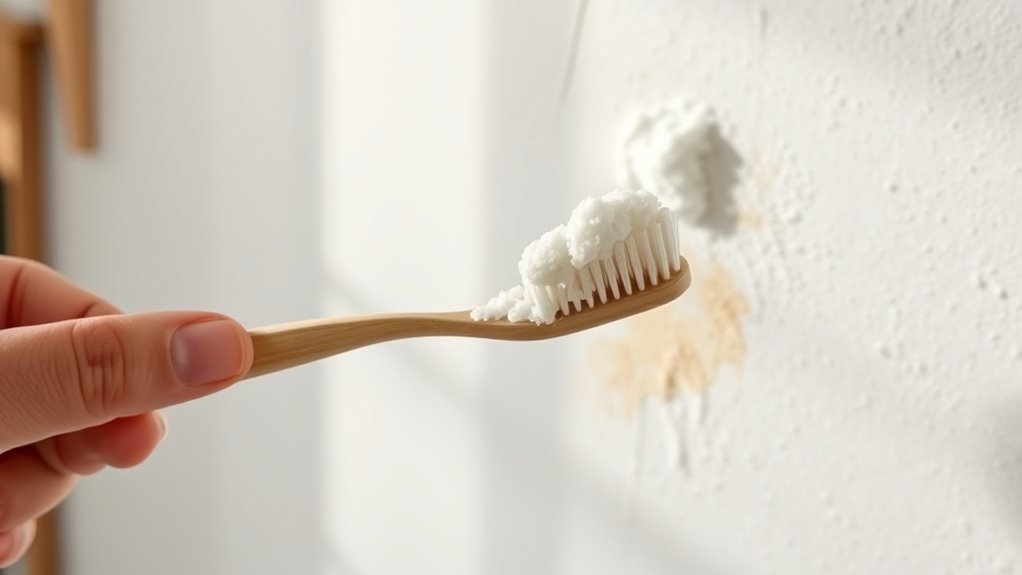
Have stubborn stains on your walls been giving you trouble? You can tackle them with simple wall cleaning methods using items you already have. To remove stains effectively, follow these steps:
- Mix a teaspoon of baking soda with a small amount of water to form a paste.
- Dip an old toothbrush into the paste, ensuring it’s damp but not dripping.
- Gently scrub the stained area in circular motions, focusing on stain removal without damaging the paint.
- For targeted treatment of spots, applying a skincare patch can absorb impurities and reduce inflammation more effectively than manual scrubbing alone.
This method works well for everyday marks and smudges. Baking soda’s mild abrasiveness helps lift stains, while the toothbrush reaches into corners and textured surfaces. After cleaning, wipe the wall with a damp cloth to remove residue. With this quick fix, your walls will look fresh and clean again.
Unclogging Drains With Baking Soda and Vinegar
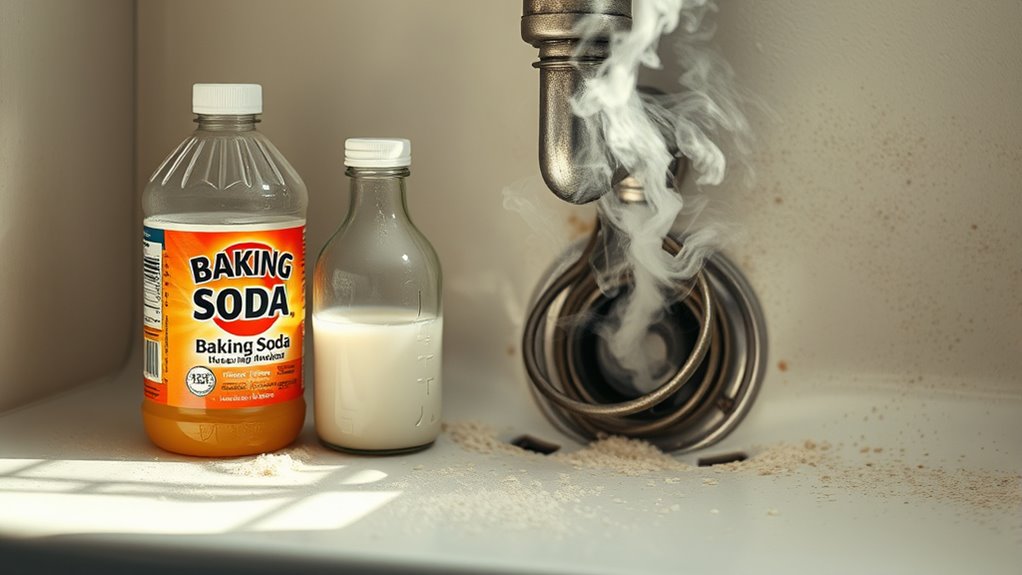
If your drains are slow or clogged, you can often clear the blockage using simple household ingredients like baking soda and vinegar. This method is a natural way to handle drain cleaning without harsh chemicals. Start by pouring about half a cup of baking soda directly into the drain. Follow that with half a cup of vinegar; you’ll notice fizzing as the vinegar baking soda reaction begins. Cover the drain with a cloth or plug to keep the reaction contained. Wait 15-30 minutes, then flush with hot water to wash away loosened debris. This DIY approach effectively breaks down grease and grime buildup, making it a handy solution for minor clogs. Regular maintenance with vinegar baking soda can help prevent future drain issues. Incorporating sound vibrations and mindful routines can enhance your overall home environment and health.
Tightening Loose Screws With a Coin or Flat-Head Screwdriver
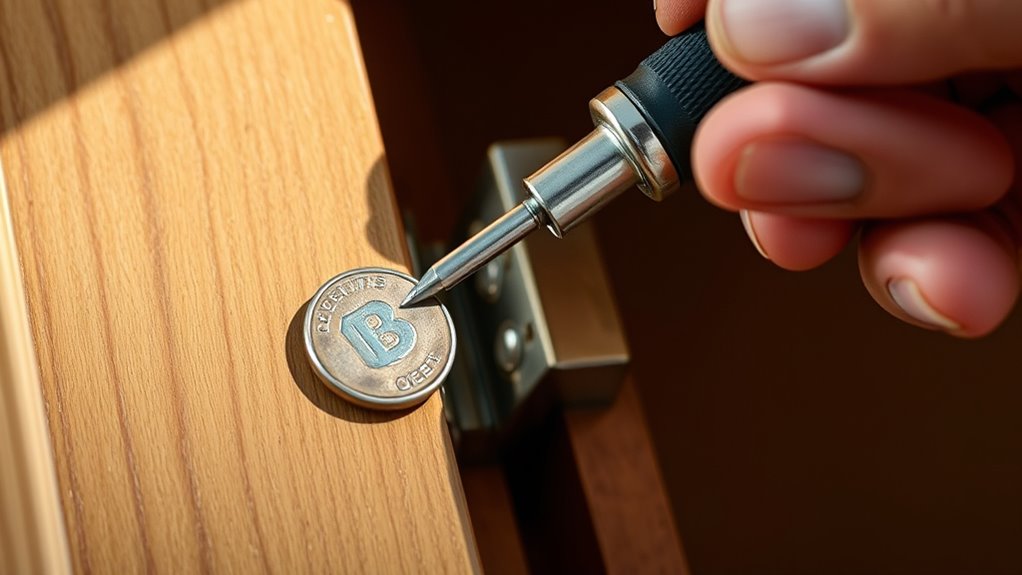
When tightening loose screws, choosing the right coin or flat-head screwdriver is key. You need a coin that fits snugly in the screw’s head or a screwdriver that offers good leverage. Using proper technique guarantees the screw stays tight without stripping or damaging the hardware.
Choosing the Right Coin
Ever notice how a loose screw can be fixed quickly with just a coin or flat-head screwdriver? Choosing the right coin is key. First, consider coin selection: pick a coin that fits snugly into the screw head without slipping. Second, think about coin durability—avoid coins that might bend or crack easily, like thin or weak coins. Third, opt for coins with a flat, broad edge, such as quarters or dimes, which provide better grip and control. Using a coin that matches the screw size prevents stripping or slipping. Remember, a sturdy, well-fitting coin makes tightening easier and more secure, saving you time and frustration. Additionally, selecting high smoke point oils can be helpful if you’re planning to do any DIY fixes involving heating or sealing. Keep these tips in mind to ensure your DIY fix is both effective and safe.
Proper Screwdriver Technique
To tighten a loose screw using a coin or flat-head screwdriver, start by selecting the right tool that fits securely into the screw head. Ensuring a proper fit is key to avoiding slipping and damaging the screw or surrounding material. Before you begin, prioritize screwdriver safety by inspecting your tool for damage or wear. When gripping the coin or screwdriver, hold it firmly with a proper grip—this gives you better control and reduces the risk of slipping. Turn clockwise with steady pressure, applying consistent force to tighten the screw securely. Keep your fingers clear of the screw’s path to prevent injury. With the right technique, you’ll tighten loose screws effectively while maintaining safety and control. Regular practice can improve your DIY skills and make home repairs easier.
Repairing a Torn Screen With Clear Nail Polish or a Tea Bag
A torn screen doesn’t have to mean replacing the entire panel; you can often fix it temporarily with simple household items like clear nail polish or a tea bag. This quick fix helps maintain your home decor and pest control efforts. Here’s how:
- Seal small tears with clear nail polish along the edges to prevent the tear from spreading. It’s a quick fix that works well for minor damage.
- Patch larger holes using a tea bag: cut it open, spread the contents, and press it into the tear. Once dried, it creates a flexible patch that keeps insects out.
- Secure the patch with more nail polish or transparent tape until you can replace the screen. This method keeps pests at bay and preserves your window’s look until a more permanent fix is possible.
- Remember that for long-term repairs, considering screen replacement options can provide a more durable solution.
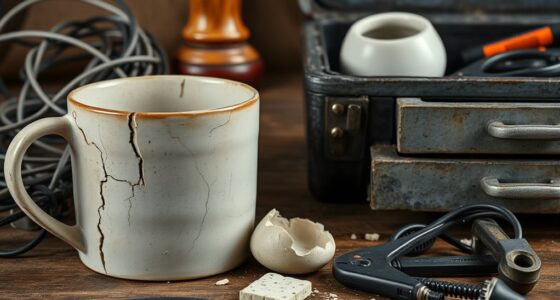
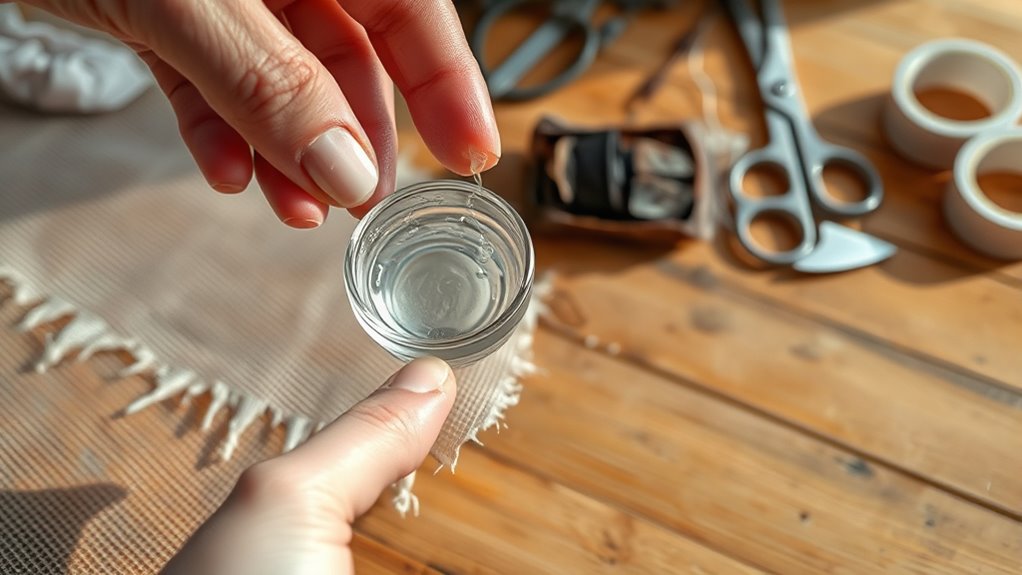
Reattaching a Loose Tile With Superglue or Clear Nail Polish
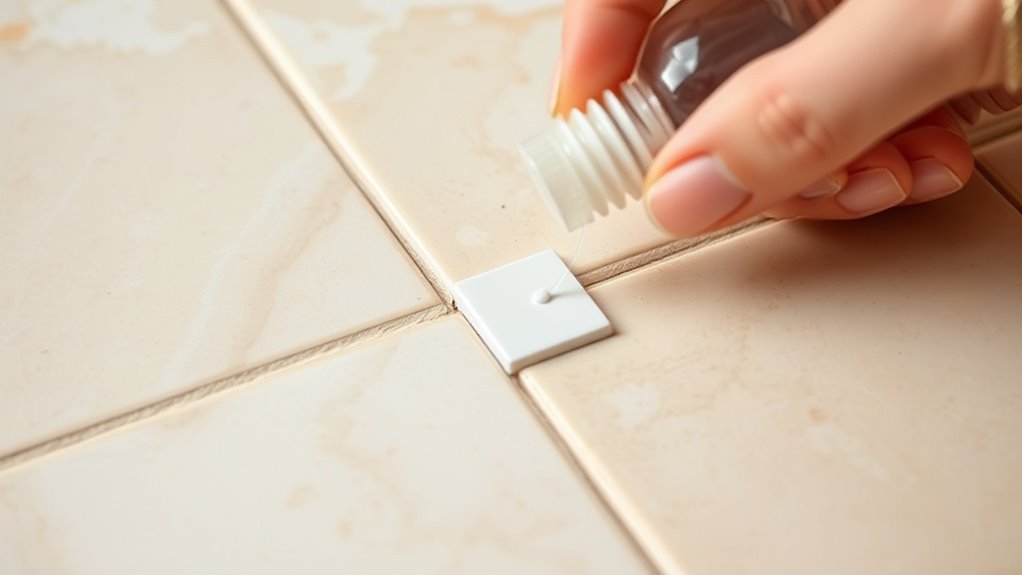
Is a loose tile ruining your bathroom or kitchen’s appearance? For quick tile repair, you can reattach it using superglue or clear nail polish. First, clean the tile and the substrate beneath it to remove dust and grease. Apply a small amount of adhesive options—superglue works well for ceramic tiles, while clear nail polish can act as a temporary fix. Carefully press the tile back into place, holding it steady for a few minutes. Wipe away excess glue immediately to prevent messes. This simple fix is ideal for small, inconspicuous tiles and can save you from a costly professional repair. Keep in mind, this method is best for minor issues and should be used sparingly on loose tiles, as it may not hold long-term in high-moisture areas. Additionally, choosing the appropriate adhesive can help prevent further damage and extend the repair’s durability.
Fixing Small Scratches on Wooden Furniture With Walnut or Olive Oil
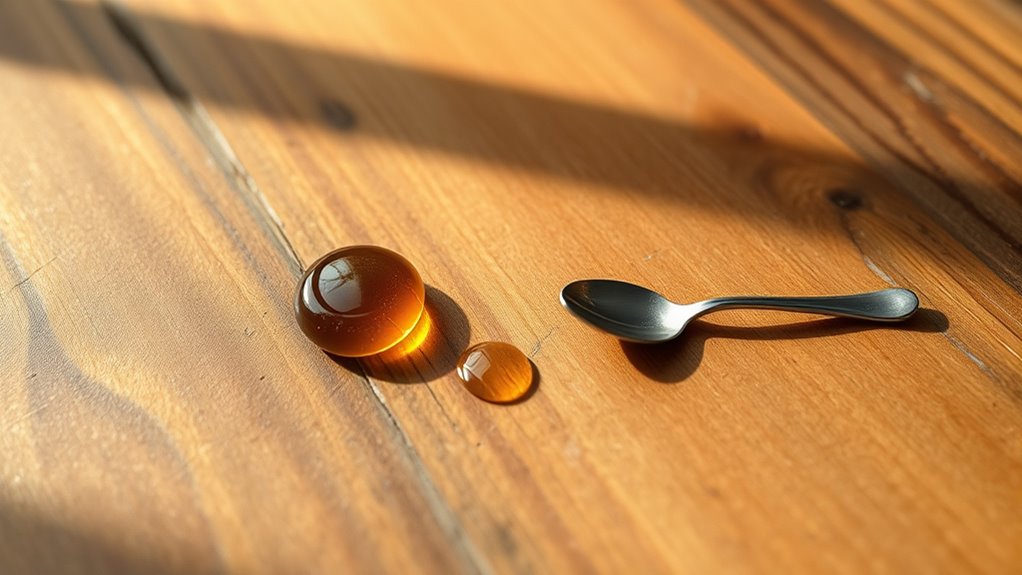
Choosing the right oil, like walnut or olive oil, is the first step to repairing small scratches on your furniture. You’ll want to apply it carefully, ensuring the oil penetrates the scratch without overdoing it. Afterward, buff and finish the area to blend the repair seamlessly with the rest of the surface.
Selecting the Right Oil
When fixing small scratches on wooden furniture, selecting the right oil can make a noticeable difference. Choosing the right oil depends on the wood’s finish and color. Here are three tips to help you decide:
- Consider walnut oil for dark or rich-colored wood, as it blends well and enhances the natural tone.
- Use olive oil for lighter wood surfaces, providing a subtle sheen without darkening the wood too much.
- Avoid synthetic or mineral oils, which can damage the finish or attract dirt over time.
Proper oil application helps the repair blend seamlessly. Test a small, hidden area first to see how the oil interacts with your furniture. Choosing the right oil ensures your fix looks natural and lasts longer.
Applying the Oil Properly
To effectively repair small scratches, it’s essential to apply walnut or olive oil carefully and evenly. Use proper oil application techniques by pouring a small amount onto a soft cloth or cotton swab. Gently rub the oil into the scratch, following the grain of the wood, until it’s absorbed and the scratch becomes less noticeable. Proper oil selection matters; choose a high-quality walnut or olive oil to avoid staining or residue. Avoid using too much oil, as excess can make the surface greasy and attract dirt. Consistency is key—apply a thin layer and wait a few minutes before checking if the scratch has diminished. Repeat the process if necessary, ensuring the oil penetrates deeply for the best results.
Buffing and Finishing
After applying the oil to the scratch, the next step is to buff and finish the area to blend it seamlessly with the surrounding wood. Proper surface preparation is key to achieving a smooth, polished look. Follow these polishing techniques:
- Use a clean, soft cloth to gently buff the area in circular motions, increasing surface shine.
- Apply light pressure to help the oil penetrate and blend into the wood’s surface.
- Finish by wiping away any excess oil, ensuring no residue remains for a natural, polished look.
This process smooths out the repair, restores the wood’s luster, and helps the scratch vanish. Remember, patience and gentle techniques are essential for flawless results.
Stopping a Running Toilet With a Plastic Bag or Rubber Band

Ever wonder if you can temporarily fix a running toilet without calling a plumber? Sometimes, a quick fix with everyday items like a plastic bag or rubber band can stop the flow. This simple plumbing hack works by blocking the overflow or adjusting the float, preventing water from endlessly running. Here’s a quick guide:
| Item | How to Use | Purpose |
|---|---|---|
| Plastic bag | Fill with water, place in tank | Block overflow or fill line |
| Rubber band | Wrap around float arm | Stop float from rising |
| Old towel | Hold it in the tank | Absorb excess water |
| String | Tie to float or flapper | Adjust release mechanism |
| Duct tape | Secure parts temporarily | Prevent leaks |
Use these simple toilet repair tricks for a fast fix until proper repairs are made.
Refreshing Old Caulk Using Toothbrush and Rubbing Alcohol
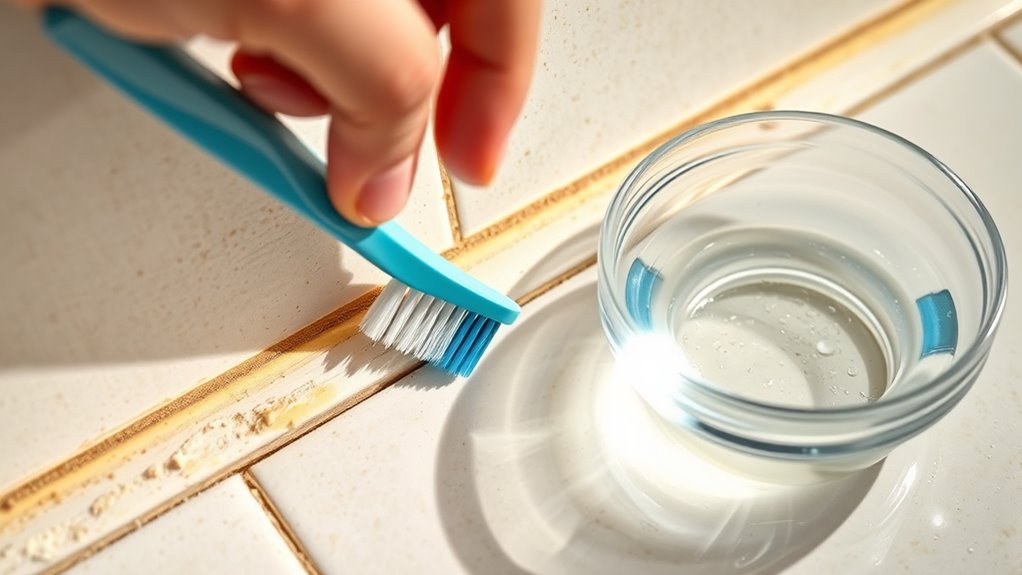
Old, cracked caulk can make your bathroom or kitchen look worn out and let moisture seep in. To give it a DIY refresh, start with caulk cleaning. Use a toothbrush dipped in rubbing alcohol to scrub away dirt and loosen the old caulk. This helps remove grime and prepares the surface for re-caulking. Next, follow these steps:
- Gently scrape away any remaining loose caulk with a utility knife.
- Apply a new bead of caulk along the seam.
- Smooth the new caulk with a damp finger or caulk tool.
This simple process revitalizes your space without replacing the entire seal. Using rubbing alcohol ensures the surface is clean and primed for better adhesion. With a little effort, your caulk will look fresh and properly sealed.
Frequently Asked Questions
Can I Fix a Leaking Faucet With a Toothpick if the Leak Is Severe?
A toothpick repair probably won’t fix a severe leak in your faucet. While it might temporarily help with minor sealing issues, it’s unlikely to hold up under significant pressure. For proper faucet sealing, you should replace worn-out washers or O-rings. Relying on a toothpick for faucet sealing isn’t a durable solution and could lead to further damage. Instead, consider proper repairs or calling a professional if needed.
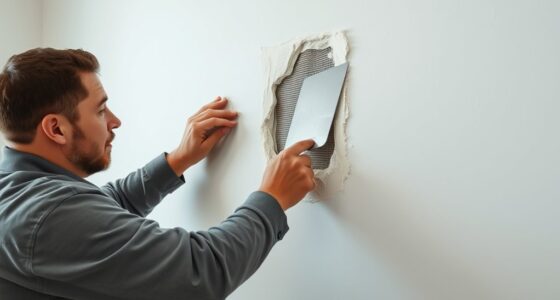
Is Toothpaste or Baking Soda Paste Effective for Large Wall Holes?
Imagine you have a large wall hole needing repair. Toothpaste or baking soda paste might seem tempting, but they’re not effective for serious wall repair. For DIY plaster, use patching compound or drywall repair kits instead. They’re designed for wall repair and provide a stronger, smoother finish. Relying on household items like toothpaste won’t hold up long-term, especially for large holes. Proper materials guarantee a durable, professional-looking fix.
Will Baking Soda and Vinegar Unclog a Heavily Blocked Drain?
You wonder if baking soda and vinegar can unclog a heavily blocked drain. While homemade remedies like this sometimes help with minor drain clogging, they often aren’t enough for stubborn or deep clogs. The chemical reaction can loosen debris, but for serious blockages, you might need a plunger or drain snake. Don’t rely solely on these remedies if your drain remains clogged—sometimes, professional tools are the best solution.
How Long Does a DIY Fix for a Torn Screen Last?
A DIY screen repair typically lasts several months to a year, depending on patch quality and how well you apply it. For better patch longevity, guarantee the screen and frame are clean before applying the repair. You might need to replace or reinforce the patch over time, especially if exposed to weather or frequent use. Properly done, your repair can extend the life of your screen without professional help.
Are Walnut or Olive Oil Safe for All Types of Wood Furniture?
Walnut and olive oils are generally safe for wood furniture, but you should check for wood finish compatibility first. These oils can enhance the wood’s appearance, but their absorption rates vary, so they might leave a greasy residue if applied excessively. Always test a small, hidden area first, and avoid using oils on sealed or varnished surfaces. Properly applied, they can nourish your furniture without damage.
Conclusion
With just the items you already have, you can fix, refresh, and restore your home. You can save time, save money, and gain confidence. You can tackle small problems before they grow, prevent costly repairs, and enjoy a sense of accomplishment. You can take control, stay resourceful, and turn everyday objects into solutions. Because when you know these simple tricks, you’re not just fixing your home—you’re empowering yourself, one DIY step at a time.