
To patch a drywall hole like it never happened, start by evaluating the size of the damage and gather your supplies, including a patch or mesh, joint compound, and tools. For small holes, apply spackle; for larger ones, cut a drywall patch slightly bigger than the hole, secure it with tape, then spread joint compound smoothly over the edges, feathering out for a seamless blend. Sand lightly after drying, prime, and match your paint for a flawless finish—learn more to perfect your repair.
Key Takeaways
- Clean and assess the hole size to determine if a small fill or a larger patch is needed.
- For small holes, apply spackle directly; for larger damage, cut and secure a drywall patch with mesh or tape.
- Spread joint compound smoothly over the patch, feathering edges for a seamless blend.
- Sand lightly once dry to smooth out ridges, then prime and paint to match the wall.
- Finish with multiple coats if necessary, ensuring a flawless, invisible repair.

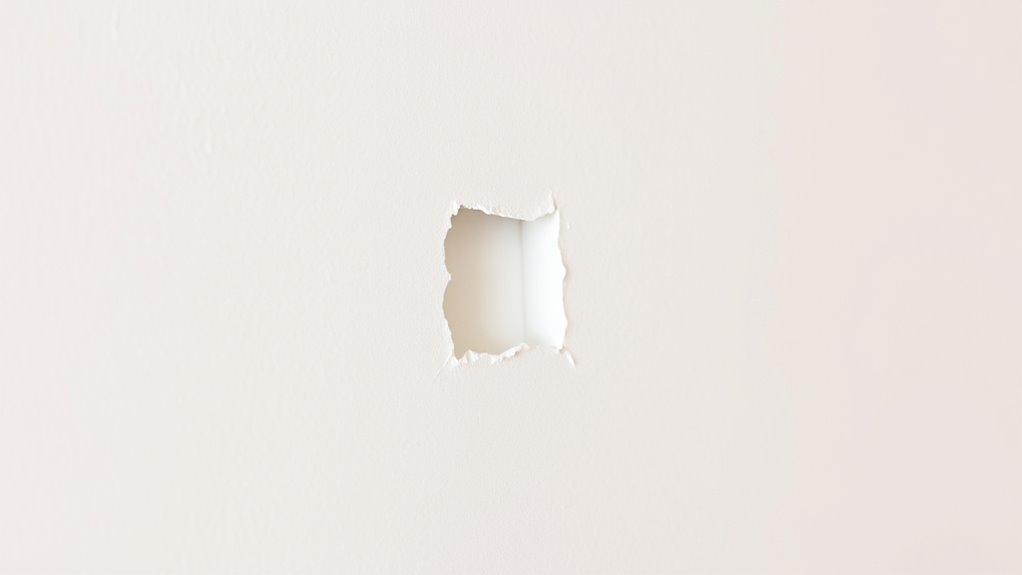
If you have a hole in your drywall, fixing it is a straightforward process that can save you time and money. You don’t need to be a professional to perform drywall repair, especially when you understand basic hole patching techniques. The key is to approach the repair systematically, ensuring it looks seamless once finished. Start by gathering your supplies: a drywall patch or mesh, joint compound, a putty knife, sanding sponge, and possibly a utility knife or scissors if you’re cutting a patch to size.
First, assess the size of the hole. For small holes, like nail holes or minor dents, you can use spackle or joint compound directly. But for larger holes, you’ll want to patch the area with a piece of drywall or a repair patch. If you’re using a drywall patch, cut it slightly larger than the hole. Apply the patch over the hole and secure it with drywall tape if needed. For mesh patches, they often come with self-adhesive backing, making application easier. Press the patch firmly into place, ensuring it adheres well and covers the entire hole.
Once the patch is secured, it’s time to apply your hole patching techniques to blend it into the existing wall. Using a putty knife, spread a thin layer of joint compound over the patch and the edges, feathering out the edges to create a smooth transition. Let it dry completely, which usually takes a few hours or overnight, depending on the compound used. After it’s dry, lightly sand the area with a sanding sponge or fine-grit sandpaper to smooth out any ridges or bumps. Be careful not to sand too aggressively; you want the patch to be flush with the surrounding wall.
Apply a thin joint compound layer, feather edges, let dry, then lightly sand for a smooth, seamless finish.
If needed, repeat the process by applying a second coat of joint compound to further smooth out the surface. Once you’re satisfied with the repair, give it a final sanding and wipe away any dust. The last step is to prime and paint over the patch to match the rest of your wall. For best results, consider using a primer before applying your final coat of paint to ensure an even finish. With a little patience and attention to detail, your drywall repair will look flawless, and no one will ever know a hole was there.
Mastering these hole patching techniques allows you to take control of minor damage without calling in a pro. It’s a skill that saves money and gives you pride in maintaining your home’s appearance. Remember, the key is to be patient, apply thin layers of joint compound, and sand carefully for a seamless finish.
Frequently Asked Questions
Can I Patch a Drywall Hole Without Sanding?
You can patch a drywall hole without sanding, especially if you choose a ready-mix joint compound designed for easy finishing. Apply the patch, then smooth it out carefully, using a damp sponge instead of sanding tools. For drywall texture and moisture resistance, consider using specialized patches or compounds. While some minor sanding might still be helpful for a seamless look, you can often skip it with the right products and techniques.
How Long Does the Repair Take to Dry Completely?
Time flies when you’re waiting for paint to dry! Typically, joint compound or patching material takes about 24 hours to dry completely, but it can vary based on thickness and humidity. To match your drywall texture and guarantee a seamless look, give it ample drying time before sanding and painting. This way, your repair will blend perfectly, and you won’t have to redo the job—patience pays off!
Is This Method Suitable for Large Holes?
You might wonder if this method works for a large hole. While it can be effective for small to medium repairs, large holes may jeopardize the structural integrity if not properly reinforced. For bigger damage, you should consider using a patch with backing support or consulting a professional. This ensures the repair remains durable and safe, preventing future issues and maintaining the wall’s strength.
What Tools Are Necessary for a DIY Patch?
Your toolkit for drywall patching isn’t a small army—it’s more like a superhero squad! You’ll need a putty knife, drywall compound, a utility knife, and sandpaper. Wall anchors come in handy if you’re fixing holes for fixtures, and if matching drywall texture matters, grab a texture spray or sponge. These tools help you blend seamlessly, making your repair look like it never happened—your walls will thank you!
Can I Paint Over the Patch Immediately?
You shouldn’t paint over the patch immediately. First, you need to do proper painting prep by smoothing the surface and letting the patch dry completely. Then, apply a primer to guarantee the paint adheres well and blends seamlessly. Once the primer dries, you can confidently proceed with painting. This process guarantees a professional look and helps your patch stay flawless over time.
Conclusion
Think of your wall as a blank canvas waiting for your touch. When you patch that hole, you’re not just fixing drywall—you’re restoring a piece of your home’s story. Each repair is like planting a seed of care, turning a simple patch into a symbol of your handiwork and pride. So, next time life leaves a mark, remember you have the tools and talent to make it disappear, leaving behind a smooth, fresh start.