Many home repairs, like fixing leaks, patching small holes, replacing toilet flappers, installing light fixtures, unclogging drains, changing door locks, and repairing broken windows, are simple enough to handle yourself. You can save money and avoid unnecessary service calls by learning some basic skills and proper techniques. If you want to discover tips for tackling these repairs confidently and safely, keep going—you’ll find plenty of helpful advice here.
Key Takeaways
- Fixing leaky faucets and small plumbing issues can be easily handled by homeowners, saving money on professional plumber fees.
- Patching small holes and cracks in drywall is straightforward with basic tools and materials, avoiding costly contractor services.
- Replacing toilet flappers and unclogging drains are simple tasks that require minimal skills and prevent unnecessary plumbing service charges.
- Installing or replacing light fixtures and hardware can be safely done with proper safety precautions, reducing labor costs.
- Repairing broken window panes or sealing drafts involves basic measurements and tools, making DIY repairs more cost-effective than hiring pros.
Fixing a Leaking Faucet
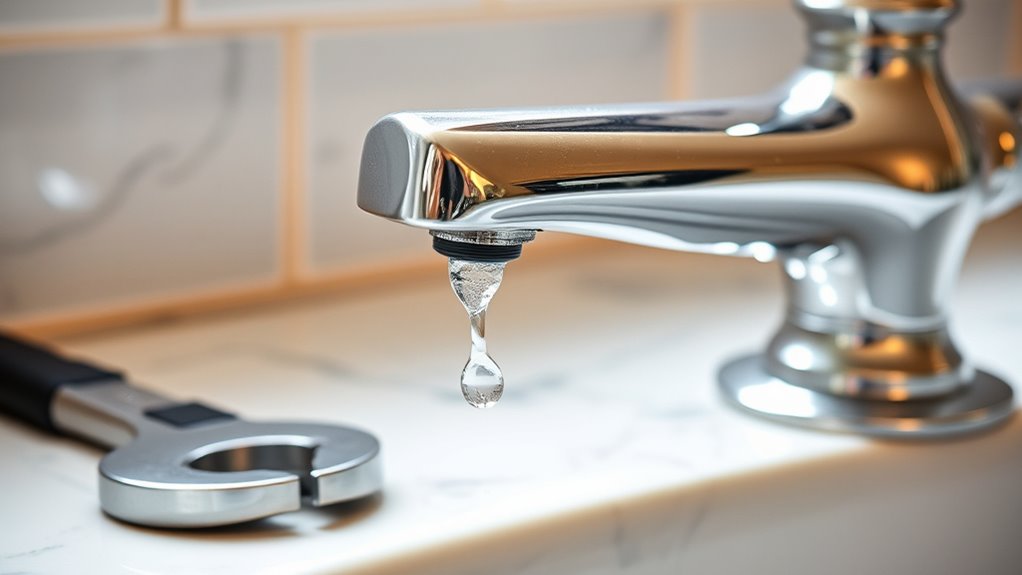
A leaking faucet can be both annoying and wasteful, but fixing it is often a straightforward task you can handle yourself. First, turn off the water supply, then disassemble the faucet to inspect the washer or O-ring, which are usually the culprits. Replacing worn parts restores proper function and prevents further leaks. While you’re at it, consider inspecting your garden irrigation system; leaks there can also waste water and increase bills. If you’re finishing drywall in the bathroom, fixing leaks beforehand helps prevent water damage and mold. Properly sealing and finishing drywall ensures a smooth surface and a professional look. Tackling these repairs yourself saves money and gives you a sense of accomplishment, plus you’ll avoid paying for unnecessary professional services.
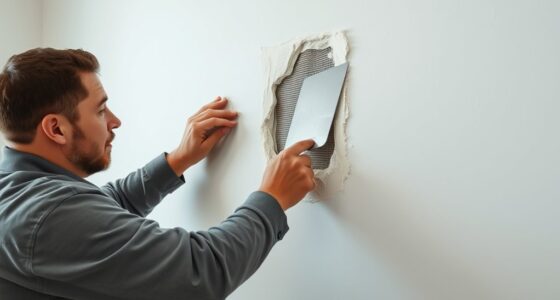
Patching Small Holes and Cracks in Walls
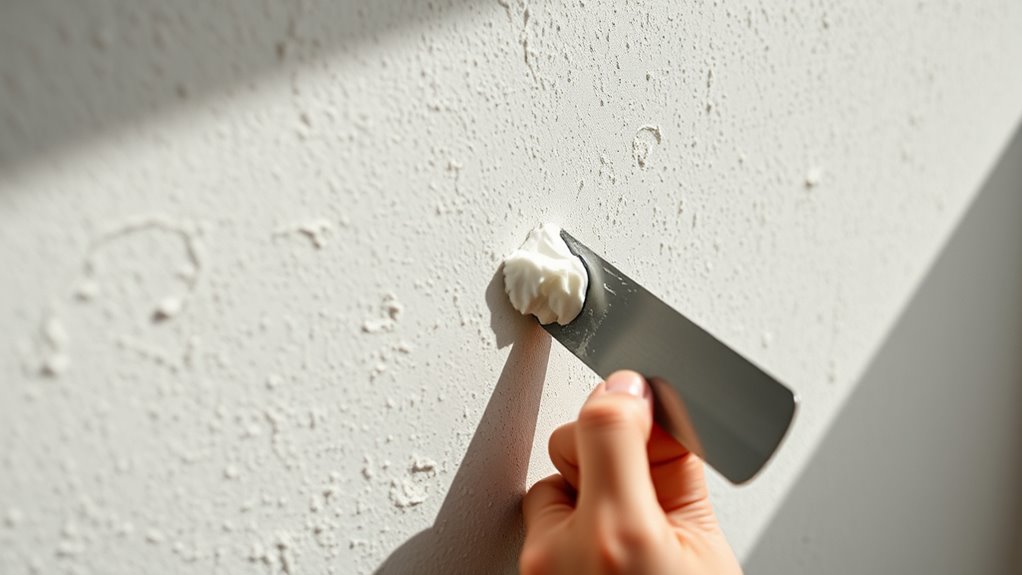
Fixing small holes and cracks in your walls is an easy and effective way to improve your home’s appearance. Proper wall prep is essential for a smooth finish. Start by cleaning the area and removing loose drywall or paint. Use spackling techniques to fill the hole or crack, applying the compound with a putty knife. Let it dry completely, then sand it smooth for a seamless surface. To guarantee the repair blends well, prime and paint over the patch. Here are some tips to perfect your patching skills: 1. Choose the right spackle for the size of the hole or crack. 2. Apply multiple thin layers, allowing each to dry. 3. Sand gently to avoid gouging the wall. 4. Feather the edges for an invisible repair. For the best results, ensure the patching compound is applied evenly to prevent uneven finishes, which can be noticeable after painting.
Replacing a Toilet Flapper
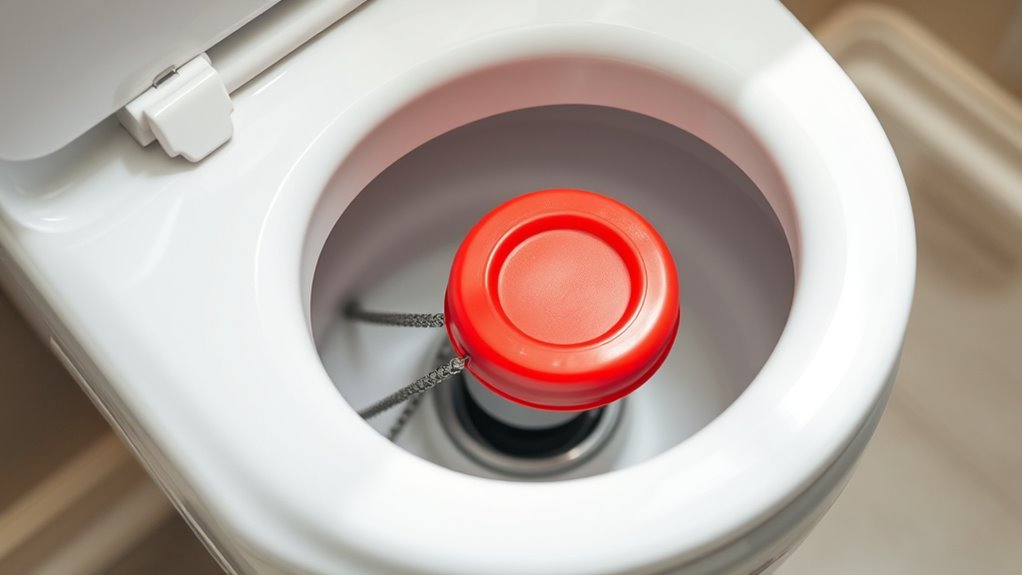
When your toilet keeps running or won’t flush properly, replacing the flapper can often solve the problem. First, turn off the water valve behind the toilet to prevent leaks. Remove the toilet lid and locate the flapper inside the toilet tank. Disconnect the chain from the flush handle and take out the old flapper. Install the new flapper by attaching it to the flush valve and reconnecting the chain, ensuring it’s not too tight or loose. Turn the water valve back on and let the tank fill. Test the flush to confirm the flapper seals properly, stopping water from leaking into the bowl. Replacing a toilet flapper is a simple fix that can save you money and prevent ongoing water waste. Regularly inspecting and replacing worn flapper components can also help maintain optimal toilet performance.
Installing or Replacing Light Fixtures

Installing or replacing light fixtures can be a straightforward project if you follow the proper steps. First, turn off the power at the circuit breaker to guarantee safety. Then, remove the existing lighting fixture, carefully disconnecting the electrical wiring. Next, connect the new fixture’s wiring, matching black to black, white to white, and grounding wires together. Secure the fixture to the ceiling or wall mount, making sure it’s stable. Finally, restore power and test the lighting fixture for proper operation. To add depth: 1. Use a voltage tester to confirm power is off before working. 2. Follow manufacturer instructions for wiring and mounting. 3. Confirm grounding connections are secure for safety. 4. Double-check that the fixture is firmly attached before restoring power. Additionally, understanding soulmate angel numbers can provide insight into emotional readiness for love, which can be a reminder of the importance of safety precautions when working on home projects.
Unclogging Drains With a Plunger or Auger
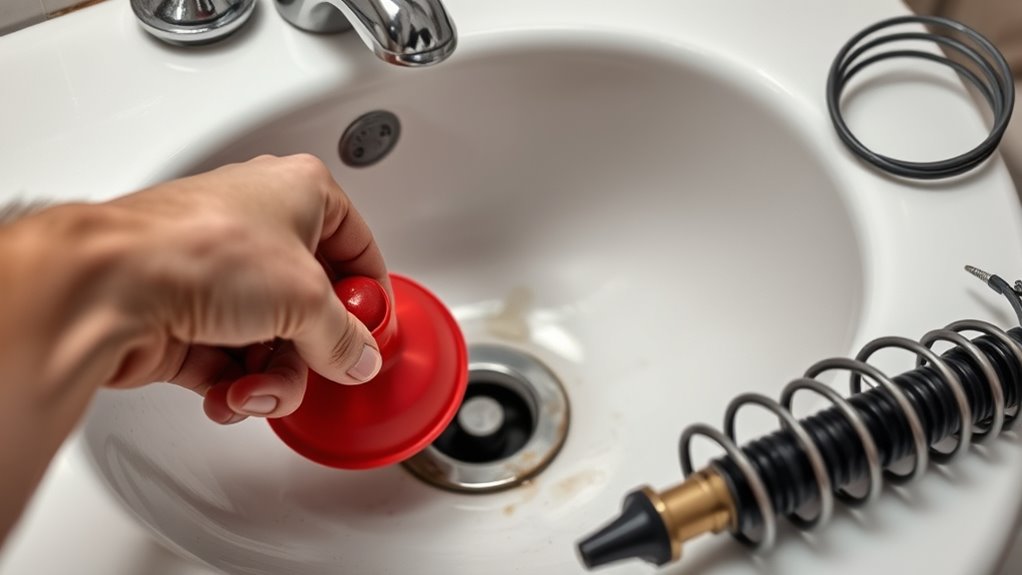
To unclog a drain, start by using proper plunger technique—cover the drain completely and push with steady pressure. If the clog persists or is deeper in the pipe, it’s time to contemplate using an auger. Knowing when to switch between a plunger and an auger helps you clear the blockage efficiently. Additionally, understanding the drainage system can help prevent future clogs and determine the best approach for clearing existing ones.
Proper Plunger Technique
Using a plunger correctly is key to effectively unclogging drains. First, ensure you create a good seal by covering the drain completely, which boosts suction effectiveness. Then, position the plunger firmly over the drain opening. Follow these steps:
- Apply steady, vigorous pressure, pushing and pulling the handle without breaking the seal.
- Maintain consistent pressure for about 15-20 seconds to build enough force.
- Keep the drain sealed tightly throughout the process to maximize suction effectiveness.
- After several attempts, lift the plunger to see if the water drains. If not, repeat the process. Proper drain sealing and sustained pressure are essential for clear, clog-free pipes without needing professional help. Proper technique is crucial for success and avoiding damage to your plumbing.
When to Use an Auger
Knowing when to switch from a plunger to an auger can save you time and effort. If plunging doesn’t clear a stubborn clog, especially in kitchen or bathroom drains, it’s time to use an auger. This tool is more effective for deep or severe blockages, particularly when roots from nearby trees interfere with underground pipes or when debris from garden irrigation systems causes backups. An auger can navigate tight bends and reach further down the line than a plunger. If your drain remains clogged after multiple plunges, or if you notice slow drainage during garden irrigation or tree planting, don’t hesitate to switch to an auger. Using the right tool guarantees the clog is cleared efficiently, saving you money and preventing damage. Additionally, understanding the types of cookies used on your browsing device can help protect your privacy while researching home repair techniques online.
Changing Out Door Locks and Handles

When you change out door locks and handles, making sure they install correctly is key to security and smooth operation. You’ll also need to check that the new handle matches your door’s existing holes and latch mechanism. Paying attention to these details helps prevent future issues down the line. For added security, consider installing high-quality locks to ensure durability and protection.
Proper Lock Installation
Replacing your door locks and handles is a straightforward way to upgrade your home’s security, but proper installation is crucial to guarantee they work correctly. Incorrect installation can compromise your security and make locks easier to pick or break. To ensure a secure fit, consider these steps:
- Choose the right lock type for your door and security needs.
- Follow the manufacturer’s instructions carefully during installation.
- Use a level to align the lock and handle properly.
- Test the lock multiple times, ensuring smooth operation and engagement.
- Understanding the importance of proper lock installation can prevent future security issues and ensure your home stays protected.
Pay attention to security tips, like installing deadbolts or reinforced strike plates, for added protection. Proper lock installation not only enhances safety but also minimizes future issues, saving you time and money.
Handle Compatibility Issues
Ensuring your new door handle fits properly is vital for both security and functionality. Before installation, check appliance compatibility to confirm the handle matches your door’s existing hardware. If you’re replacing a handle that involves electronic components, wiring compatibility is essential—make sure the wiring connections align with your door’s setup to avoid electrical issues. Measure the handle dimensions and compare them with the existing hardware to prevent mismatches. If you’re installing a smart lock, verify that it’s compatible with your door’s thickness and existing lock mechanism. Taking these steps guarantees a smooth upgrade without the need for professional help. Handling pinball machine compatibility issues yourself saves money and gives you confidence in maintaining your home’s security systems.
Repairing or Replacing a Broken Window Pane
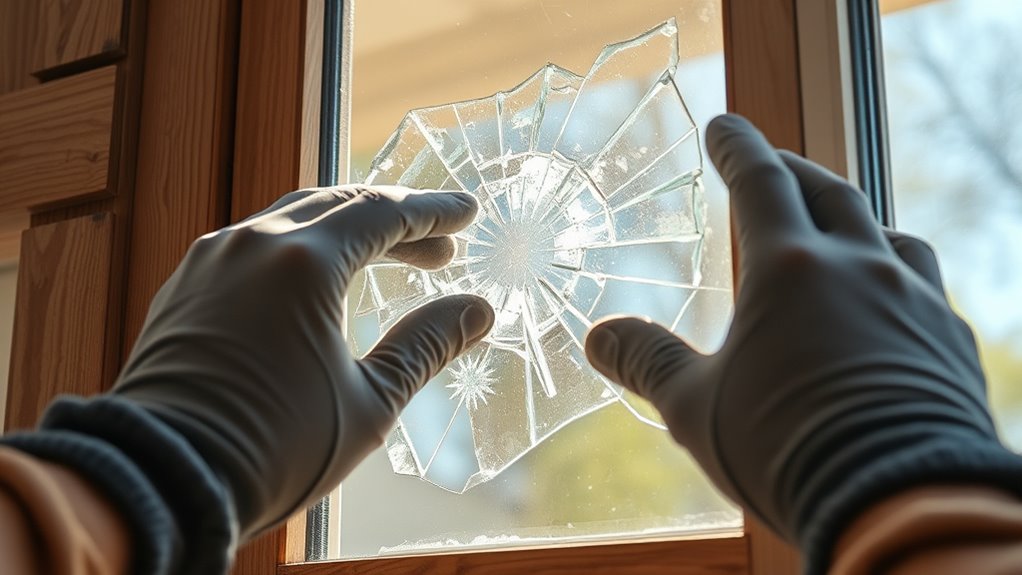
Have you ever had a cracked or shattered window that needs urgent attention? Replacing a broken window pane is a straightforward home repair you can tackle yourself. First, remove the broken glass carefully and clean the frame. Then, measure the window opening precisely to cut the new glass or order a custom piece. When installing, ensure the glass fits snugly to improve glass repair and maintain proper window insulation. Finally, secure the new pane with glazier’s points and apply window glazing compound or sealant.
Here’s what to focus on:
- Safety precautions when handling broken glass
- Accurate measurements for a perfect fit
- Using proper tools for glass installation
- Sealing gaps to enhance window insulation
Frequently Asked Questions
How Do I Determine if a Repair Is a DIY or Professional Job?
When deciding if a repair is DIY or professional, start with a DIY assessment and skill evaluation. Honestly gauge your experience and comfort level with similar projects. If it’s complex, involves safety risks, or requires specialized tools, it’s best to hire a pro. If you’re confident and have the necessary skills, tackling it yourself can save money. Always prioritize safety and know when to call in an expert.
What Safety Precautions Should I Take During Home Repairs?
When doing home repairs, prioritize safety by wearing personal protective equipment like gloves, goggles, and masks. Always follow electrical safety guidelines, such as turning off power before working on wiring. Keep your workspace clear of hazards, and use tools properly. If you’re unsure about safety procedures, consult a professional. Taking these precautions helps prevent injuries and guarantees your repair work is safe and effective.
Are There Tools or Materials I Should Always Have on Hand?
Imagine facing a sudden leak or squeaky door—wouldn’t you want to fix it quickly? That’s why you should always have essential supplies and common tools on hand. Keep a hammer, screwdrivers, pliers, nails, and tape nearby. These basic tools save you time and money, making repairs smoother. Being prepared means you’re ready for most minor issues, avoiding costly calls or delays.
How Can I Prevent Common Repair Mistakes?
To prevent common repair mistakes, always plan ahead and research thoroughly. For DIY plumbing or DIY electrical projects, understand your limits and follow safety guidelines. Use proper tools and materials, and double-check measurements before starting. Don’t rush; take your time to do it right. If a task feels too complex or risky, know when to call a professional. This approach keeps you safe and guarantees quality results.
When Should I Call a Professional Instead of Fixing Myself?
Did you know that attempting certain repairs can jeopardize your safety? When DIY safety becomes a concern, it’s time to call a professional. If a repair involves complex tools or risky tasks, don’t risk tool maintenance errors or injury. Trust experts for electrical, plumbing, or structural issues. You save yourself trouble and ensure a proper fix, especially when the job exceeds your skill level or safety knowledge.
Conclusion
Just like Da Vinci knew the value of mastering your craft, learning these simple repairs keeps you in control. By handling these tasks yourself, you avoid unnecessary costs and gain confidence, much like a craftsman shaping their masterpiece. When you take charge of small repairs, you’re not just fixing things—you’re building your own legacy of independence. Remember, sometimes the greatest strength lies in knowing when to roll up your sleeves and trust your own hands.