When repairing drywall holes, start by cleaning and preparing the area, then cut a patch to fit the hole, securing it with drywall screws or adhesive. Cover seams with joint tape and apply joint compound, feathering the edges for a seamless look. Once dry, sand lightly and prime the area before painting to match your wall’s color and texture. With proper technique and attention to detail, your repair will be durable and nearly invisible—learn more to perfect your process.
Key Takeaways
- Assess hole size to determine if a small patch with joint compound or a larger drywall patch is needed.
- Secure the patch with drywall screws or adhesive, ensuring it is flush with the wall surface.
- Cover seams with drywall tape, then apply joint compound, feathering edges for a seamless repair.
- Sand the dried compound smoothly, wipe dust, prime the area, and paint to match the surrounding wall.
- Use reinforcement and proper taping techniques for durability, and take your time for a nearly invisible finish.
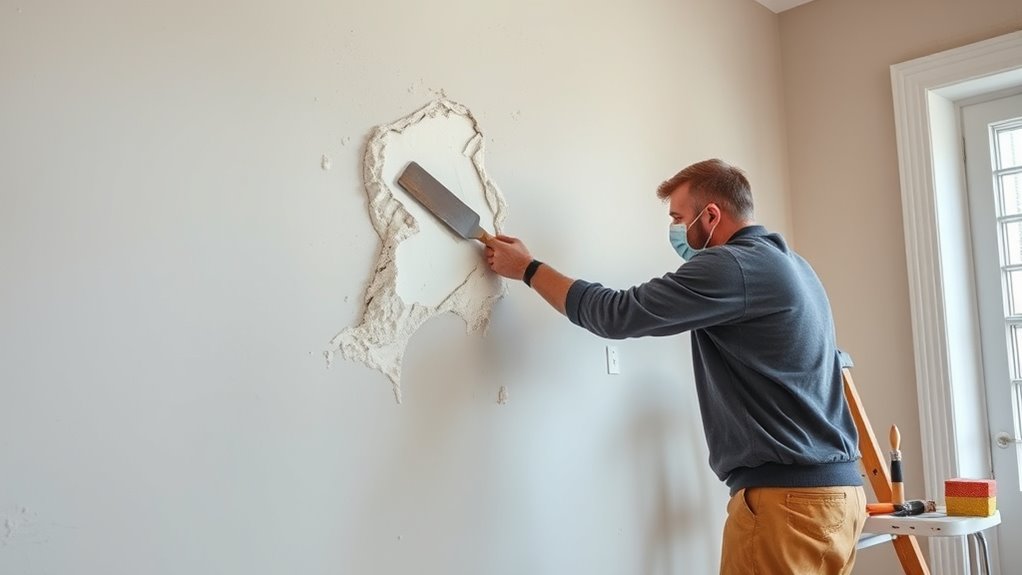
Damaged drywall is a common issue that can be fixed quickly with the right tools and techniques. When it comes to drywall repair, one of the most straightforward projects is patching holes. Whether it’s from a doorknob accident or an accidental impact, patching a hole effectively restores the wall’s appearance and prevents further damage. The key is to approach hole patching with patience and precision, ensuring the repair blends seamlessly with the surrounding surface.
Start by evaluating the size of the hole. For small holes, such as those caused by nails or screws, a simple spackle or joint compound can suffice. For larger holes, you’ll need to cut a drywall patch to fit the opening. Use a utility knife to clean up ragged edges, making the patching process easier. When patching, always employ drywall repair techniques that include securing a backing or support behind the patch if the hole is large. This can be a piece of scrap drywall or a piece of wood inserted behind the wall to support the patch. This step is vital for stability and prevents the patch from sagging over time.
Once you have your patch ready, apply it firmly with drywall screws or adhesive, pressing it into place. For smaller repairs, you can simply hold the patch in place while applying joint compound around the edges. For larger patches, screw the drywall securely, making sure the surface is flush with the existing wall. After the patch is in place, use joint tape to cover the seams, preventing cracking and ensuring a smooth finish. Apply a thin layer of joint compound over the tape and the edges of the patch with a putty knife. Feather the edges to blend the repair into the existing wall surface.
Once the compound dries, usually within a few hours, sand the patched area lightly with fine-grit sandpaper to achieve a smooth surface. Wipe away dust with a damp cloth, then prime and paint the repaired section to match the rest of your wall. Proper drywall repair and hole patching not only improve your wall’s appearance but also extend its lifespan. Using drywall repair techniques that include proper taping and feathering ensures your patch will be nearly invisible, restoring your wall’s integrity and aesthetic appeal. With patience and attention to detail, your repairs will be nearly invisible, restoring your wall’s integrity and aesthetic appeal.
Frequently Asked Questions
How Do I Prevent Future Drywall Holes From Forming?
To prevent future drywall holes, you should use wall reinforcement like corner protectors and wall guards, especially in high-traffic areas. Always protect your furniture with covers or pads when moving or working near walls. Be cautious when hanging heavy items, using proper anchors, and avoid overloading hooks. Regularly inspect walls for damage so you can address issues early, maintaining your wall’s integrity and reducing the chance of holes forming.
What Tools Are Essential for Drywall Repair?
Imagine you’re fixing a small hole in your wall; essential drywall tools like a putty knife, sanding sponge, and utility knife make it easy. You’ll also need patching supplies such as joint compound, drywall patches, and primer. These tools help you smoothly apply and sand the compound, ensuring a seamless repair. Having the right drywall tools and patching supplies on hand simplifies the process and guarantees professional-looking results.
Can I Repair Large Holes Without Professional Help?
You can repair large drywall holes yourself with DIY tips, saving money compared to hiring a professional. Start by cutting a drywall patch slightly larger than the hole, secure it with drywall screws, and apply joint compound smoothly. Sand the area once dry for a seamless finish. This DIY approach is cost-effective and manageable if you follow proper techniques, making it a practical choice for large hole repairs without professional help.
How Long Should I Wait Before Painting After Patching?
You should wait at least 24 hours before painting after patching drywall. This allows the drywall primer and joint compound to fully dry, ensuring a smooth finish. Rushing the process can cause paint to peel or crack later. Check the drying time on your specific drywall primer and joint compound labels, as it may vary. Patience here guarantees a professional-looking result that lasts.
What Are Common Mistakes to Avoid During Drywall Repair?
When doing drywall patching, avoid rushing the finishing techniques, as it can lead to uneven surfaces and cracks. Don’t skip sanding between layers, which helps achieve a smooth finish. Be careful with the joint compound, applying too thickly or unevenly. Also, neglecting proper priming before painting can cause discoloration. Take your time, follow proper drywall patching procedures, and use finishing techniques to make certain of a seamless, professional-looking repair.
Conclusion
Now that you know how to patch and paint drywall holes, you’ll be able to restore your walls quickly and confidently. Did you know that small drywall repairs can increase your home’s value by up to 10%? Tackling these repairs yourself not only saves money but also boosts your confidence in home maintenance. With these techniques, you’ll keep your walls looking pristine and preserve your home’s worth for years to come.