
Trying viral DIY hacks can be risky, especially if you don’t consider wall safety. For instance, magnetic wall organizers may slip if not mounted properly, causing damage. No-mess paint techniques can leave streaks if not applied carefully, while DIY wall art can peel or bubble if layered improperly. Sticky notes might peel paint when removed. The quick fix might not match wall texture perfectly. Keep these pitfalls in mind; explore more tips to protect your walls and succeed with your projects.
Key Takeaways
- The DIY wall repair hack may have failed if texture matching or application was improper, causing visible damage.
- Using overly strong magnets or incorrect mounting methods in the magnetic organizer can damage wall paint or drywall.
- Applying paint with uneven layers or improper tools during wall art creation can lead to bubbling, peeling, or surface damage.
- Removing sticky notes improperly or using unsuitable adhesive might peel paint or leave residue, harming the wall finish.
- Quick fix techniques that don’t match wall texture or color can result in noticeable repairs or further damage.
Testing the Magnetic Wall Organizer
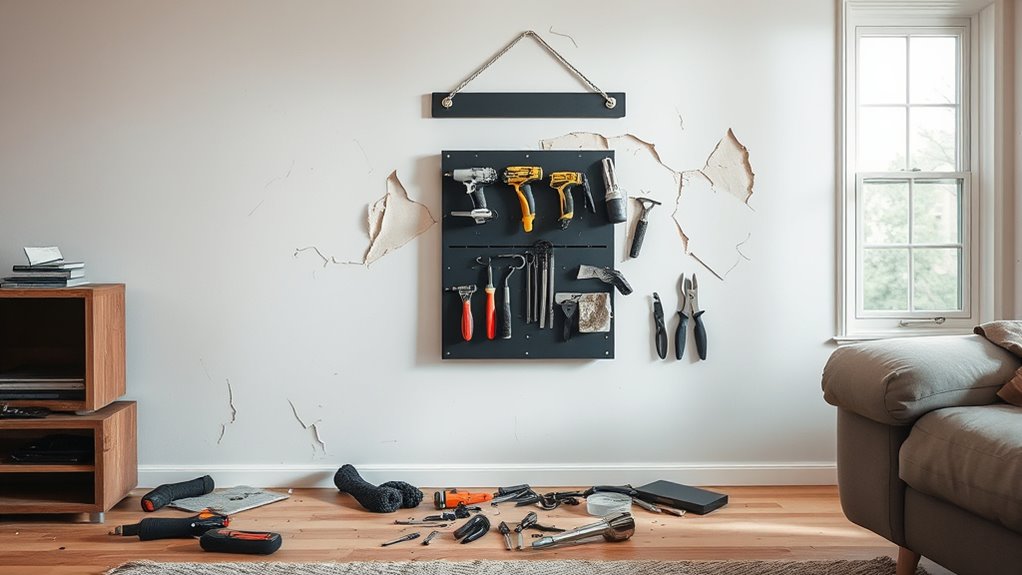
Have you ever wondered if a magnetic wall organizer can really keep your space tidy? To test it, you focus on its magnetic strength and wall safety. First, you check how well the magnets hold your everyday items—pens, keys, or small tools—to see if they stay put. If the magnetic force is weak, your essentials might fall, defeating the purpose. You also examine how securely the organizer attaches to the wall, ensuring it won’t slip or cause damage. Safety is key, so you look for smooth edges and sturdy mounting options. You also consider the craft and textiles aspect, thinking about whether the material of the organizer is durable and easy to clean. By testing these aspects, you get a clear idea if this hack can actually help declutter your space without risking wall damage or losing items. It’s all about balancing magnetic power and wall safety.
Trying the No-Mess Paint Technique
After successfully testing the magnetic wall organizer, you might be looking for ways to keep your painting projects mess-free. The no-mess paint technique is perfect for this. Start by ensuring your paint has the right consistency—neither too thick nor too runny—so it applies smoothly without drips. Proper wall preparation is essential; clean the surface thoroughly and tape off edges to prevent splatters. Use a palette or tray designed for minimal spills, and consider using a sponge or foam brush for controlled application. This method minimizes splatter and mess, making cleanup easier. Keep a damp cloth nearby to quickly wipe up any accidental drips. Additionally, choosing the right paint application tools can significantly reduce waste and mess. With proper preparation and attention to paint consistency, you can achieve a neat, professional-looking finish without the usual mess.
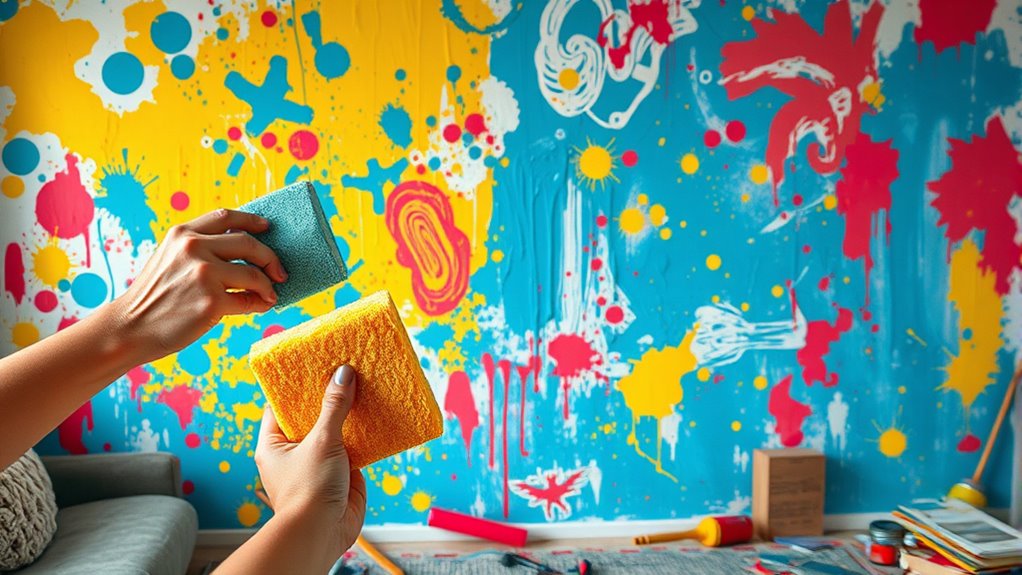
Applying the DIY Wall Art Canvas
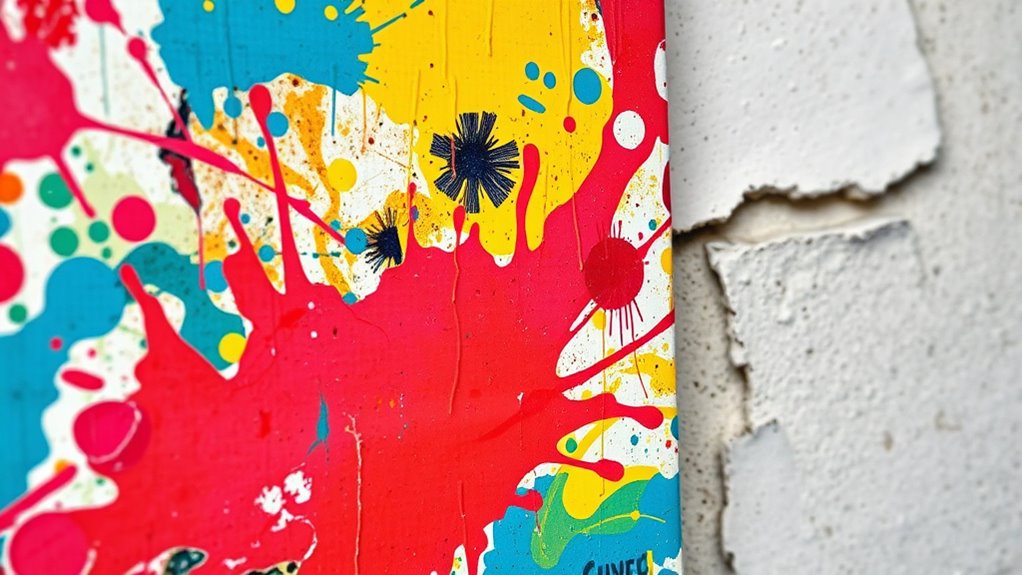
Once you’ve prepared your canvas surface and gathered your desired materials, it’s time to apply your DIY wall art. To minimize paint stress, work in thin, even layers, allowing each to dry completely before adding more. This prevents streaks and cracking that could compromise wall durability over time. Use a steady hand and smooth brush strokes to ensure the paint adheres evenly without bubbling or peeling. Be mindful of the type of paint you choose; high-quality, wall-safe paint helps maintain wall integrity and prevents damage. Carefully align your design on the canvas to avoid misplacement, which could lead to uneven stress on the wall. Proper application not only enhances your artwork’s appearance but also preserves your wall’s strength for long-lasting decor. Additionally, selecting appropriate wall paint can help prevent issues like cracking or peeling over time.
Using the Sticky Notes for Wall Decor
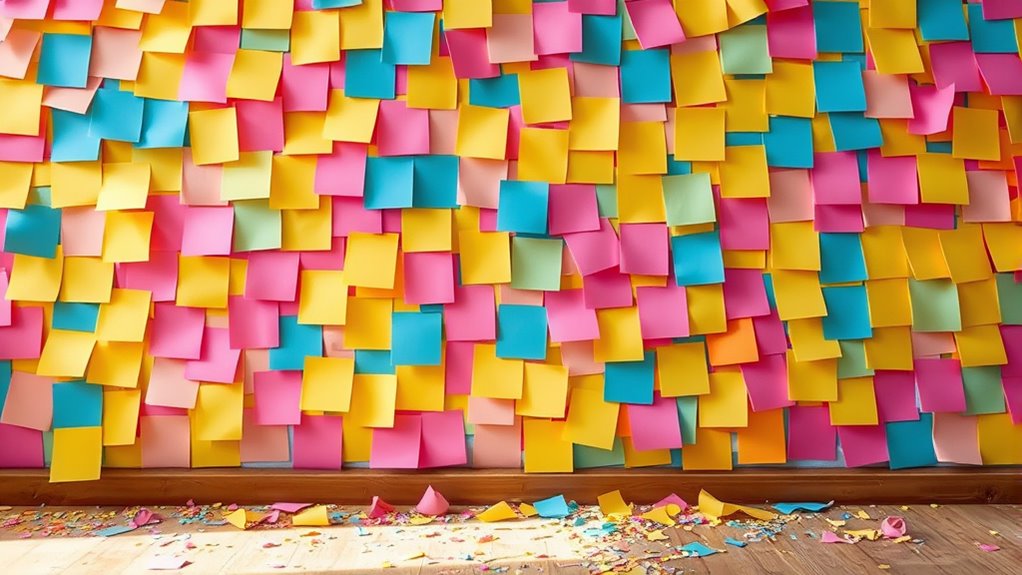
Using sticky notes for wall decor is a simple and versatile way to add personality to any space. You can create colorful murals or playful patterns without damaging your walls, unlike traditional wallpaper peel. Stick notes directly onto the wall, arranging them in shapes, words, or abstract designs that reflect your style. This method is easily customizable—you can swap out notes for different colors or designs anytime. Additionally, using removable adhesive helps prevent residue or damage when removing the notes. However, be cautious: removing sticky notes can sometimes leave residue or peel paint if not done carefully. Unlike a wall sticker, which sticks firmly but can be tricky to remove without damage, sticky notes offer a less permanent and more flexible decor option. With a little creativity, your wall becomes a fun, interactive canvas.
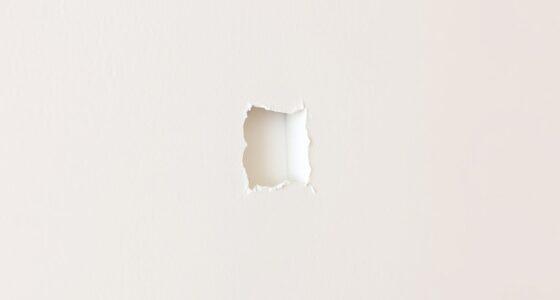
Attempting the Quick Fix Wall Repair

When a small hole or crack appears in your wall, tackling it with a quick fix can save you time and effort. First, match the wall texture as closely as possible to blend the repair seamlessly. Use spackle or lightweight joint compound, applying it with a putty knife, and smooth out the surface. Once it dries, lightly sand the area for a flat finish. To hide the repair, repaint with the same paint color, blending the edges into the existing wall. Be mindful of the wall texture, as a smooth patch can stand out on textured surfaces. If you rush, the patch might look obvious or even damage the surrounding area further. Taking your time ensures the repair is discreet and maintains the wall’s original appearance. Additionally, understanding wall texture matching techniques can help achieve a seamless integration of the repair.
Frequently Asked Questions
Can These DIY Hacks Be Used on Textured or Uneven Walls?
When considering DIY hacks for textured or uneven walls, you should be cautious. Wall texture and uneven surfaces can make certain hacks tricky, as adhesives or paints may not apply smoothly or stick well. If you attempt these hacks, verify they’re suitable for your wall’s texture and surface. Test a small area first, and opt for techniques designed specifically for textured or uneven surfaces to avoid damage or poor results.
How Long Do These DIY Wall Solutions Typically Last?
You might think DIY wall solutions last forever, but the truth is, paint durability and adhesive longevity vary. Usually, with proper prep, they stick around for months or even years, but rough textures or uneven surfaces can shorten that lifespan. Ironically, a quick fix can sometimes backfire, making your wall look worse over time. Keep in mind, the lifespan depends on quality materials and application—so don’t expect miracles!
Are There Safer Alternatives for Damage-Prone DIY Hacks?
Are there safer alternatives for damage-prone DIY hacks? Absolutely. Focus on wall repair techniques that prioritize safety precautions, like using painter’s tape for clean lines or removable adhesive hooks instead of nails or heavy-duty adhesives. These options reduce risk and make repairs easier if needed. Always guarantee proper ventilation and wear protective gear. By choosing safer methods, you protect your walls and yourself, avoiding costly or dangerous mishaps.
What Tools Are Essential for Attempting These DIY Projects?
For any DIY project, you need basic hand tools like a hammer, screwdrivers, and pliers to get started. It’s also vital to choose the right adhesive type for your materials—whether it’s glue, double-sided tape, or specialized adhesives. Having these tools and adhesives on hand guarantees you can work safely and effectively, reducing the risk of damage and making your DIY efforts more successful.
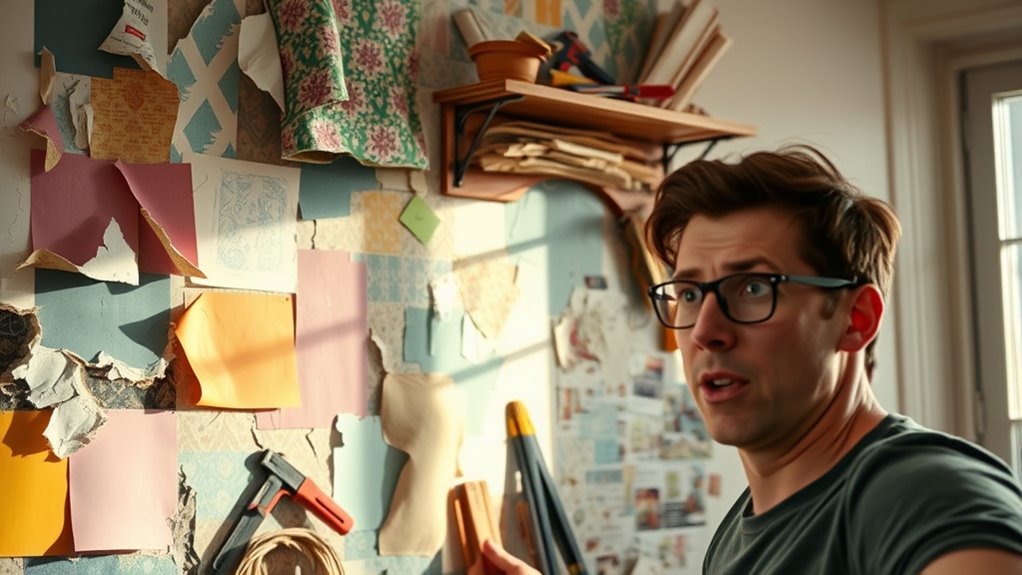
How Can I Fix My Wall After a Failed DIY Hack?
Ever faced that moment of panic when your DIY project turns into a wall disaster? Don’t worry—you can fix it! Start with wall patching to fill the holes or cracks, then sand smooth for a seamless finish. Finish with paint touch-ups to match your wall’s color and hide all signs of the mishap. With patience and the right steps, your wall will look good as new, almost like it never happened.
Conclusion
So, after trying all these viral DIY hacks, you might think you’re about to turn your wall into a masterpiece. But surprise—you end up with a destroyed wall instead. Irony’s got a funny way of sneaking up on you. Sometimes, the quick fixes and viral tricks aren’t so quick or easy, and your wall pays the price. Next time, maybe stick to good old-fashioned methods—unless you’re craving a wall that’s more abstract art than functional decor.