
Installing a peel-and-stick backsplash in just one afternoon is entirely possible with proper planning. First, you’ll want to measure your space carefully and clean the surface thoroughly for better adhesion. Start from a corner or edge, use guiding lines, and slowly press each tile into place, smoothing out air bubbles as you go. Reposition tiles if needed before the adhesive sets. Continue on, and if you want to master the process, keep exploring for more helpful tips.
Key Takeaways
- Properly measure and prepare the surface for quick, smooth installation.
- Start from a corner or straight edge for an even, professional look.
- Use guiding lines and a level to ensure precise alignment.
- Reposition tiles easily before adhesive sets to fix mistakes.
- Finish by smoothing air bubbles and cleaning the surface for a polished appearance.
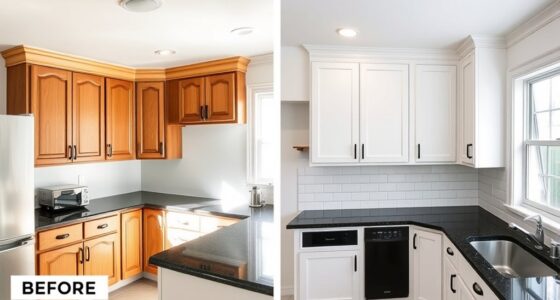
If you’re looking for an easy and affordable way to upgrade your kitchen or bathroom, peel-and-stick backsplash tiles are a smart choice. They’re simple to install, require no special tools, and can instantly transform your space. To get started, gather your materials and measure the area carefully. Knowing the exact square footage helps you buy the right amount of tiles and minimizes waste. Before you peel and stick, clean the surface thoroughly to remove grease, dirt, or soap residue. A smooth, clean surface ensures the adhesive sticks well and your tiles stay in place for years.
Peel-and-stick backsplash tiles are an easy, affordable way to instantly upgrade your kitchen or bathroom.
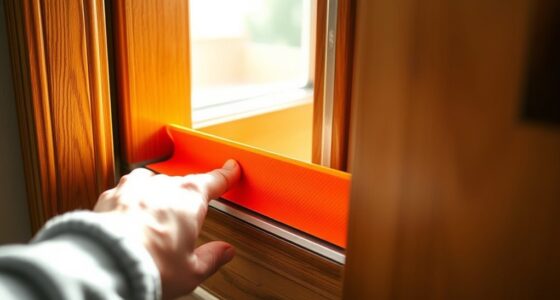
When it comes to installation tips, start from a corner or a straight edge to keep your layout even. You might want to use a level or a straightedge to draw faint lines as guides, especially if you’re aiming for a precise, symmetrical pattern. Peel back a small section of the backing paper and align the tile carefully before pressing it onto the wall. Work slowly, smoothing out air bubbles as you go with a squeegee or a credit card. If you make a mistake, most peel-and-stick tiles are forgiving enough to be repositioned, but do so quickly before the adhesive sets.
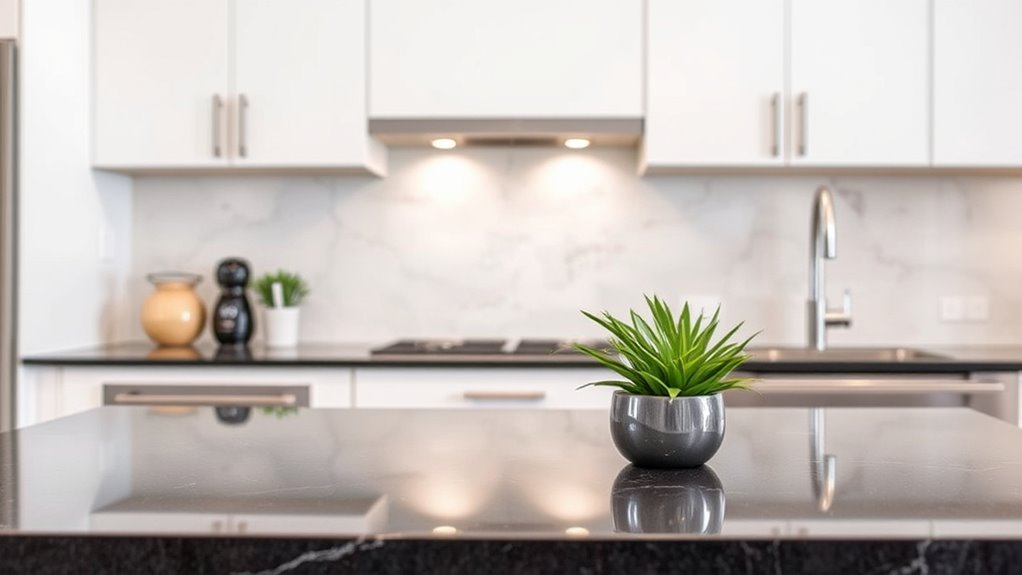
Design ideas for your peel-and-stick backsplash can be as creative as you want. You might opt for a classic subway tile look for a timeless feel, or experiment with herringbone or diagonal patterns to add visual interest. Mixing different tiles can create a mosaic effect, giving your space a personalized touch. Consider contrasting colors or textured tiles to make your backsplash stand out. If you’re feeling bold, try a border or accent strip to add a design element without overwhelming the space.
In just one afternoon, you can complete this project and see a dramatic change. The key is to work methodically, taking your time to ensure each tile lines up perfectly. Once finished, wipe down the surface to remove any fingerprints or adhesive residue, and step back to admire your handiwork. Peel-and-stick backsplash tiles offer endless design possibilities, so don’t be afraid to get creative. With a little patience and planning, you’ll enjoy a stylish new look that’s both functional and attractive, all without breaking the bank or spending hours on installation. Additionally, choosing the right adhesive surface can improve color accuracy and ensure long-lasting results.
Frequently Asked Questions
Can Peel-And-Stick Backsplash Be Removed Easily Without Damage?
You wonder if peel-and-stick backsplash can be removed easily without damage. The key lies in proper removal techniques, which help prevent damage to your walls. Gently heat the edges with a hairdryer to loosen the adhesive, then slowly peel it back. Using a plastic scraper can also help. Follow these steps for damage prevention, making the removal process smooth and stress-free without harming your surface.
What Are the Best Cleaning Methods for Peel-And-Stick Surfaces?
You might worry about damaging your peel-and-stick surface during cleaning, but don’t fret. Use gentle cleaning techniques like a soft cloth or sponge with mild soap and water, avoiding harsh chemicals or abrasive scrubbers. Maintenance tips include wiping regularly to remove dirt and grime, and avoiding excessive moisture. This way, your backsplash stays vibrant and intact, making cleaning effortless while preserving its adhesive quality.
How Durable Is Peel-And-Stick Backsplash Against Heat and Moisture?
You should know that peel-and-stick backsplashes offer good durability against heat and moisture, thanks to their material flexibility. However, adhesion longevity can vary based on surface preparation and exposure to high temperatures or excess moisture. To keep it looking great, guarantee your surface is clean and dry before installation, and avoid excessive heat or water contact. With proper care, your backsplash can stay vibrant and securely attached for years.
Can Peel-And-Stick Backsplash Be Applied Over Textured Walls?
While textured walls may seem like a charming feature, they can pose challenges for peel-and-stick backsplash application. Wall texture often complicates surface preparation, making it harder for the adhesive to stick evenly. For the best results, smooth out the surface or use a primer before applying the backsplash. This guarantees better adhesion and a more polished look, helping your project stand the test of time despite the textured backdrop.
Are There Color or Pattern Options Available for Customization?
You’ll find a variety of color choices and pattern options for peel-and-stick backsplashes, making customization easy. Many brands offer neutral tones like white, gray, and beige, as well as bold hues and intricate patterns to match your style. With so many options, you can create a unique look that complements your space. Whether you prefer subtle designs or eye-catching patterns, there’s likely a peel-and-stick backsplash to suit your taste.
Conclusion
Installing a peel-and-stick backsplash is a quick, affordable way to refresh your space—you can finish it in just one afternoon. Did you know that over 60% of homeowners report increased satisfaction with their kitchens after easy updates like this? So, why wait? With minimal effort, you can transform your kitchen’s look and feel in a day. Get started today and enjoy the beautiful, DIY upgrade you deserve!