
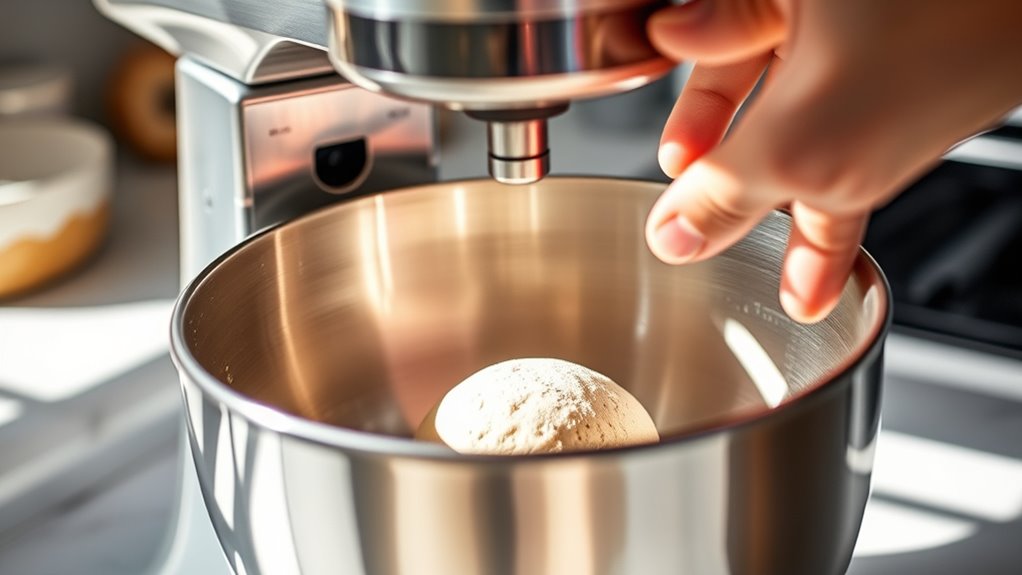
To properly calibrate your stand mixer for perfect dough, start by unplugging it and tilting the head back or lowering the bowl for easy access. Use a dime to check the beater height by placing it at the bowl bottom and running the mixer at low speed—adjust the calibration screw until there’s a small clearance. Testing with a dough batch confirms you’re set. If you want detailed steps, keep exploring further.
Key Takeaways
- Use the dime test to set the beater height, ensuring proper clearance from the bowl bottom for optimal dough mixing.
- Locate the calibration screw beneath the motor head or between the bowl and mixer, depending on your model.
- Adjust the screw incrementally—turn counterclockwise to raise the beater, clockwise to lower—then re-test for proper clearance.
- Run a test batch of dough at low speed to observe even kneading and ensure the beater isn’t hitting the bowl or missing ingredients.
- Regularly recheck clearance after cleaning or moving the mixer to maintain precise calibration for perfect dough results.
Recognizing When Your Mixer Needs Calibration
Over time, your stand mixer may fall out of calibration due to regular use, shipping, or maintenance issues. You’ll notice this when the beater-to-bowl ratio isn’t right—if the beater consistently misses the bottom or doesn’t reach ingredients, it’s a sign calibration is needed. When ingredients stick at the bottom or don’t blend evenly, it confirms your mixer might be out of sync. Performing a dime test can help verify proper beater height by checking the clearance from the bowl’s bottom. An improper beater-to-bowl ratio impacts mixing efficiency, resulting in uneven dough or batter. Regularly inspecting and adjusting the beater height ensures your mixer maintains the correct beater-to-bowl ratio, leading to better mixing performance and consistently excellent baking results. Additionally, understanding the sound vibrations generated during mixing can help identify if your mixer is operating smoothly or if it requires recalibration, as vibration analysis provides valuable insights into the internal functioning of your device. Paying attention to these calibration indicators can prolong the lifespan of your stand mixer and improve its overall performance. Being aware of the machine’s internal mechanics can also aid in detecting early signs of calibration issues before they affect your baking. Recognizing technological advancements in mixer design can assist in troubleshooting and maintaining optimal performance over time.
Gathering the Necessary Tools for Adjustment
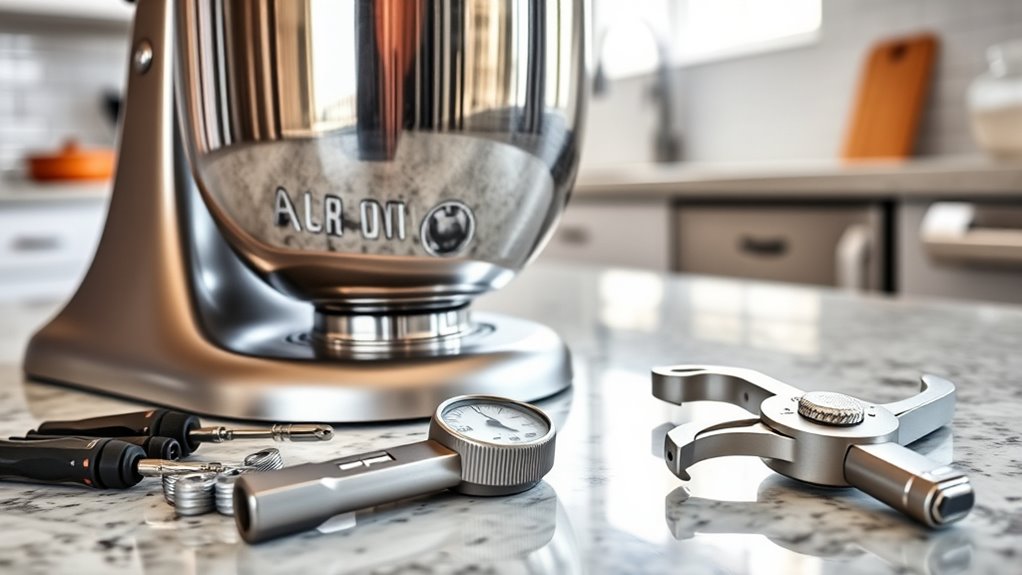
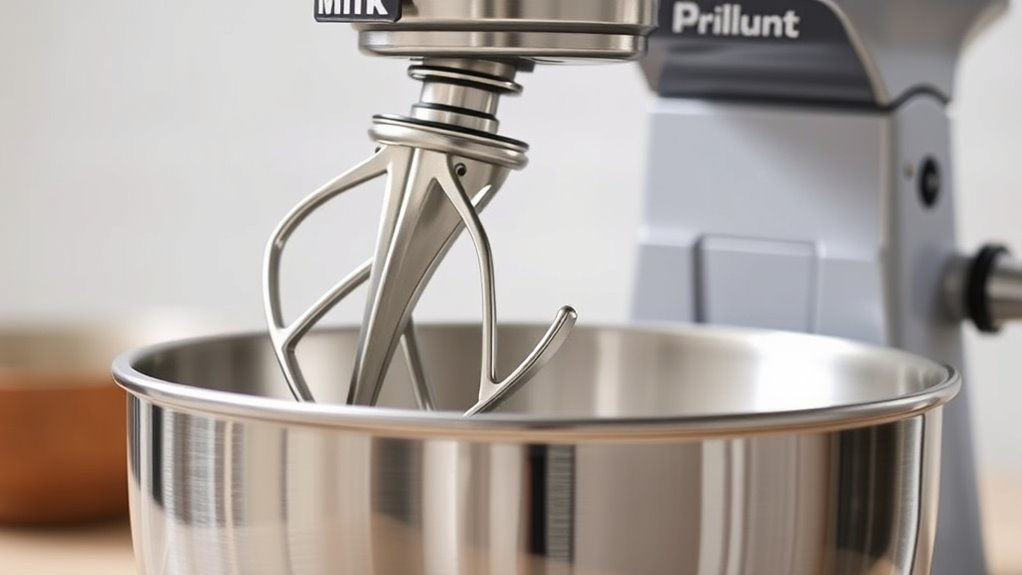
To effectively calibrate your stand mixer, you need to gather a few essential tools beforehand. First, a flat beater and a flathead screwdriver are vital for turning the adjustment screw on both tilt-head and bowl-lift models. A dime or similar coin is useful for the dime test, helping you evaluate the beater height and guarantee proper calibration. You might also need a flashlight or mirror to see hard-to-reach adjustment screws. Keep your workspace clean and free of clutter to easily locate and access these screws. Having your stand mixer manual or schematic on hand can also guide you to the exact screw location. With these tools ready, you’ll be set to fine-tune your mixer for perfect dough every time.
Identifying the Adjustment Screw on Your Mixer Model
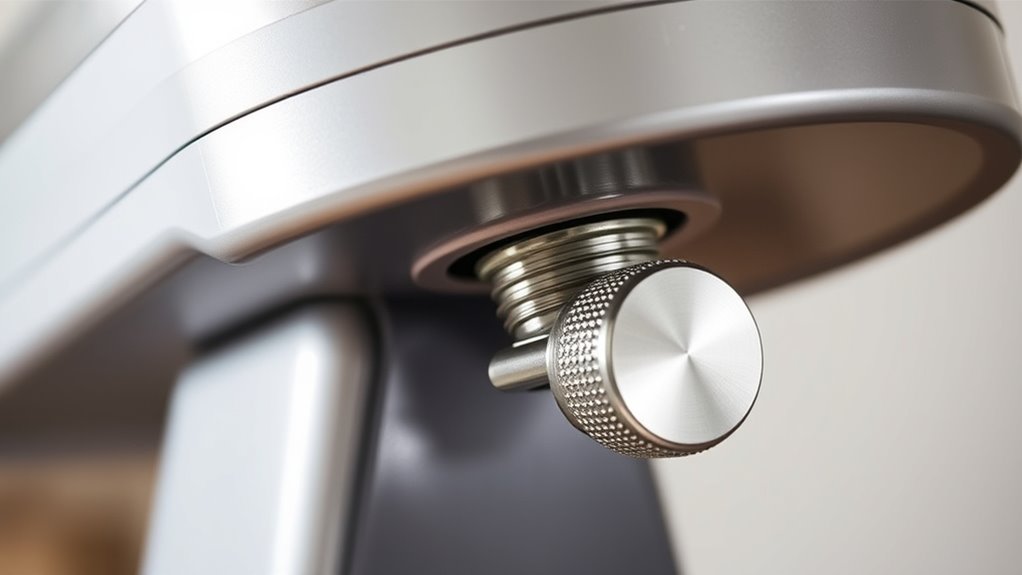
Have you ever wondered where the calibration screw is located on your stand mixer? On tilt-head models, the adjustment screw is directly below the head, accessible by tilting it back. For bowl-lift models, it’s positioned between the bowl and the mixer body, usually halfway along the hinge. This adjustment screw is typically a small, flathead screw that needs a screwdriver for adjustments. Properly identifying this screw is essential for accurate beater height calibration and ideal mixing. Take your time to locate it carefully, ensuring you’re adjusting the correct part. Understanding the knowing your mixer model helps you make precise adjustments, leading to perfect dough consistency and better overall mixer performance. Familiarizing yourself with the adjustment screw location can prevent unnecessary damage and ensure smooth operation. Knowing exactly where the screw is on your specific model helps you make precise adjustments, leading to perfect dough consistency and better overall mixer performance. Understanding the end-of-life care principles can also help you maintain your mixer for long-term use. Additionally, consulting your manufacturer’s manual can provide detailed model-specific instructions to ensure proper calibration.
Preparing Your Mixer for Safe and Accurate Calibration

Before you begin calibrating your stand mixer, it’s important to prepare it properly to guarantee safety and accuracy. First, unplug the mixer to prevent accidents and clean any debris or flour for precise adjustments. Next, tilt the head back (for tilt-head models) or lower the bowl (for bowl-lift models) to access the calibration screw easily. Locate the screw, usually beneath the motor head or between the bowl and the head. Use a flathead screwdriver to gently turn the screw, making small adjustments. Here are some tips to keep in mind:
- Ensure the mixer is unplugged before starting.
- Clear the area of any obstructions or clutter.
- Handle the calibration screw gently to avoid damage.
- Perform the dime test after each adjustment for proper beater clearance.
- Regularly checking the calibration ensures your mixer operates safely and effectively.
- Familiarizing yourself with appliance maintenance can help prevent future issues and prolong your mixer’s lifespan. Additionally, understanding the importance of industry transformations like AI automation can inform ongoing maintenance practices and upgrades.
- Incorporating routine checks of essential components can further enhance your mixer’s precision and durability.
Using the Dime Test to Check Beater Height
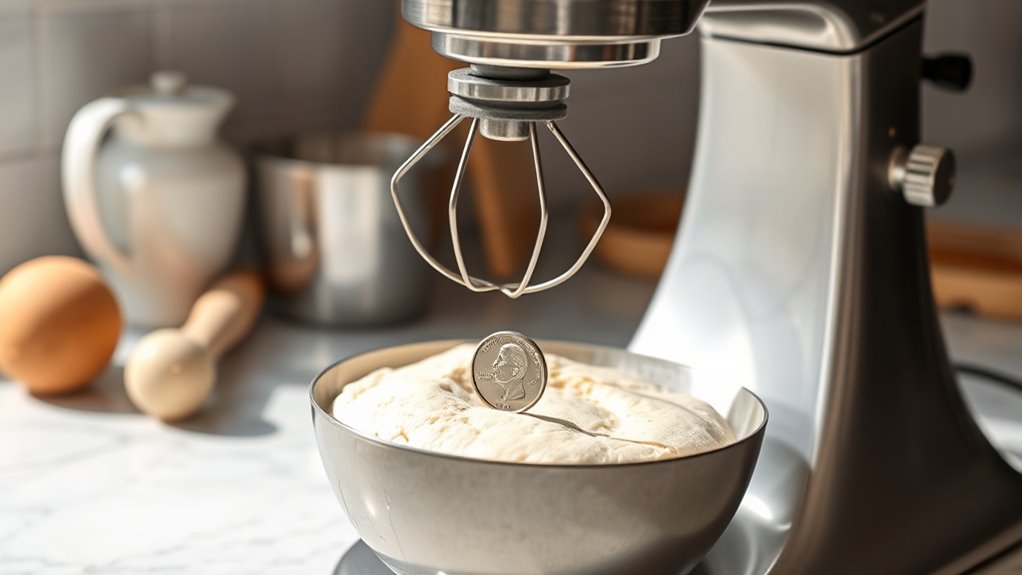
Using the dime test is a simple and effective way to check if your beater height is properly calibrated. Place a U.S. dime at the bottom of the bowl with the beater attached. During operation at low to medium speed, observe how the dime behaves. It should move smoothly or slightly bounce without getting stuck or pushed aside. If the dime doesn’t move, your beater is set too high and needs lowering. If it hits the bowl or moves erratically, it’s too low. Proper beater height ensures ingredients are scraped thoroughly and prevents batter from sticking. Regularly performing this test helps maintain ideal alignment for consistent baking results. Ensuring the correct beater position can also help prevent damage to your mixer, extending its lifespan and maintaining optimal performance. Paying attention to spray pattern consistency can also help you identify if your spray tips and settings are properly calibrated for a smooth application. Additionally, checking beater height regularly can help catch misalignments early before they affect your baking. Proper calibration not only improves baking quality but also promotes kitchen safety, by reducing the risk of mishaps during operation. Being aware of gold IRA regulations can also help you avoid costly penalties if you’re using an IRA to fund your investments.
Adjusting the Beater Height for Optimal Performance
To guarantee your stand mixer performs at its best, you need to adjust the beater height accurately. Locate the adjustment screw, usually beneath the tilt-head or between the bowl and motor head, on your stand mixers like KitchenAid. Use a flathead screwdriver to turn the screw—counterclockwise to raise the beater and clockwise to lower it. Perform the dime test by placing a dime at the bottom of the bowl and running the mixer on low speed; this helps check bowl clearance. Make small adjustments and re-test until the dime moves smoothly without obstruction or scraping. Proper beater height ensures thorough mixing, preventing ingredients from sticking or being missed. Regular maintenance and adjustments can help maintain appliance efficiency and longevity. Additionally, paying attention to mixing performance can help identify when adjustments are needed for optimal results. Recognizing the importance of AI safety measures and ongoing monitoring can also help prevent issues with increasingly sophisticated kitchen appliances. Being aware of smart appliance innovations can guide you in maintaining advanced features effectively. Moreover, understanding how sleep and mental health influence overall well-being can help you maintain the focus needed for precise adjustments and care of your equipment.
Repeating the Dime Test to Confirm Proper Calibration
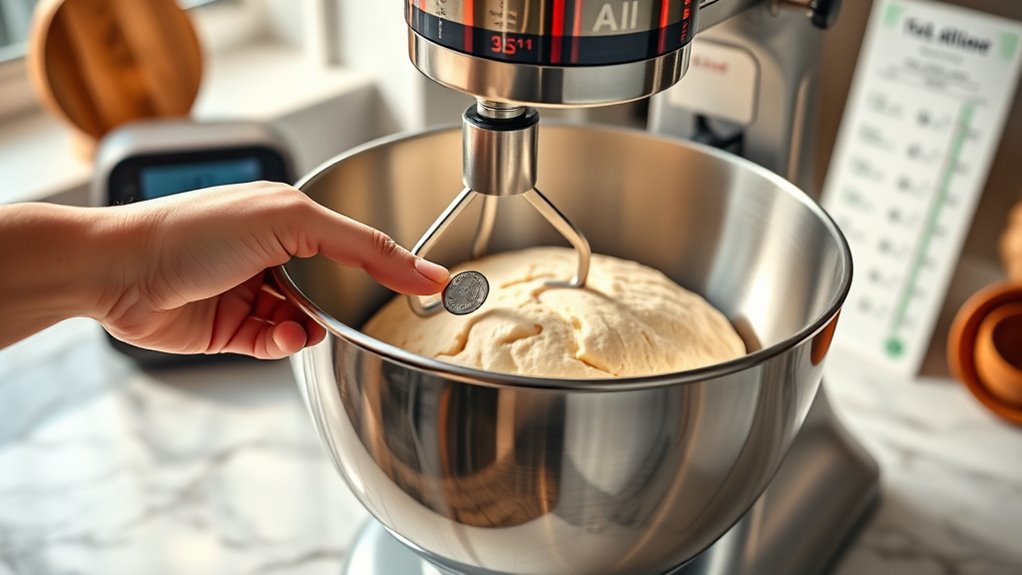
After making initial adjustments to the beater height, it’s important to reapply the dime test to confirm everything is set correctly. Place a dime flat at the bottom of the bowl with the beater attached, then run the mixer on low to medium speed. If the dime remains stationary or barely moves, the beater is too high, risking batter sticking or missing the bottom. If it moves excessively or unevenly, the beater is too low, causing over-mixing. Make small, incremental adjustments to the calibration screw, then re-test with the dime. Repeat this process until the dime slides freely and consistently without resistance. Regularly repeating the dime test during calibration helps ensure the beater maintains the proper clearance for thorough, even mixing, leading to perfect dough.
Fine-Tuning the Beater and Bowl Alignment
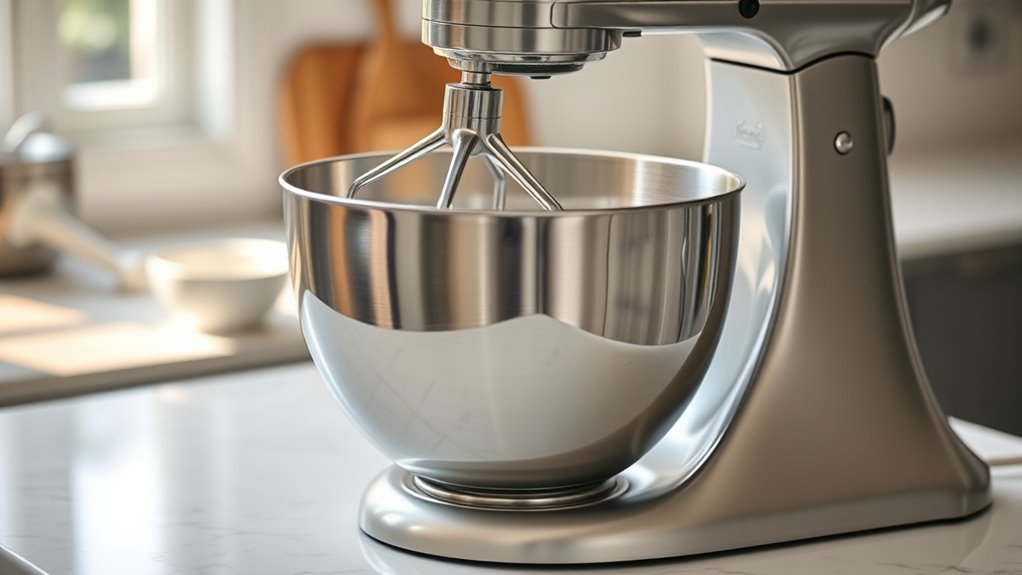
Fine-tuning the beater and bowl alignment is essential for peak mixing performance. Proper clearance ensures your dough mixes evenly without scraping or hitting the bowl. To do this, locate the adjustment screw beneath the tilt-head or between the bowl and motor head, depending on your model. Turn the screw counterclockwise to raise the beater and clockwise to lower it, making small adjustments. Use the dime test by placing a dime at the bottom of the bowl with the beater attached— it should move smoothly without obstruction. After each tweak, run the mixer at low to medium speed and observe the beater’s position relative to the bowl. Repeat until the beater clears the bowl’s bottom without contact, optimizing your mixer’s performance.
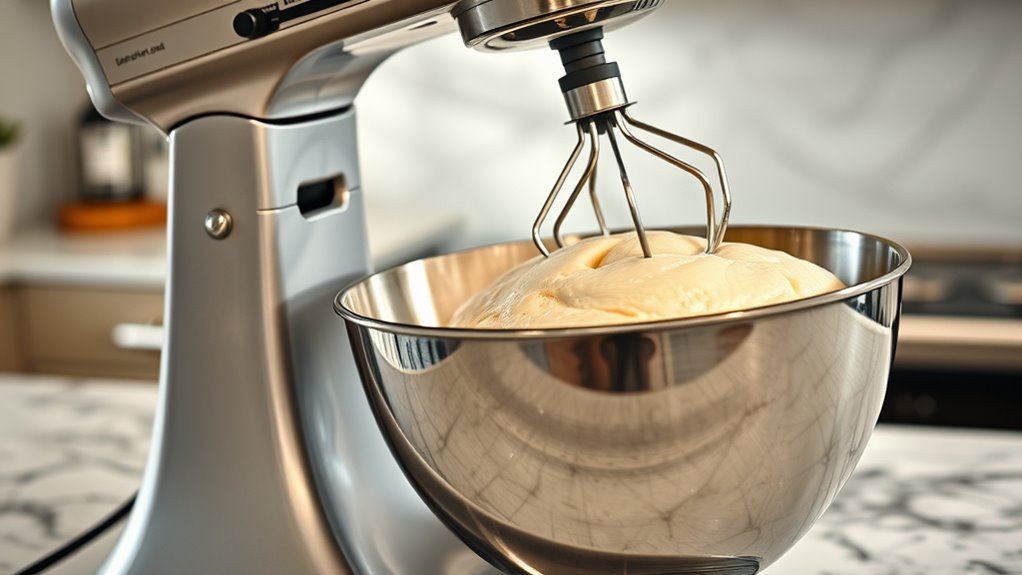
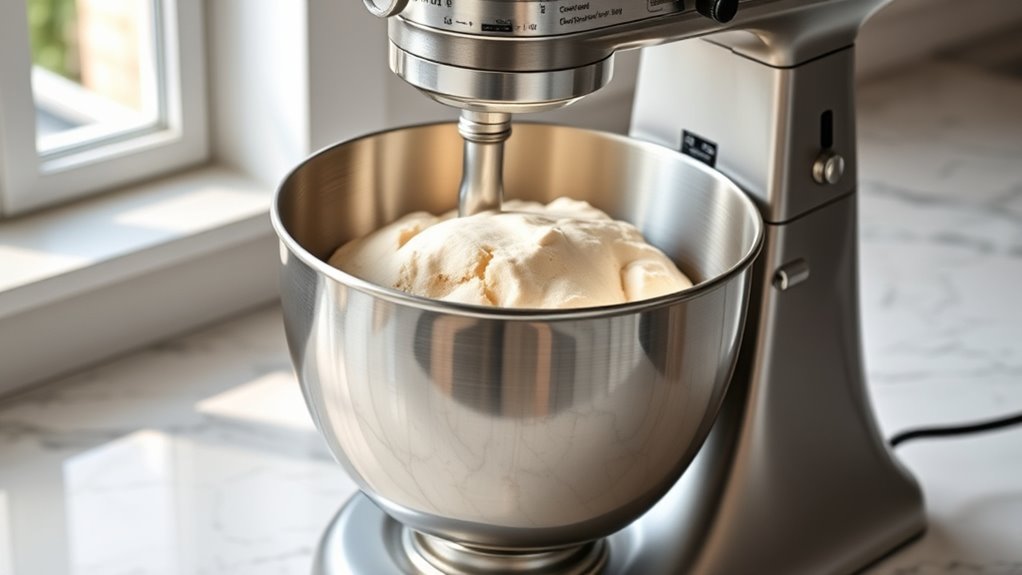
Verifying the Calibration With a Test Dough Batch
Start by preparing a small batch of dough and run your mixer at the recommended low speed, usually speed 2. Watch how the dough moves in the bowl—aim for even mixing without splashing or unmixed spots. If the dough sticks or the beater stalls, it’s time to reassess and adjust your mixer’s calibration.
Prepare a Small Dough Batch
How can you verify that your stand mixer is properly calibrated? Start by preparing a small dough batch, like 1 cup of flour with water and yeast. Attach the appropriate beater or dough hook, ensuring it’s secure and correctly positioned. Run the mixer at low speed, around Speed 2, for about 2-3 minutes. Watch how the dough develops—check if it’s kneaded evenly and if the beater reaches the bottom of the bowl without dragging or missing spots. If needed, adjust your stand mixer by modifying the beater height using the calibration screw. Use the dime test to confirm proper clearance. This small test helps you identify if you need to adjust your stand mixer for perfect dough consistency every time.
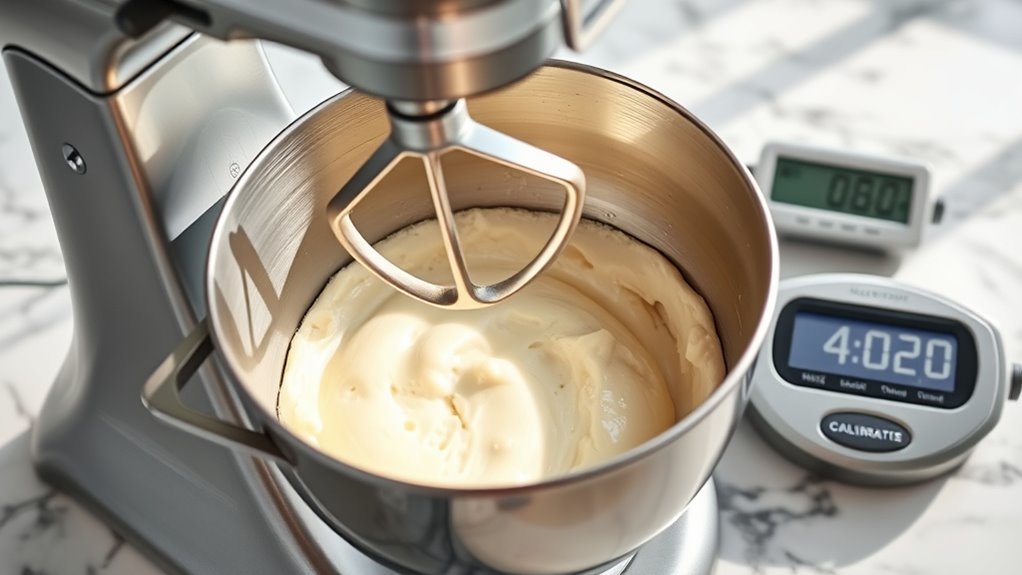
Run Mixer at Low Speed
Running your mixer at low speed, around Speed 2, is essential for checking if it’s properly calibrated. During this test, observe how the dough moves and whether the beater reaches the bowl without hitting. You want the beater to gently knead the dough without pushing it excessively against the sides or leaving unmixed spots at the bottom. Using a small batch helps you see if the beater is too high or too low, based on how evenly the dough is incorporated. If the dough remains unmixed at the bottom or if it’s pushed too forcefully against the sides, adjust the beater height accordingly and retest at low speed. This controlled step ensures your mixer is accurately calibrated for perfect dough.
Check Dough Consistency
To verify if your mixer is properly calibrated, prepare a test dough using standard ingredients like flour, water, salt, and yeast. Observe the dough as it forms at the bottom of the bowl, ensuring it kneads smoothly. Pay attention to these points:
- The dough should come together in a cohesive ball without sticking excessively to the bottom of the bowl.
- It should feel neither too dry nor too sticky, indicating proper hydration.
- During kneading, check if the dough develops a strong gluten structure, suggesting adequate mixing.
- If the dough feels under-kneaded or overly rough, your mixer may need calibration adjustments for ideal beater height.
Recording these observations helps confirm whether your mixer is calibrated correctly, ensuring consistent, high-quality dough every time.
Maintaining Proper Calibration for Long-Term Results
Maintaining proper calibration over time is essential for consistent mixing results. To do this, regularly check the beater-to-bowl clearance using the dime test to confirm calibration remains accurate. After initial setup, re-calibrate your mixer periodically, especially after cleaning or moving it, to keep performance ideal. Keep track of adjustment screw positions and make small, consistent turns to avoid over- or under-calibration. Always follow manufacturer-recommended procedures and use proper tools to prevent damage and ensure long-term accuracy. Document each calibration adjustment and the intervals at which you perform them. This record helps you develop a routine that preserves the precise beater alignment, resulting in reliable, high-quality dough mixing every time.
Frequently Asked Questions
What Speed Should I Use for Kitchenaid Dough?
You should use speed 2 on your KitchenAid stand mixer for kneading dough. This speed offers gentle, consistent mixing that’s perfect for developing gluten without overworking the motor. Starting at speed 2 helps evenly incorporate ingredients and guarantees your dough is kneaded properly. Avoid higher speeds, as they can strain the motor and over-oxidize your dough. Stick with speed 2 for best results and motor longevity.
Why Does My Kitchenaid Mixer Jump When Kneading Dough?
When your KitchenAid mixer jumps during kneading, it’s a sign you’re barking up the wrong tree. The beater might be set too low or the mixer is overloaded, causing instability. To fix this, make sure the beater height is calibrated correctly, and don’t overload the machine. Using speed 2 and ensuring the mixer is on a stable surface helps keep things steady, preventing it from bouncing around.
What Is the Kitchenaid Dime Test?
The KitchenAid dime test helps you check your beater height. You place a dime at the bottom of the bowl with the beater attached, then run the mixer on low to medium speed. If the dime stays put, your beater’s too high. If it moves or scrapes, it’s too low. This simple test makes sure your mixer is properly calibrated for efficient, even mixing every time.
What Number Is Beat on a Kitchenaid Mixer?
You’re wondering what number is “beat” on a KitchenAid mixer. Usually, “beat” refers to speeds 6 or 7, depending on your model. This mid-high setting is perfect for whipping and mixing tasks. For precise control, check your user manual, as the exact speed may vary. Typically, speed 6 is a common choice for standard beating, giving you the right balance of power and control.
Conclusion
By recognizing signs, gathering tools, and carefully calibrating your mixer, you guarantee perfect dough every time. Adjusting the beater height, confirming with tests, and maintaining alignment help you achieve consistent results. Always verify your calibration with a test batch, and regularly revisit your adjustments to keep your mixer performing at its best. With patience and precision, you’ll enjoy flawless doughs, effortless baking, and confident results—making your baking experience smoother, simpler, and ultimately more satisfying.